Ratio and Ratio EV adjustment.
4. Press the
or buttons to adjust Local Flash EV, Ratio and Ratio
EV when selected.
5. The
button will change the mode the local ash from TTL to Manual
to O.
6. Press the
button to exit Ratio Mode editing.
7. Press and hold
button to exit Odin Tx Ratio mode and return to Odin
Tx Mixed Mode.”)
Please note
The ash on camera (L) is not part of the ratio calculation. Power for the local
ash is controlled independently.
Adjusting Flash Head Zoom in Odin Tx Mode
1. Pressing the button will open the Zoom Adjustment Menu.
2. The
and buttons will cycle though groups L, A, B, C.
3. The
and buttons will adjust from Azoom (automatic zoom that
changes dynamically as a zoom lens is changed) and Mzoom 24, 28, 35, 50,
70, 80 and 105mm.
4. Pressing the
button will exit Zoom Adjustment Mode.
Adjusting Transmission Channels
1. From the Odin Tx or Ratio Menu, press the button to access the Trans-
mission Channel selection.
2. Press the
and buttons to cycle through Channels 1-4.
3. Press the
button to lock in the channel.
Using High Speed Sync (HSS) and Second Curtain Sync (SCS) in
Odin Tx Mode
Pressing the button will cycle between HSS, SCS and standard opera-
tions.
1. HSS will allow faster shutter speeds to be used. Shutter speeds up to 1/8000
sec. can be achieved with compatible cameras.
2. Note: At high shutter speeds the power of ashes is greatly reduced.
3. SCS will re the ash at the end of an exposure, not at the beginning. This
can be combined with longer exposures for creative eects.
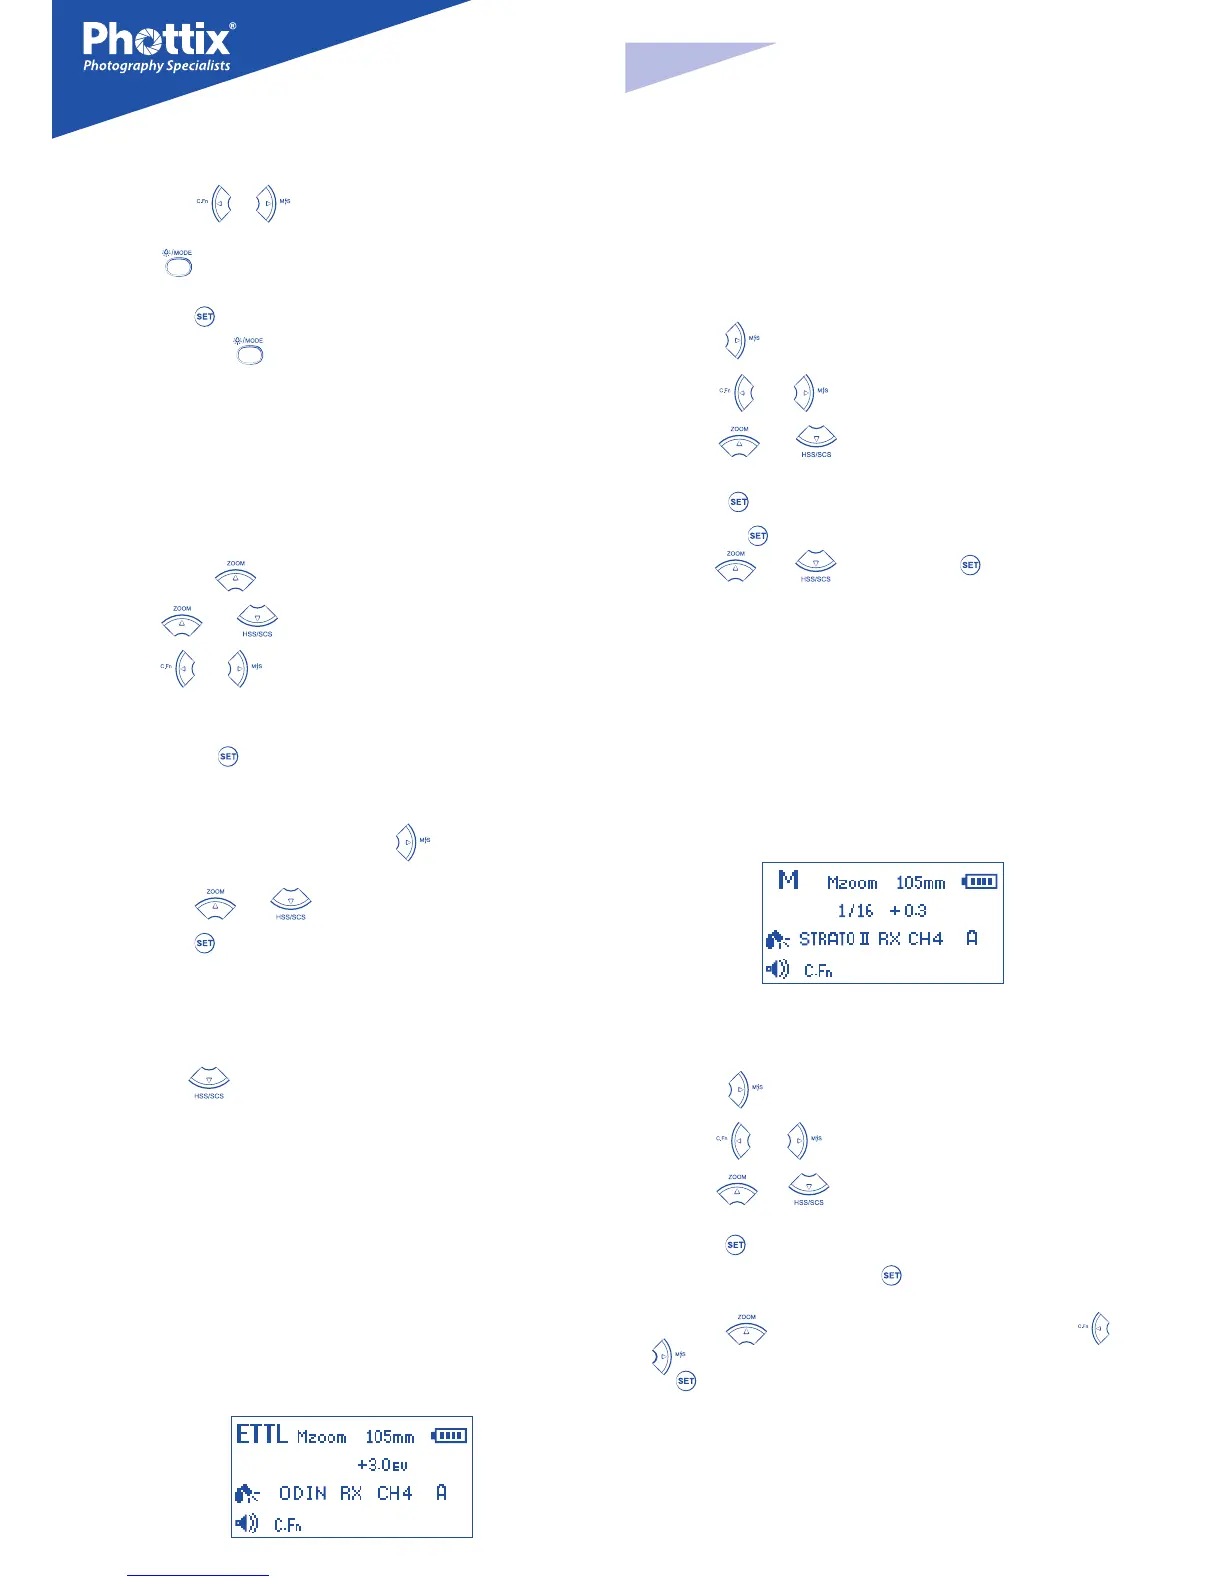
Odin Rx (Receiver) Mode
Odin Rx Mode screen
When the Odin Rx Wireless mode is selected the Phottix Mitros+ Flash will trig-
ger using a built-in Odin-compatible receiver. While in Odin Rx Mode the Mi-
tros+ can be controlled and triggered from another Mitros+ Flash in Odin Tx
Mode or an Odin TCU.
Changing Channels and Groups
1. Press the
button to access the Channel and Group selection.
2. Use the
and buttons to select Channel or Group.
3. Use the
and buttons to adjust the reception channel (1-4)
or group assignment (A-C).
4. Press the
button to exit Channel and Group editing mode.
5. Pressing the
button will allow the EV adjustment for the ash to be set
using the
and buttons. Press the button again to exit EV
Adjustment mode.
Please note:
The eect of EV adjustment is cumulative. If EV adjustment is set on the Odin
Rx screen and on an Odin TCU or Mitros+ in Odin Tx mode, and/or in TTL Pref
in the Custom Functions menu, all of these settings will be used to calculate
nal EV.
Strato II Rx Mode
Strato II Rx Mode screen
When the Strato II Rx Mode is selected the Mitros+ will be triggered by Phot-
tix Strato II Multi Transmitters, a Phottix Odin TCU or Phottix Mitros+ in odin Tx
mode.
1. Press the
button to access the Channel and Group selection.
2. Use the
and buttons to select Channel or Group.
3. Use the
and buttons to adjust the reception channel (1-4) or
group assignment (A-C).
4. Press the
button to adjust the Manual Power level of the Mitros+ (from
1/1 to 1/128 in 1/3 stops) Press the
button again to exit Manual Power
Adjustment Mode.
5. Press the
Button to edit the ash head zoom. Pressing the or
Arrow buttons will cycle between AZoom and MZoom settings. Press
the
button to return to the main menu.
Please note
In Strato II Rx (Receiver) Mode there are no wireless TTL functions such as HSS
or SCS, or wireless power/zoom control. Power and zoom levels must be set
manually on the Mitros+ ash while in Strato II Rx Mode.
 Loading...