Do you have a question about the Pioneer 2-DIN and is the answer not in the manual?
Remove the plastic panel at the location indicated by the arrows during installation.
Remove the panel surrounding the gear lever and two screws to detach the original dashboard.
Remove the existing bracket that holds the original radio unit.
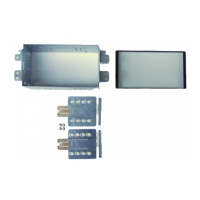
Install the 2-DIN metal bracket and secure it with four screws.
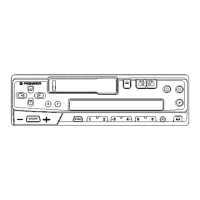
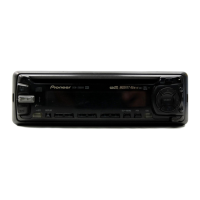
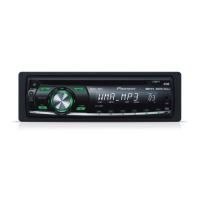
Place the new headunit into position and reattach the dashboard panels.
Connect all necessary wiring harnesses and verify that all connections are secure.
This document provides an installation manual for a 2-DIN car stereo system, specifically designed for the Kia Carens. The model number for this installation kit is 12.301179-09. The manual details the components included in the kit and provides step-by-step instructions for installing a Pioneer head unit into the vehicle's dashboard.
The primary function of this product is to facilitate the installation of a 2-DIN Pioneer car stereo (head unit) into a Kia Carens vehicle. It provides the necessary mechanical components and instructions to replace the original factory radio with an aftermarket Pioneer unit, ensuring a secure fit and integrated appearance within the dashboard. The kit is designed to adapt the standard 2-DIN dimensions of Pioneer head units to the specific dashboard opening and mounting points of the Kia Carens.
The installation process involves several steps, designed to be followed sequentially:
This manual primarily focuses on installation rather than ongoing maintenance of the device itself. However, implicit maintenance considerations include:
In summary, this installation kit and manual provide a comprehensive solution for integrating a 2-DIN Pioneer car stereo into a Kia Carens, ensuring a professional and secure fit while guiding the user through each step of the process.
| Brand | Pioneer |
|---|---|
| Model | 2-DIN |
| Category | Car Receiver |
| Language | English |