Do you have a question about the Pioneer LX01 and is the answer not in the manual?
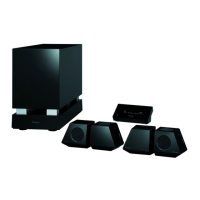
Safety guidelines for assembling and placing speakers to avoid injury.
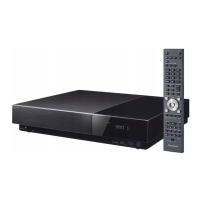
Illustrates and explains the basic connection steps for the system components.
Explains how to turn on the system components and what needs to be powered on.
Steps to complete after connecting and installing the system for initial use.
Guide to using MCACC for automatic speaker calibration and surround sound optimization.
Overview of common operations and where to find detailed explanations in the manual.
Adjusting individual speaker channel levels for optimal surround sound.
Adjusting speaker distances from the listening position for surround sound.
Connecting HDMI-compatible devices for high-quality audio/video transfer.
Steps to connect components for synchronized operation via HDMI.
Adjusting unit settings and connected components for HDMI Control function.
Prerequisites and steps before utilizing synchronized operations.
Procedure to reset all system settings to factory defaults.
Troubleshooting for general issues like disc playback, recording, remote control, and picture/sound.
Procedure to reset the recorder to all its factory settings.
Initializing recordable discs for VR or Video mode recording.
Periodically optimizing the HDD file system for better performance.
Initializing the HDD to fix corruption issues and erase all data.
Navigating the menu to set recorder options for sound, picture, language.
Basic settings including clock, input line system, power save, and EPG type.
| RMS rated power | 400 W |
|---|---|
| Audio output channels | 5.1 channels |
| Center speaker RMS power | 50 W |
| HDMI | Yes |
| Weight | 5500 g |
| HDD capacity | 250 GB |
| Dimensions (WxDxH) | 420 x 286 x 80 mm |
| Power requirements | AC 220-240V, 50-60 Hz |
| Maximum HDD recording time | 711 h |
| Video recording speed modes | EP, LP, SEP, SLP, SP |
| Supported radio bands | FM |
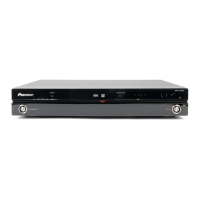
| Optical disc player type | DVD recorder |
| USB version | 2.0 |
| HDMI ports quantity | 4 |
| SCART ports quantity | 2 |
| Power consumption (standby) | 0.69 W |
| Power consumption (typical) | 58 W |
| Subwoofer weight | 17800 g |
|---|---|
| Center speaker weight | 500 g |
| Subwoofer dimensions (WxDxH) | 245 x 600 x 409 mm |
| Center speaker dimensions (WxDxH) | 122.5 x 89.5 x 104 mm |