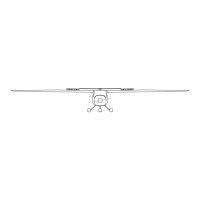
Set the trim handle to full forward position and remove the safety tape or plastic plug covering the hole on top
of the horizontal stabilizer and the tape covering the gab between horizontal and vertical tail surfaces. Use the
Pipistrel “T” key to push the safety sleeve down and unscrew by turning the bolt counter clockwise. To detach
the horizontal tail unit push it forward using firm palm strokes until the unit pops out.
When detached, always place the horizontal tail unit onto a soft surface to prevent damage.
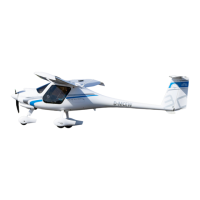
Fitting the horizontal tail surfaces
Horizontal stabilizer and elevator MUST be assembled during the following procedure. To fit the horizontal tail
surfaces first set the trim handle inside the cockpit to full forward position. Make sure the pins, their holes and
bushings have been cleaned and greased!
Lift the assembled stabilizer and elevator and slide them into position by pushing them backwards while the
elevator is deflected DOWN fully.
Fit the trailing edge of the elevator into the drive cup. Now use the enclosed “T” key to push the security bolt
down while spinning it clockwise until the screw is completely tightened - Approx 22NM torque. Pull the “T”
key out and make sure the safety sleeve holds the bolt head to prevent it from turning. When completed tape
the gap between horizontal and vertical tail surfaces and cover the hole on top of the vertical stabilizer with a
sticker or plastic plug. Check control deflections for smooth, unobstructed movement.
Detaching the horizontal tail surfaces
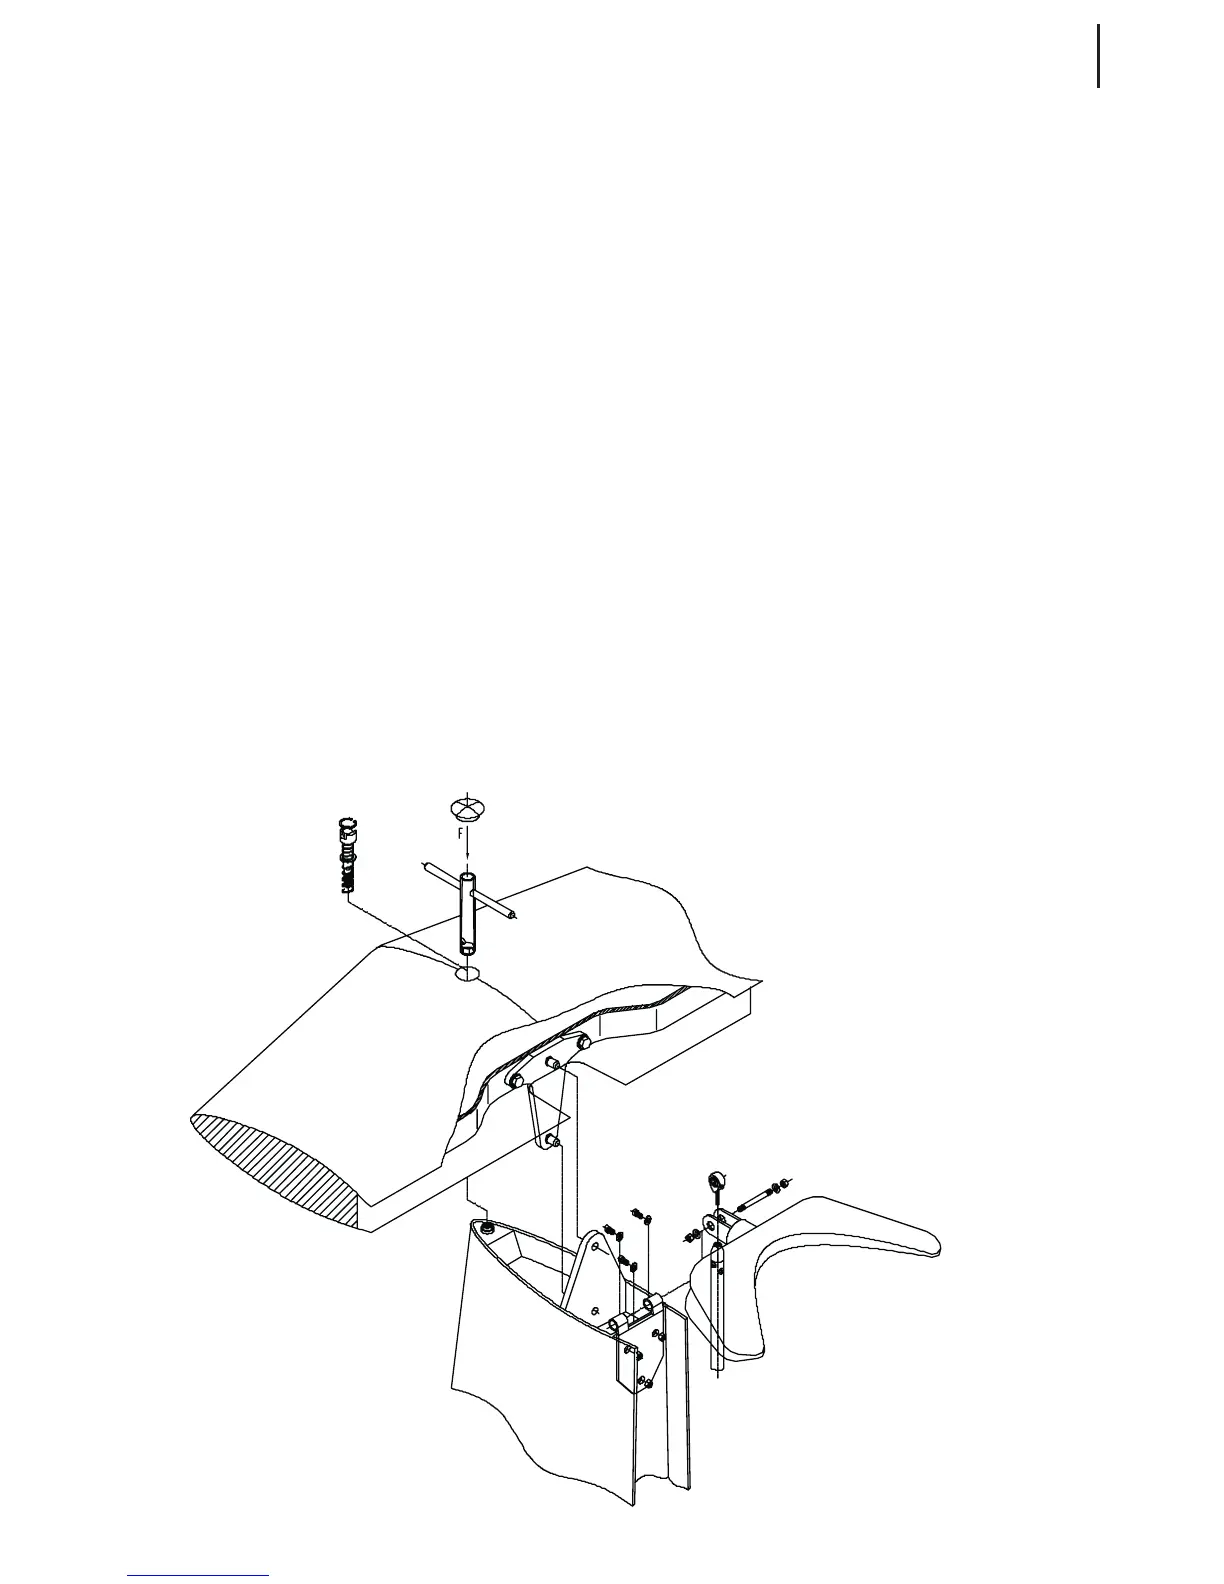
Schematic of horizontal tail surfaces (dis)assembly
 Loading...