EasyManua.ls Logo

Piranha B Series - User Manual

Piranha B Series
161 pages
Print Icon
To Next Page IconTo Next Page
Loading...
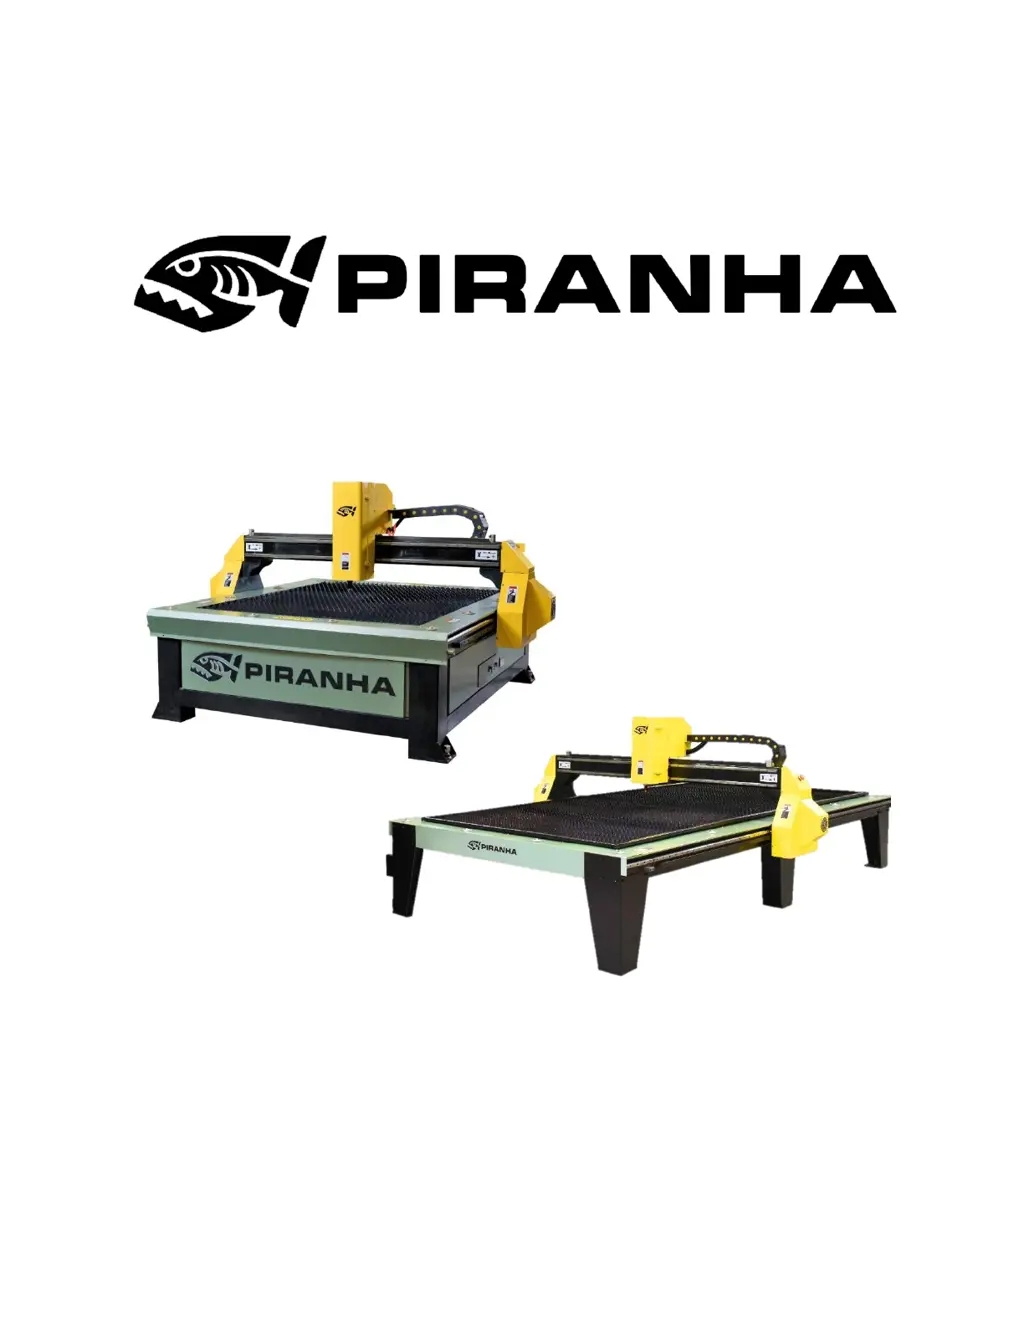
B-Series & C-Series Plasma Cutting System
Safety, Operation, and Maintenance Manual
With Microstep Gen 2
Original Instruction: English Version 2.7.1

Table of Contents

Questions and Answers

  • K
    kelly97Aug 18, 2025
    What to do if the screen is on but nothing else works on my Piranha B Series Cutter?
    • D
      Donna FlemingAug 18, 2025
      If your Piranha Cutter's screen is on but nothing else seems to work, and you suspect the controller is locked up, start by checking all Emergency Stop buttons to ensure none are pressed. If one is, release it. If buttons were pressed too quickly, the controller might lock up. To resolve this, turn the power off to the control, and then turn it back on again.
  • B
    benjaminholtAug 20, 2025
    Why does my Piranha B Series Cutter stop and show an Air Fault?
    • M
      Mrs. Faith CantuAug 20, 2025
      If your Piranha Cutter stops with an Air Fault after running for a short time, check the incoming air pressure at the regulator and ensure the regulator is set to 4.5 bar.
  • Q
    qnelsonAug 23, 2025
    Why does the arc turn off after a few seconds on my Piranha B Series Cutter?
    • B
      Brenda BishopAug 23, 2025
      If the arc turns off after cutting for a few seconds on your Piranha Cutter, make sure that the ground clamp is properly connected to bare metal, not on a painted surface.
  • M
    markmunozAug 26, 2025
    What does a G41/G42 error mean on my Piranha Cutter?
    • W
      williamskathleenAug 26, 2025
      If your Piranha Cutter displays a G41/G42 error, it means the kerf on the machine is incompatible with a movement in the program code, often because the kerf value is set larger than the movement in the code. Try lowering the kerf value. Alternatively, adjust the line or lines causing the issue in your programming software; very small lead-ins, lead-outs, lines, or radii can be the cause.
  • D
    Douglas ChangAug 28, 2025
    What to do if the cut appears incomplete with my Piranha B Series Cutter?
    • C
      Colleen RiveraAug 28, 2025
      If the cut appears incomplete when using your Piranha Cutter, ensure the pierce delay is set correctly. It should be 1.5 seconds plus the book value for that material type and thickness.
  • R
    reesemichaelAug 30, 2025
    What to do if the workmode is incorrect on my Piranha Cutter?
    • T
      Thomas ThompsonAug 31, 2025
      If the workmode on your Piranha Cutter is incorrect, follow these steps: * If it reads B-Cu or Doub, press Auto, then Assist, then press Se-Cut until the workmode says A-Cu again. * If it reads Wentai.A-Cu, press Auto, then Assist, then press Wentai once and the workmode should say A-Cu again. * If it reads Rotate, press Auto, then Assist, then press Resto once and the workmode should say A-Cu again. * If it reads Array, press Auto, then Assist, then press Nest once and the workmode should say A-Cu again.
  • E
    Elizabeth CrawfordSep 2, 2025
    Why does the arc start too high off the material on my Piranha B Series Cutter?
    • P
      Patricia YorkSep 2, 2025
      If the arc tries to start too high off the material on your Piranha Cutter, check the value for COMPENSATE on the Arc Voltage Control. It should be set to 10. Also, change the Initial Height setting on the Arc Voltage Control. Note that the value is in millimeters (MM). Ensure the Zero Test button was not pressed during a restart.
  • F
    ftaylorSep 5, 2025
    Why is there waviness in the plasma cut edge of my Piranha Cutter?
    • V
      Virginia FisherSep 5, 2025
      If you observe waviness in the plasma cut edge of your Piranha Cutter, ensure all table slats do not have play. The slats should be curved to maintain tension and prevent vibration. Also, verify that the torch height control settings are set to the original factory defaults.
  • T
    thorntonjoseSep 7, 2025
    Why does my Piranha B Series Cutter move before the arc initiates?
    • G
      garzadustinSep 7, 2025
      If the machine moves before the arc initiates on your Piranha Cutter, check or increase the PIERCE DELAY setting. The value should be a minimum of 1.500.
  • S
    Stephen HowardSep 9, 2025
    What to do if the torch doesn't touch the material during Zero Test on my Piranha B Series?
    • M
      Michelle JohnsonSep 9, 2025
      If, when pushing the Zero Test on the Arc Voltage Control, the torch does not touch the material before it retracts on your Piranha Cutter, ensure that the torch cable has enough play for the torch to reach the material and that nothing is obstructing it. Try manually lowering the torch over an area with no material to check the torch travel.

Summary

Chapter 1: INTRODUCTION

1.1. About Piranha

Overview of Piranha as a subsidiary of MegaFab and its product brands.

1.2. Contact Information

Provides phone numbers and email addresses for technical support and parts ordering.

Chapter 2: SAFETY

2.1. Introduction

Overview of safety considerations and vendor component manual review.

2.2. Safety Symbols Used in the Manual

Explanation of symbols indicating hazards, warnings, and notes.

2.3. All Users

Guidelines for supervisors, maintenance personnel, and operators.

2.4. Personal Protection

Essential PPE and precautions for eye, hearing, and body safety during operation.

2.5. Safety Devices

Importance and proper use of interlocks and safety features.

2.6. Risk of Electric Shock

Procedures and warnings related to high voltage and proper grounding.

2.7. Fumes and Air Contamination

Hazards from fumes, dust, and gases; ventilation requirements.

2.8. Fire, Explosion, and Burn Prevention

Measures to prevent fires, explosions, and burns from heat and sparks.

2.9. Light and Radiant Energy

Precautions against UV/IR radiation and electromagnetic interference.

2.10. Compressed Gas Equipment

Safe handling and use of gas cylinders, regulators, and hoses.

2.11. Additional Safety Information

References to standards and customer responsibility for safety.

Chapter 3: SPECIFICATIONS

3.1. Machine View

Illustrations showing the C-Series and B-Series plasma cutting machines.

Chapter 4: INSTALLATION

4.1. Introduction and Checklist

Guide from unpacking to setup for the first cut, including a checklist.

4.2. Prior To Receiving

Requirements before machine delivery, including floor and space.

4.3. Electrical Services

Requirements for stable power supply, grounding, and dedicated circuits.

4.4. Compressed Air & Gas

Requirements for clean, dry, oil-free air for torch and processing.

4.5. Fumes & Smoke Extraction Plan

Methods for fume and smoke removal, including fans and water tables.

4.6. Required Equipment;Tools

List of tools needed for installation and handling.

4.7. After Receiving

Procedures for inspecting equipment upon arrival.

4.8. Unloading

Cautions and methods for safely unloading the machine.

4.9. Unpacking

Steps for removing protective packaging and securing straps.

4.10. Installing Covers (5’ X 10’ Only)

Procedure for installing motor covers for shipment regulations.

4.11. Leveling

Guide to leveling the machine using leveling pads for stability.

4.12. Machine and CNC Connections

Steps for connecting air and electrical systems to the machine.

4.13. Plasma Power Supply Connections

Procedures for connecting the plasma power supply unit.

4.14. First Time Power On

Steps for powering up the machine for the first time.

Chapter 5: OPERATIONS

5.1. Operator’s Panel

Description of the control panel segments and buttons.

5.2. CNC Control Navigation

How to navigate the CNC control menu using function keys.

5.3. Using the Torch Height Control

Functions and settings for the torch height control system.

5.4. Operating Start Guide

Checklist for successful program execution.

5.5. Active Functions

Description of functions available in MANUAL mode.

5.6. Restarting a Cut

Methods for resuming a program after an interruption.

Chapter 6: PROGRAMMING

6.1. ProNest Tips

Guidance for using ProNest LT software for programming.

6.2. Programming Codes

Reference for G-codes and M-codes used in programming.

Chapter 7: MAINTENANCE

7.1. Torch Height Control Linear Guides & Ball Screw Maintenance

Procedures for cleaning and lubricating guides.

7.2. Error Code List

Table of error codes and their descriptions for troubleshooting.

7.3. Machine Setup Parameters

Recommended settings for Starfire control software.

7.4. Initial Settings - Microstep Torch Height Control

Contacting Piranha for the latest settings.

7.5. Inputs and Outputs

Listing of signals used by the control system.

7.6. Procedure - Setting Machine Zero

Steps to re-establish machine zero position.

7.7. Updating Control Software Procedure

Steps for updating the control software via USB.

7.8. Squaring the Machine Procedure

Methods for ensuring the machine is square and aligned.

7.9. Troubleshooting Guide

Common issues and their possible solutions for users.

Chapter 8: PARTS MANUAL

8.1. Automatic Height Control Assembly

Exploded view and part numbers for the AHC assembly.

8.2. Y-Axis Drive Assembly

Exploded view and part numbers for the Y-axis drive components.

8.3. Air and Water Inlet

Exploded view and part numbers for air/water inlet components.

8.4. X-Axis Drive Assembly

Exploded view and part numbers for X-axis drive components.

8.5. Electrical Cabinet

Identification of components within the electrical cabinet.

8.6. Electrical Cabinet

Identification of components within the electrical cabinet (continued).

8.7. Miscellaneous Parts

List of common miscellaneous parts for the machine.

8.8. Consumables

Part numbers for consumables used with PowerMax plasma systems.

Chapter 9: ELECTRICAL DIAGRAM

9.1. Machines without Pipe Cutter

Electrical schematic for standard machine configurations.

9.2. Machines with Pipe Cutter

Electrical schematic for machines equipped with a pipe cutter.

Chapter 10: PIPE CUTTING ATTACHMENT (Optional)

10.1. Components

Identification of parts specific to the pipe cutting attachment.

10.2. After Receiving

Inspection procedures for the pipe cutting attachment.

10.3. Unloading

Safe procedures for unloading the pipe cutting attachment.

10.4. Operation and Programming

Procedures for operating and programming the pipe cutting function.

Chapter 11: APPENDIX A - REVISIONS TO THE MANUAL

Appendix A - Revisions to the Manual

Log of changes and updates made to the manual.

Piranha B Series Specifications

General IconGeneral
BrandPiranha
ModelB Series
CategoryCutter
LanguageEnglish