4 Straw Rocket Launcher User Guide 45186 V0918
P.O. Box 1708 • Pittsburg, KS 66762
shop.pitsco.com
Toll-Free Orders 800-835-0686
4. Cut the ns out of the paper or card stock (Figure 9). The ns should be all the same size and
shape. Rockets should have at least three ns.
5. Attach the ns to the rocket body using transparent tape (Figures 10a and 10b).
6. Form the rocket nose cone from the modeling clay and attach it to the top end of the rocket body
(Figure 11).
Launching Straw Rockets
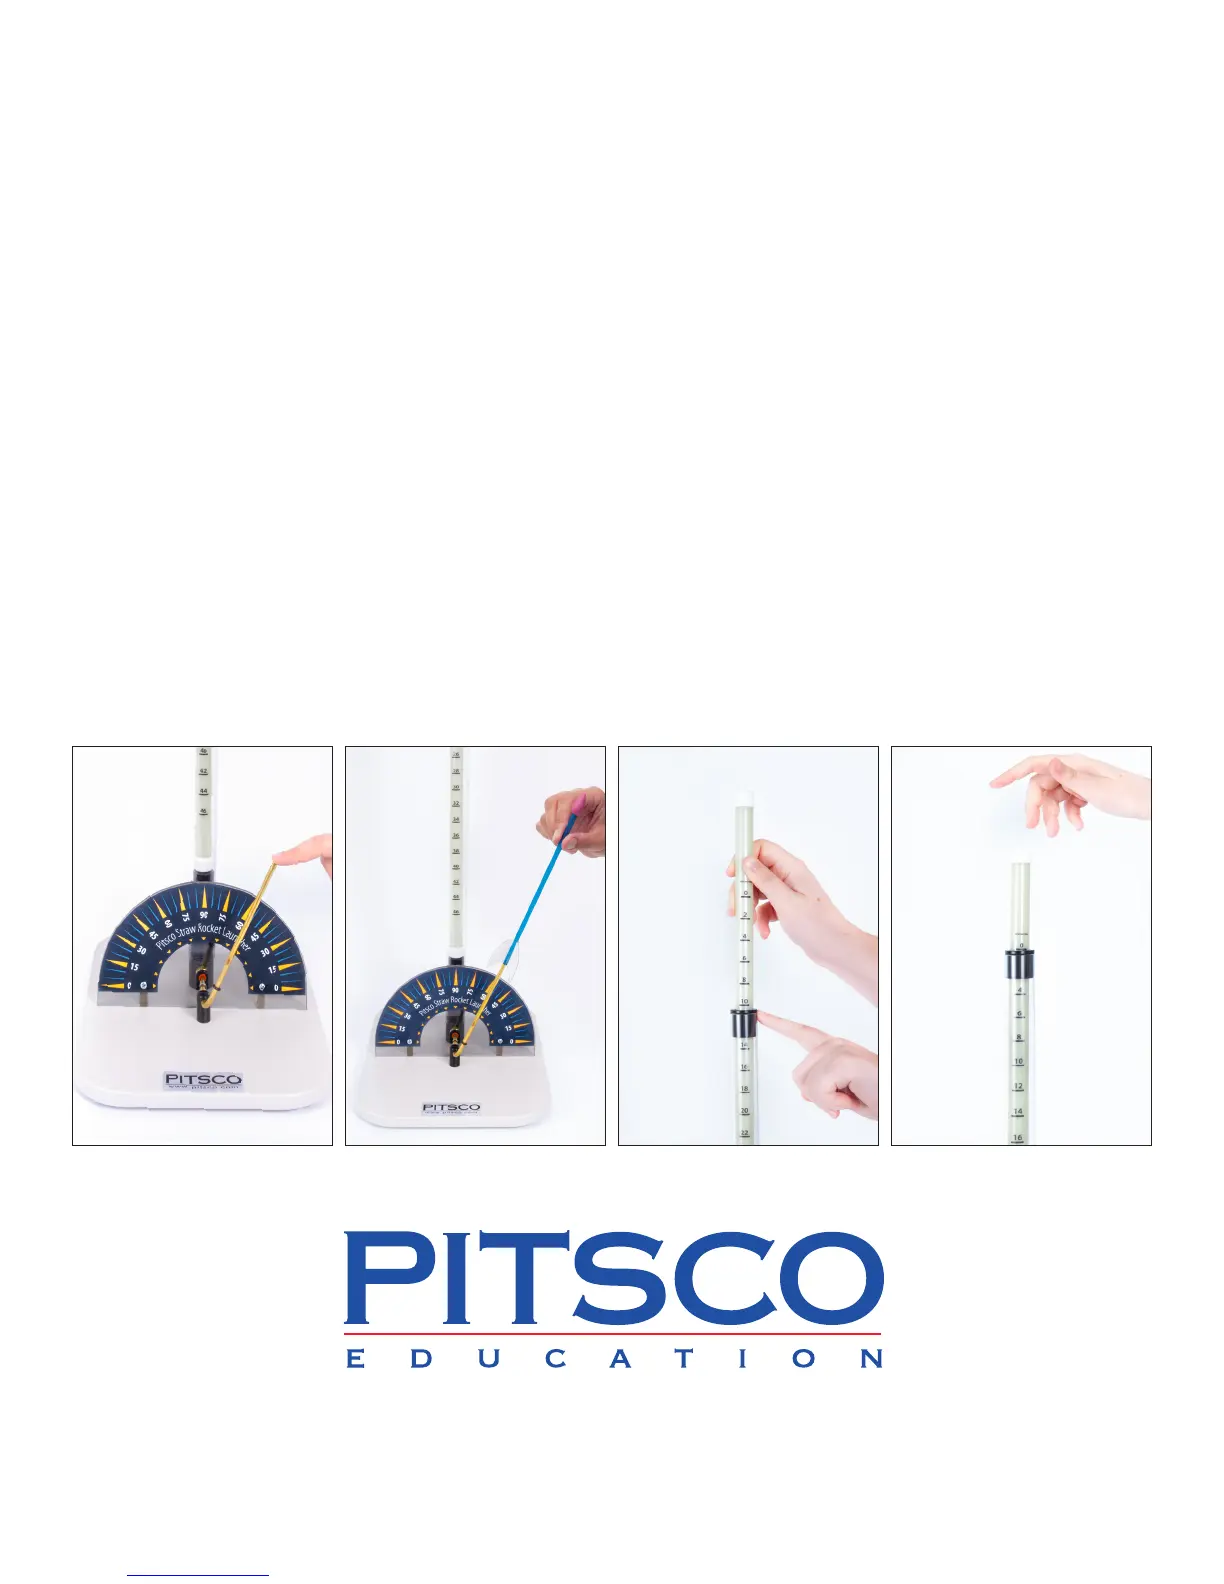
The Straw Rocket Launcher features an adjustable launch tube. Simply adjust the angle by moving
the launch tube to align with the desired degree mark, which is indicated on the angle plate
(Figure 12).
1. Slip the straw rocket over the launch tube (Figure 13).
2. If the launch tube moves, carefully move it and the rocket back in line with the desired trajectory
angle.
3. Raise the launch rod to the desired height (Figure 14). By varying the launch rod height, which is
calibrated in centimeters, students can control the distance of the rocket’s ight.
4. To launch, release the launch rod so that it falls to the bottom of the cylinder (Figure 15). This
action compresses the volume of air in the cylinder and forces it out the launch tube, blasting
the rocket away from the launcher. Note: When rockets are launched, simply release or drop the
launch rod. Avoid forcing the rod into the cylinder.
Figure 12 Figure 13 Figure 14 Figure 15
 Loading...