Maintenance and Servicing
Proceduresnotspecicallyexplained
in this manual must be performed
onlybyaqualiedtechnician.
TO PREVENT INJURY
FROM TOOL FAILURE:
Do not use damaged equipment.
If abnormal noise or vibration occurs, have
the problem corrected before further use.
1. BEFORE EACH USE, inspect the general
condition of the tool. Check for loose
hardware, misalignment or binding of moving
parts, cracked or broken parts, and any other
condition that may affect its safe operation.
2. AFTER USE, wipe external surfaces
of the tool with clean cloth.
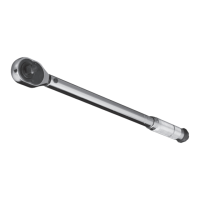
3. If the Torque Wrench has not been used
for some time, turn the knurled handle
(clockwise and counterclockwise) several
times to re-lubricate the internal workings.
Then, operate at a low torque setting
several times. This ensures proper
operation. Do not turn knurled handle
below the lowest torque setting.
4. Wipe Torque Wrench with a cloth to clean.
Do not immerse in any cleaning solution.
This would damage the internal lubrication.
5. Periodically have the Wrench calibrated
and serviced by a qualied technician.
6. Store inside case in a clean and dry location.
Note: Replacement parts are not
available for this item.
Record Product’s Serial Number Here:
Note: If product has no serial number, record month and year of purchase instead.
3491MissionOaksBlvd.•POBox6009•Camarillo,CA93011•(800)444-3353
7.
Retighten the Lock Knob by turning
it all the way clockwise.
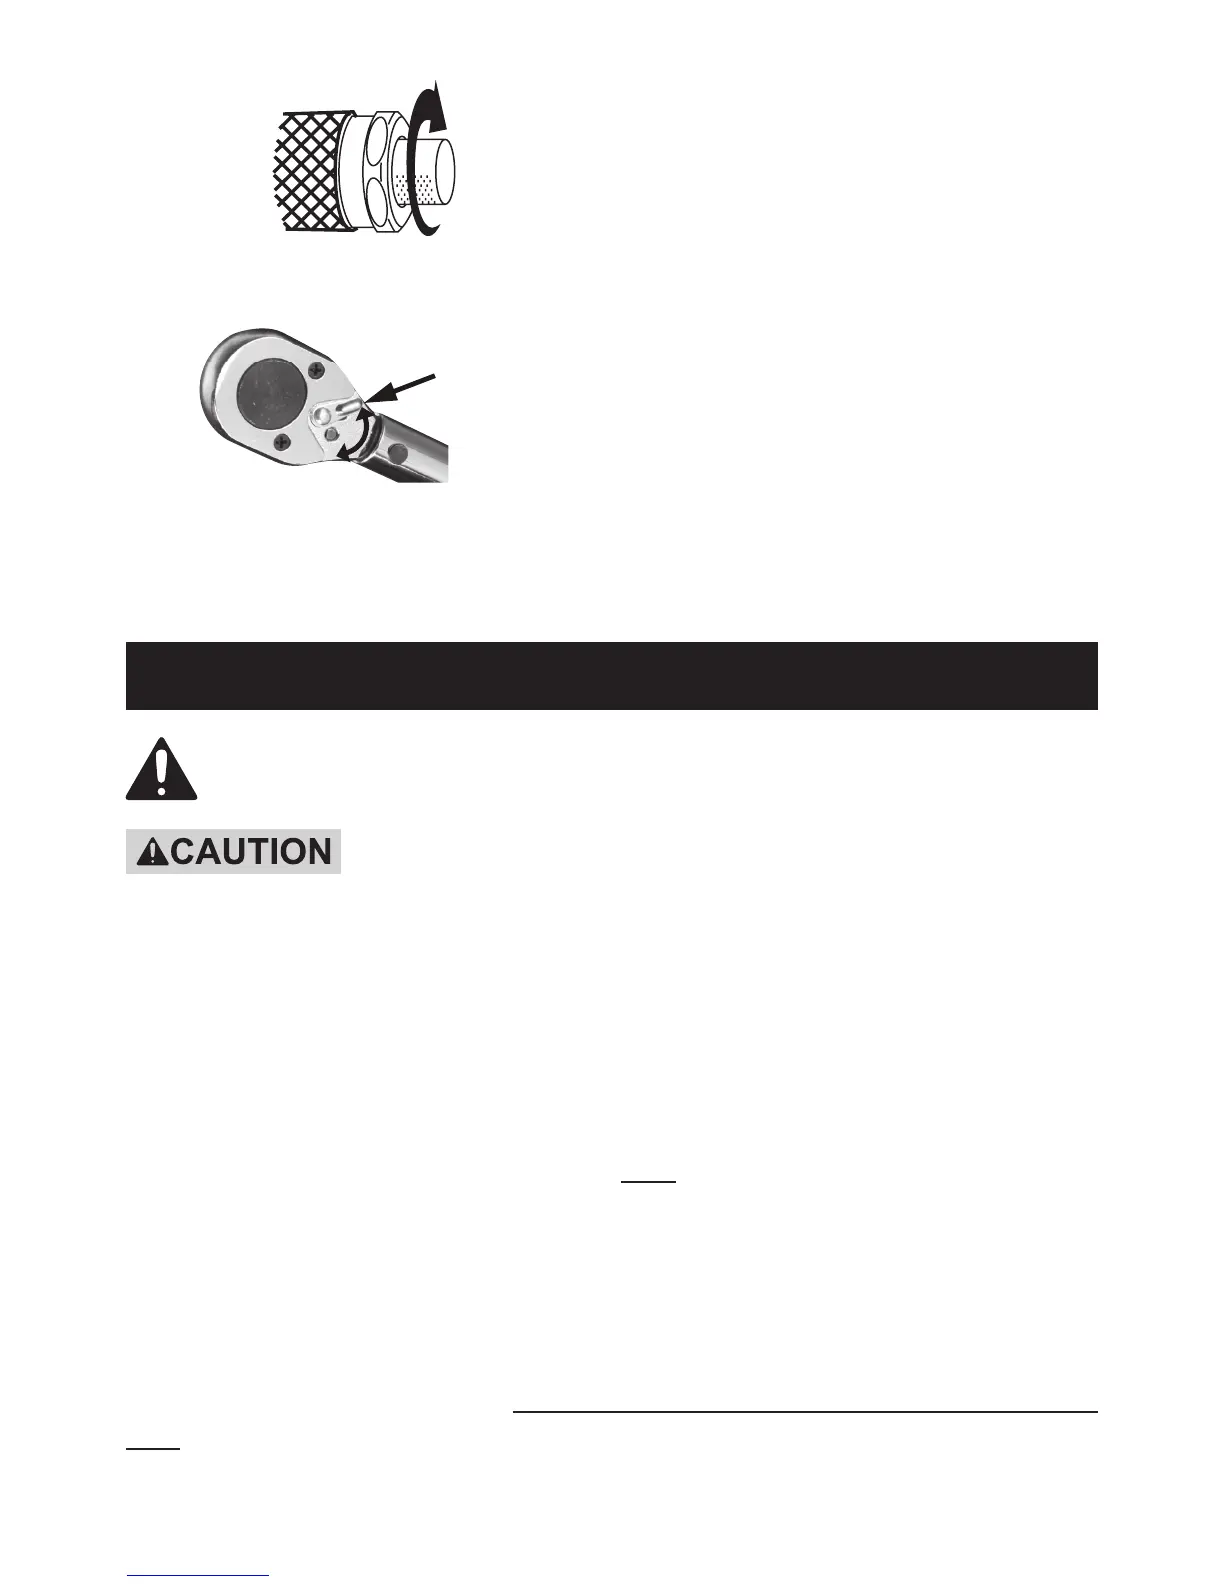
8.
Direction
Switch
Set the Direction Switch for clockwise
or counterclockwise operation.
The Switch shown above is in
position for clockwise operation.
9. Place socket onto the nut or bolt and pull
the handle gradually in the desired direction
until a click is heard or felt. Do not pull
beyond that point; the click indicates that
the torque setting has been reached.
10. Stop pulling and the Torque Wrench
will automatically reset.
11. When nished, loosen the lock knob and
set the Torque to the lowest torque setting
(not lower than the lowest setting) before
storing indoors out of reach of children.
 Loading...