ii. Enable auto right click and adjust the auto right click time.
iii. Choose to be either in the HID Mouse Mode or HID Digitizer Mode
(Windows
®
Vista only).
iv. Simply click the “Apply” button once the settings are finalized.
18
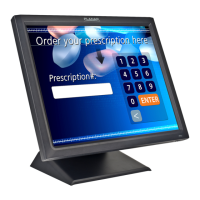
PT19075R/PT1911MX/PT1975S Install Instructions:
If you are using a PC running Windows
®
7, VISTA, XP, 2000, ME, 98,
NT4.0, follow the instructions below:
1. Power on the PC.
2. Be sure the USB or the RS-232 Serial cable is connected from the PC to the
LCD display.
3. Open the CD-ROM.
4. Follow the step-by-step instructions as shown on the pop-up windows.
If you are using a PC running Windows
®
XP Embedded, follow the
instructions below:
Express:
1. Power on the computer.
2. Make sure that the RS232 or USB cable is connected to the computer.
3. Be sure that your EWF is disabled. If your EWF is enabled, please disable
the EWF by using the EWF Manager command.
4. Once the EWF is disabled click on the XP driver on the CD-ROM and follow
the step-by-step instructions as shown on the pop-up windows.
Custom:
1. Power on the computer.
2. Make sure that the RS232 or USB cable is connected to the computer.
3. Follow the step-by-step instructions found in the zipped file on the CD-ROM.