EasyManua.ls Logo

PLANET ECLIPSE Etek STAR Frame - Page 10

Default Icon
56 pages
Print Icon
To Next Page IconTo Next Page
To Previous Page IconTo Previous Page
Loading...
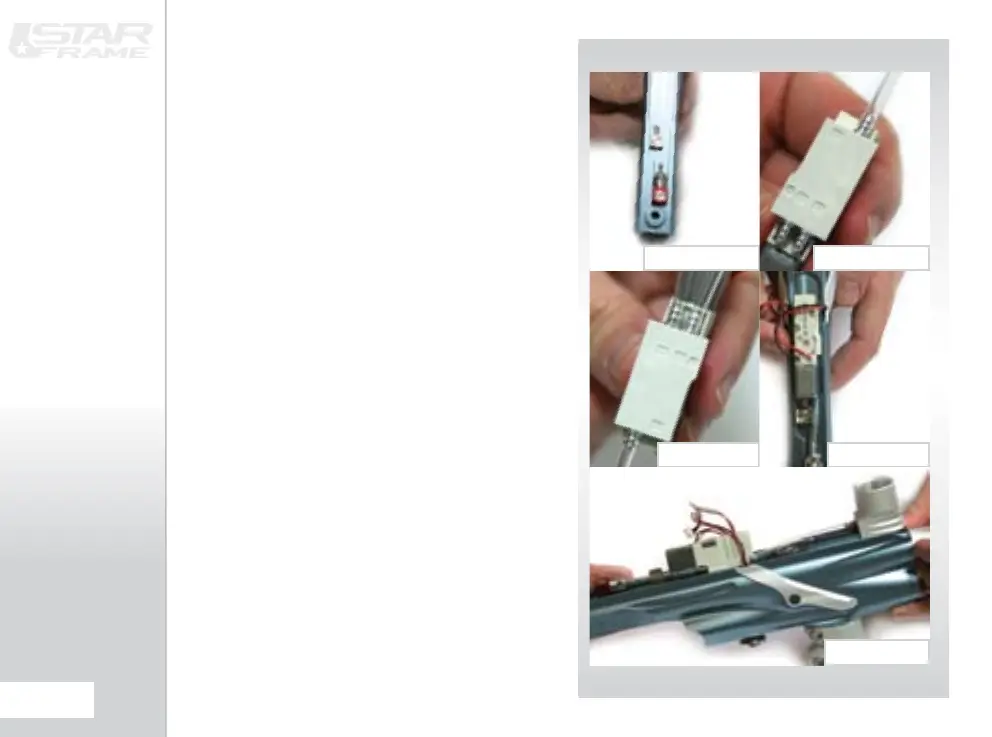
INSTALLATION CONTINUED..
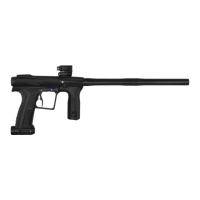



the Etek/Etek2 body
(SEE FIGURE 1.11)
. Taking the longest
length of low pressure hose, attach one end to the barb

on the minifold; the solitary front barb
(SEE FIGURE 1.12)
. At


shortest length of low pressure hose to the barb labelled


minifold
(SEE FIGURE 1.13).
Using a pair of non serrated
needle-nosed pliers attach the shortest hose to the


(SEE FIGURE 1.14)
. Position
the solenoid assembly in the designated area on the
underside of the Etek/Etek2 body in preparation for the

(SEE FIGURE 1.15)
NOTE: Push all low pressure hose connectionsrmly
onto the barb tting to ensure an adequate seal.
Replace as necessary if the low pressure hose is
damaged or stretched.
FIG 1.13 FIG 1.14
FIG 1.15
FIG 1.11 FIG 1.12
10.
INSTALLATION

Related product manuals