5
3. Starting Web Management
The following shows how to start up the Web Management of the Managed
Switch. Note the Managed Switch is congured through an Ethernet connection.
Please make sure the manager PC must be set to the same IP subnet address.
For example, the default IP address of the Managed Switch is 192.168.0.100, then
the manager PC should be set to 192.168.0.x (where x is a number between 1 and
254, except 100), and the default subnet mask is 255.255.255.0.
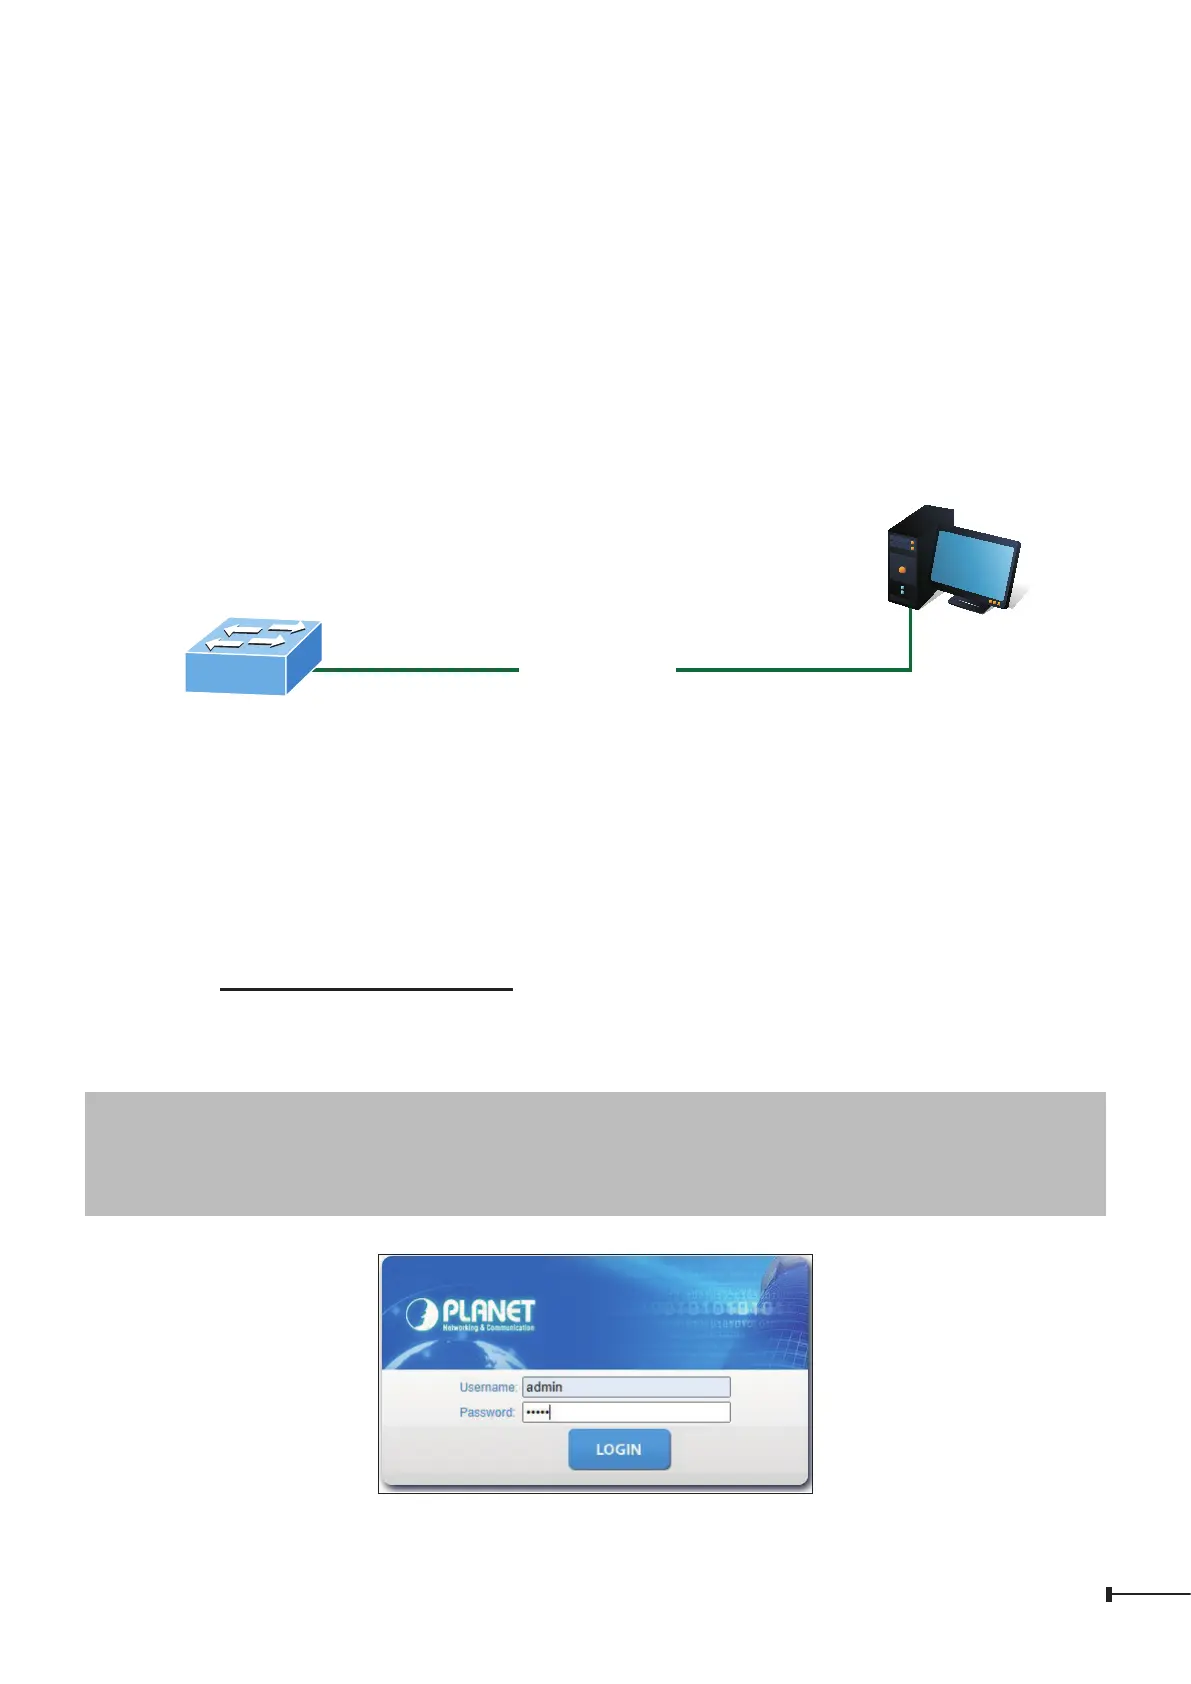
PC / Workstation
with Web Browser
192.168.0.x
Managed Switch
RJ45/UTP Cable
IP Address: 192.168.0.100
Figure 3-1: IP Management Diagram
3.1 Logging in to the Managed Switch
The following web screen is based on the rmware version before April 2024.
1. Use your preferred web browser such as Chrome, Edge, Firefox, etc. and enter IP
address https://192.168.0.100 to access the Web interface.
2. When the following dialog box appears, please enter the default user name and
password “admin”. The login screen in Figure 3-2 appears.
Default IP Address: 192.168.0.100
Default Username: admin
Default Password: admin
Figure 3-2: Login Screen
 Loading...