OPERATING INSTRUCTIONS
MAKE SURE THAT THE GAS IS TURNED ON AT THE CYLINDER. IT IS
RECOMMENDED THAT A SPARK IGNITION DEVICE IS USED RATHER THAN A
NAKED FLAME.
All burners are fitted with a Flame Failure Safety Shut Off Device (FFD). In the event of the
flame being extinguished the gas supply will be cut off to the burner.
The flame should be blue although it may have some yellow tipping. The flame height
should be level and stable.
Certain models are fitted with an electronic ignition system. This uses 1 x LR6 (AA) size
battery. The battery holder is located beneath the spillage tray at the rear of the unit, on the
right hand side. The battery should be checked at regular intervals to ensure their condition.
To activate this system push in the button on the front of the facia marked with a star. The
ignition device should not be operated for more than 15 seconds. If after this time the burner
has not lit, turn off the gas (and for the oven open the oven door) than wait for at least one
minute before attempting further ignition of the burner.
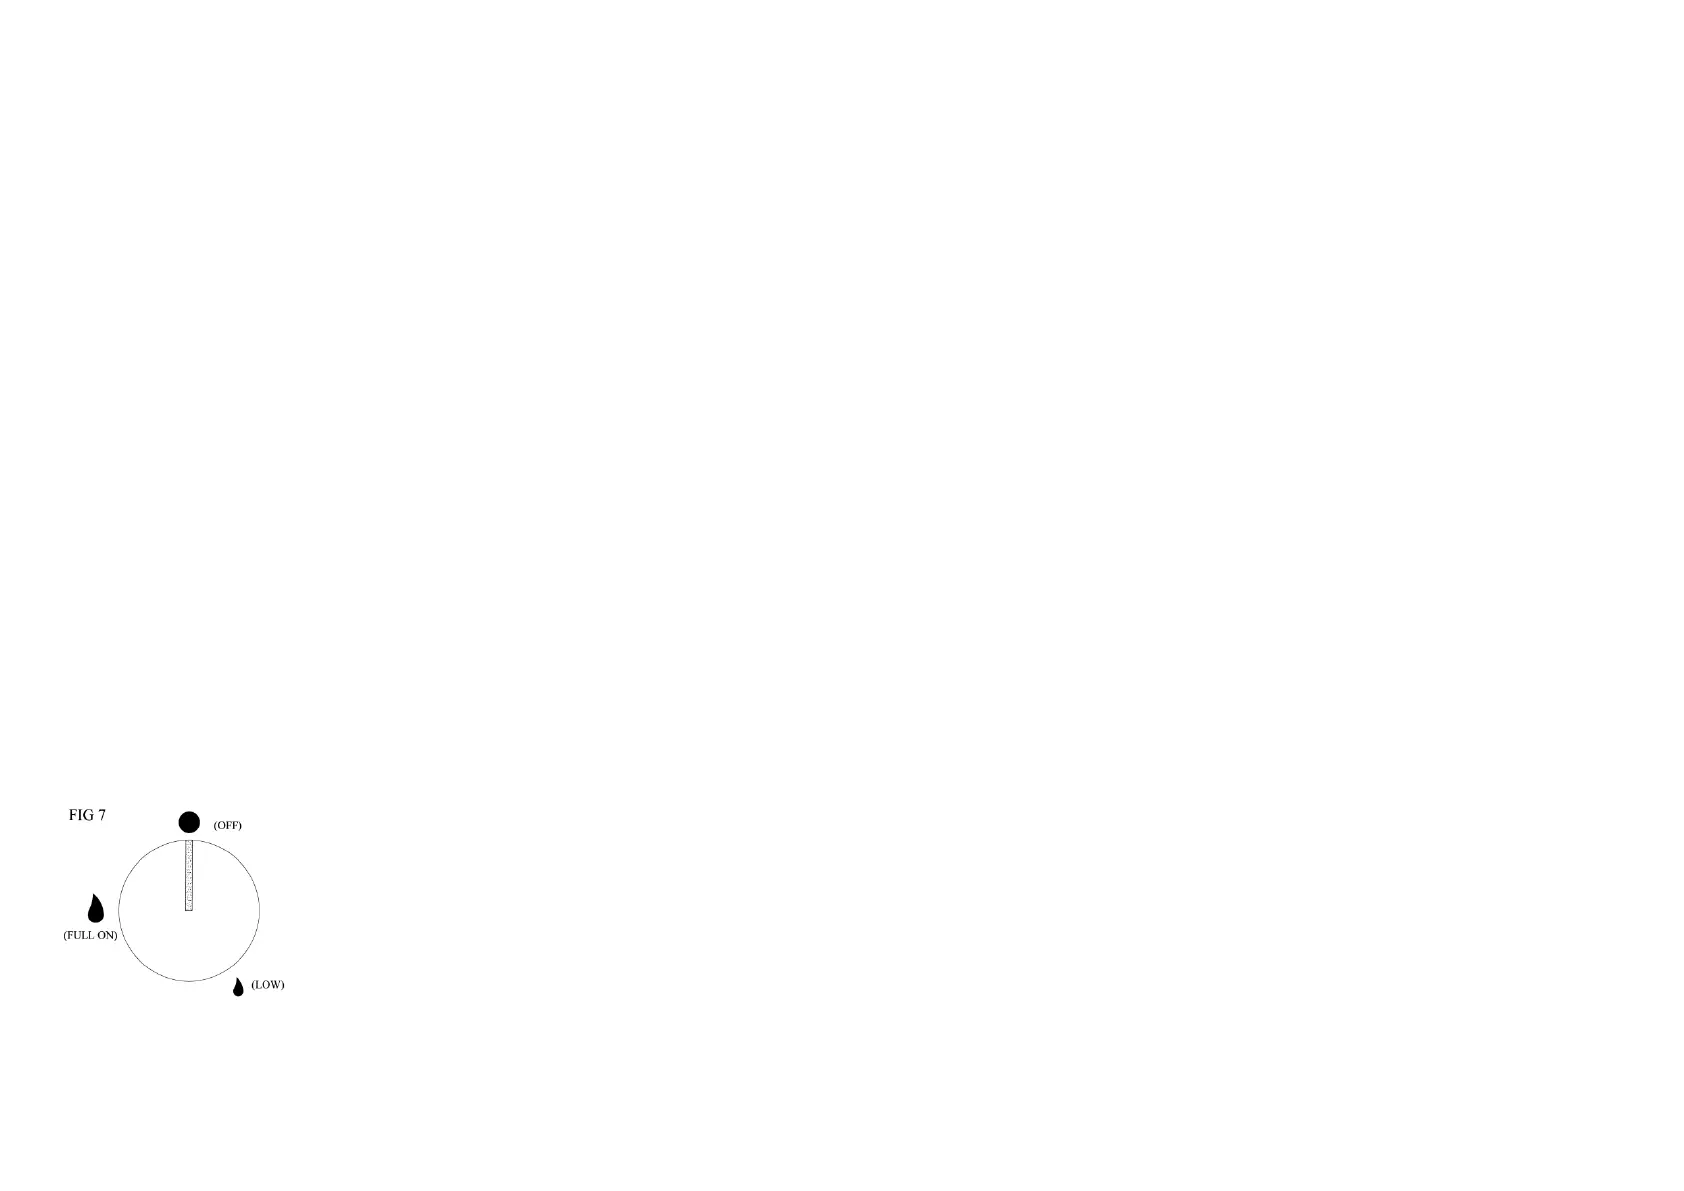
To light a burner push in the appropriate knob, rotate anti-clockwise to the full on position
(the large flame symbol (FIG 7), setting 9 for the oven valve) and apply a spark to the
burner. It should light immediately, but continue to hold the knob in for a further 15
seconds. If the burner goes out when the knob is released repeat the procedure but hold the
knob in for longer before releasing. The tap can then be rotated to the desired setting (high
through to low). If any of the burners on the appliance are found to have become
extinguished then the valve must be switched off and the unit left for a period of 1 minute to
allow any unburned gases to escape, before attempting to re-light the burner. If the oven
burner has been extinguished the oven door should be opened as well.
To turn off the gas, rotate the knob clockwise until you reach the off position
(the symbol vertically above the knob).
The use of a gas cooking appliance results in the
production of heat and moisture in the room in which it
is installed. Ensure that the kitchen is well ventilated;
keep natural ventilation holes open or install a
mechanical ventilation device (mechanical extractor
hood). Prolonged intensive use of this appliance may call
for additional ventilation, for example the opening of a
window, or more effective ventilation, for example
increasing the level of mechanical ventilation where
present.
HOBS
Any required setting between full and low/simmer can be obtained by positioning the knob
between these two settings. The hob burners are suitable for pan sizes ranging from 10 cm
to 22 cm base diameter (4" to 8½").
GRILL
It is recommended that an oven glove is used when using the grill as the grill pan handle
may become hot if the pan is placed too far under the grill. For maximum efficiency place
the pan about 30 mm from the front edge of the grill compartment base. It is not necessary to
preheat the grill but if a preheat period is used the empty grill pan should be placed under the
grill to protect the grill base.
The grill pan trivet is reversible giving a choice of two grilling heights.
OVEN
The best results will be obtained by pre-heating the oven for about 15/20 minutes at the
required gas setting. The tap has 9 marked settings which correspond to the temperature
given below. Intermediate temperatures can be obtained by turning the knob to the
appropriate setting.
The oven will cook a wide range of food from a rich fruit cake, using a low setting to bread
or Yorkshire pudding using the higher settings.
Position 1 110°C
Position 2 125°C
Position 3 140°C
Position 4 155°C
Position 5 170°C
Position 6 195°C
Position 7 210°C
Position 8 225°C
Position 9 240°C
 Loading...