20
Step 7
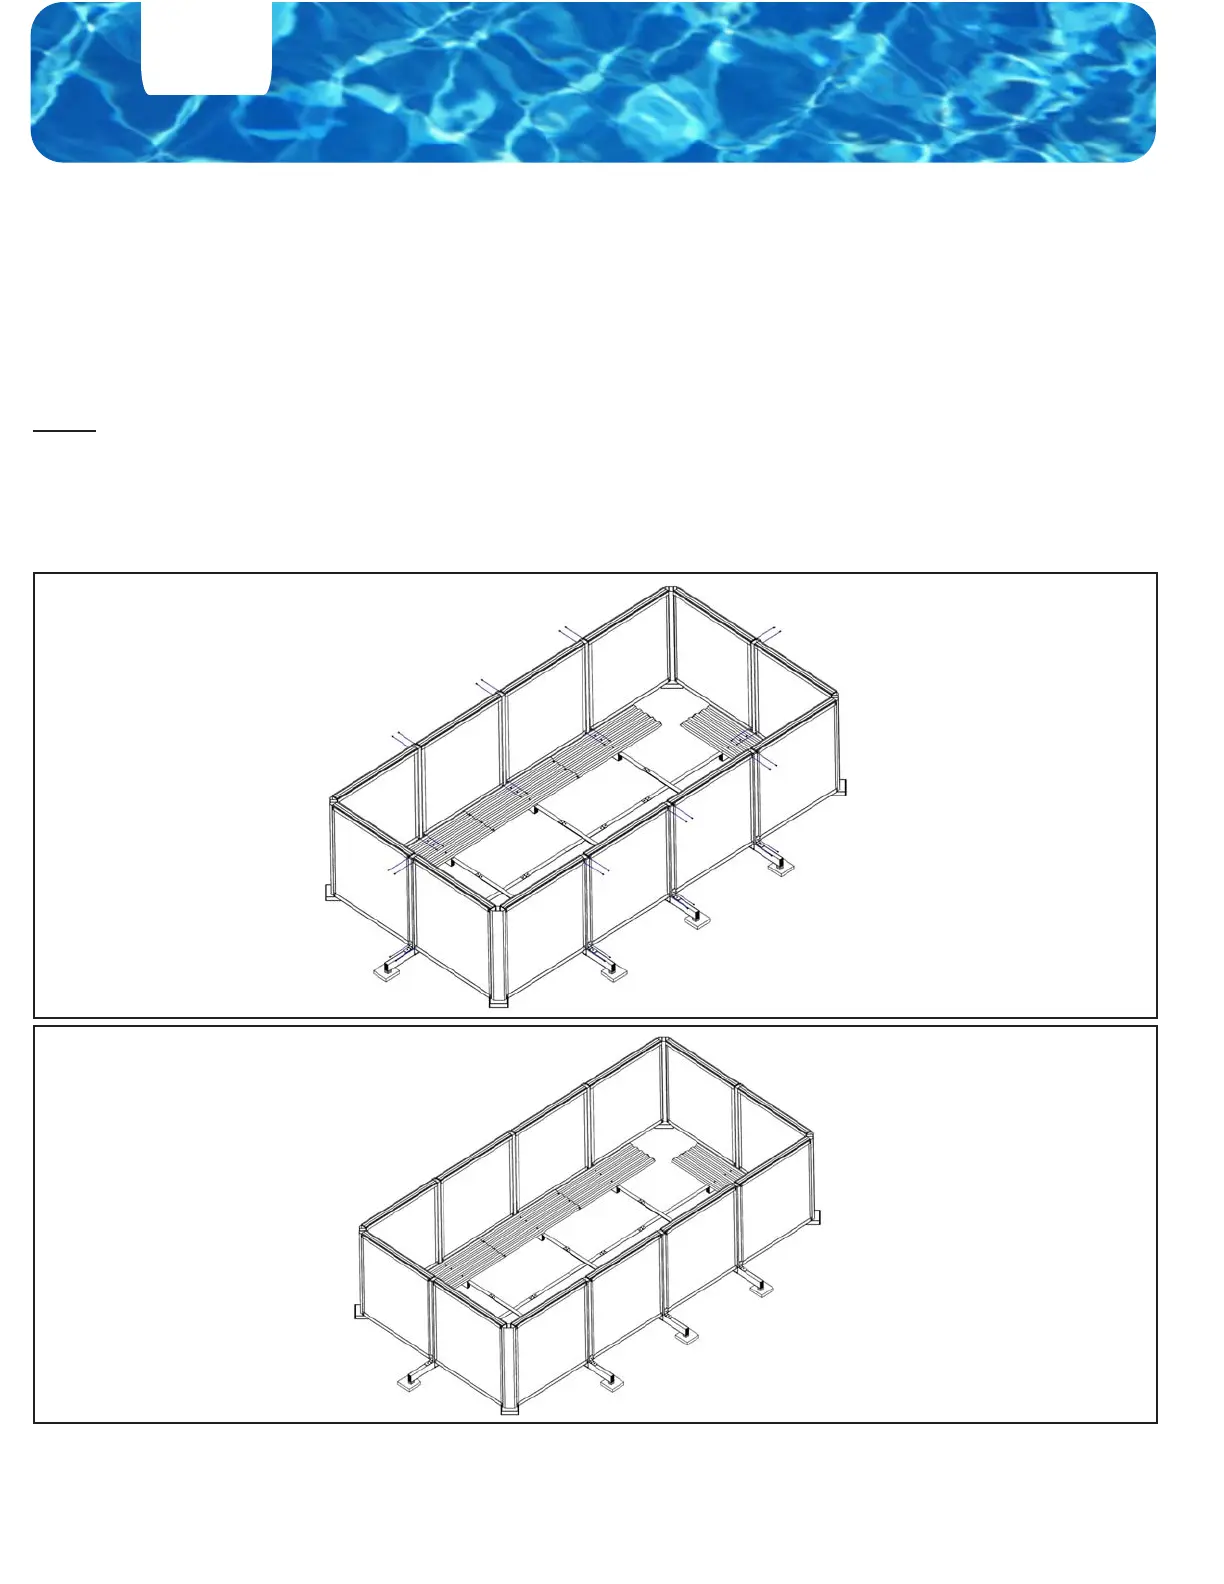
Final Assembling All Middle Sections:
• Recheck all levels and squareness of the pool, making sure that all of the Wall Panels are exactly
squared o and the same height level with each other.
• Screw the other six 1” self-tapping screws into the lower openings through two Top Ledges and two
Bottom Channels into one Buttress Post and two Wall Panels to nally and rmly attach a middle
section as pictured below.
Note: Screws for the Top Ledges should be located only on the outer/dry side of the pool. Before
screwing for easier screwing, please pre-drill all the necessary openings by using a 1/8” drill bit through
the factory pre-drilled ¼” openings.
• Use the holes located on the Top Ledge and Bottom Channel as your guide.
• Further, repeat this process for all the Middle Sections.
• en, nally thoroughly recheck all levels and squareness of the pool again, making sure that all of
the Wall Panels are exactly squared o and the same height level with each other.
• NEXT, NOW, AT THIS POINT, GO BACK AND VISUALLY AND BY TOUCH CHECK THE
TIGHTNESS OF ALL THE SCREWS OF THE ENTIRE POOL.
 Loading...