Burn Setup
To maximize disc burning quality, we recommend you to configure disc burning settings before
you start writing data on the disc. These settings will be reset every time you turn off the device.
Data Verification
With this feature, the drive will automatically compare data after disc burning is complete to
ensure that the data backup is performed correctly.
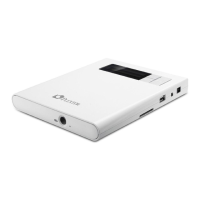
Connect the AC/DC adapter and turn on the drive.1.
Press the 2. Eject button to eject the tray and then place the disc on the tray.
Close the disc tray.3.
Plug in a USB drive to the USB port of the drive or insert a memory card into the memory 4.
card slot.
Press 5.
repeatedly to select “2. Burn Setup” and press to enter the Burn Setup menu.
Select “6. 1. Data Verify:N” and press
to enter the submenu.
To enable data verification, press 7.
to select “Yes” and press to confirm the selection.
An n icon appears on “Yes”.
Press 8.
repeatedly to return to the main screen.
Closing Disc
With this feature, you can enable multi-session recording and utilize the entire disc without
wasting any disc space.
Connect the AC/DC adapter and turn on the drive.1.
Press the 2. Eject button to eject the tray and then place the disc on the tray.
Close the disc tray.3.
Plug in a USB drive to the USB port of the drive or insert a memory card into the memory 4.
card slot.
Press 5.
repeatedly to select “2. Burn Setup” and press to enter the Burn Setup menu.
Press 6.
repeatedly to select “2. Close Disc:N” and press to enter the submenu.
To enable multi-session recording, press 7.
to select “Yes” and press to confirm the
selection. An n icon appears on “Yes”.
Note:
If this feature is disabled, the disc will be closed after disc burning is complete.
Press 8. repeatedly to return to the main screen.
 Loading...