3
To remove:
Rotate the thumbwheels (A) clockwise to
remove the film back.
To attach:
1. Align the left edge of the film back under the
two tabs on the camera.
2. Rotate the thumbwheels counterclockwise to
secure the back.
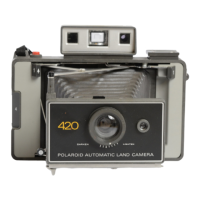
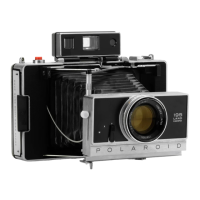
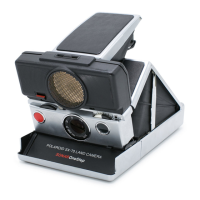
Removing and Attaching the Film Back
English
Taking Pictures
1. Mount the camera on a tripod.
2. Attach the electronic flash to the mount on top of
the camera. If using a separate flash, attach its cable
to the X-sync flash socket on the front of the camera.
Note: We recommend the use of Polaroid Flash
MP485 (part number 616593). Contact your dealer
for more information.
3. Attach a film back to the back of the camera and
remove the dark slide.
Note: For additional camera backs, order the
Pro Accessory Back (part number 624066).
Contact your dealer for more information
4. Position the camera 1.2 m (4 feet) from the subject.
5. Frame the subject in the viewfinder.
6. As a starting point, set the lens aperture
control to 16. If the picture is too light or too dark,
see the section Adjusting Exposure.
7. Lift the shutter-cocking lever up.
8. Press the shutter release to take the picture.
 Loading...