14
CAUTION: Do not attempt to pocket cut thin materials (
1
/2" to
5
/8"
thick), without using a shim. The bit could hit the clamp causing
personal injury and damage to machine.
CAUTION: Switch machine OFF, disconnect from power source,
and make sure all rotation has stopped before making adjustments.
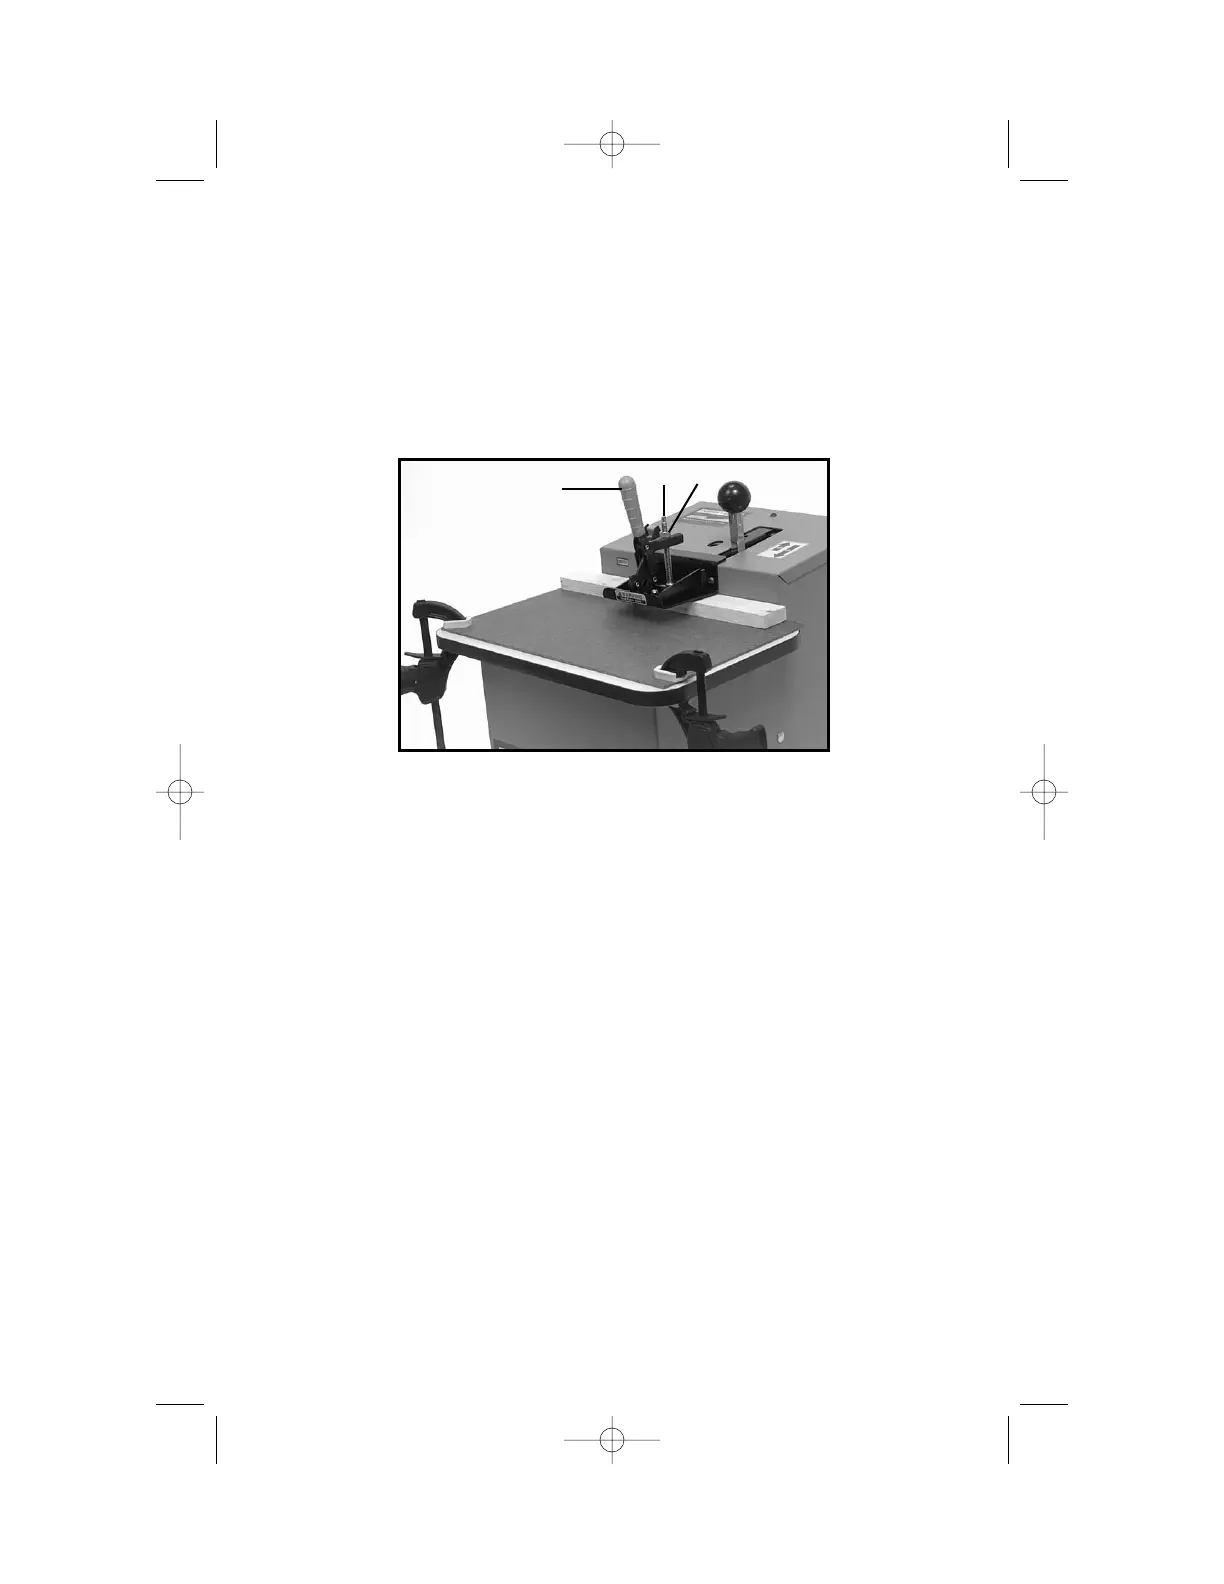
1. Place workpiece under open work clamp (see Fig. 18).
2. Close work clamp by pushing forward firmly on the lever (A) Fig. 18.
3. Pull on workpiece to determine if it is held securely.
If adjustment is required:
4. Loosen the jam nut (B) Fig. 18, by turning counterclockwise.
5. Adjust clamp:
To loosen clamp, turn clamp screw assembly (C) Fig. 18, counterclockwise.
To tighten clamp, turn clamp screw assembly (C) Fig. 18, clockwise.
As you turn the clamp screw: open and close the clamp (against the
workpiece), to determine when the adjustment is correct.
6. Hold the clamp screw while you tighten the jam nut (to lock the
adjustment in this position).
7. Repeat steps 1 through 6 until the workpiece is held securely.
TO MAKE A POCKET CUT
1. Determine the desired location of the pocket(s), and mark location(s) on
the face side of the workpiece.
CAUTION: Do not attempt to cut a workpiece that is smaller than
1
/2" thick, or 1
1
/2" wide, or 1
1
/2" long. A smaller workpiece will not be
properly held by the work clamp: the workpiece could be ejected
from the machine causing personal injury.
2. Place the workpiece into the machine, face side up, aligning the mark
on the workpiece with the center notch (A) Fig. 19, on the machine, and
seating the work firmly against the fence.
NOTE: There are three notches on the machine. The center notch
indicates the position of the drill and pocket cutting bits. The other
two notches are positioned
3
/8" to each side of the center notch.
These notches can be used to center two pocket cuts on a rail (or
similar workpiece). Mark the center line of the workpiece. Make two
pocket cuts: one cut aligning the mark with the left notch and one
Fig. 18
A
C
B