17
viewed in Fig. 24). Counterclockwise rotation of the screw will move the
pocket to the left (as viewed in Fig. 24).
8. Tighten jam nut (by hand) to lock adjusting screw.
9. Make a test cut (see TO MAKE A POCKET CUT), to verify alignment.
Repeat alignment process if necessary.
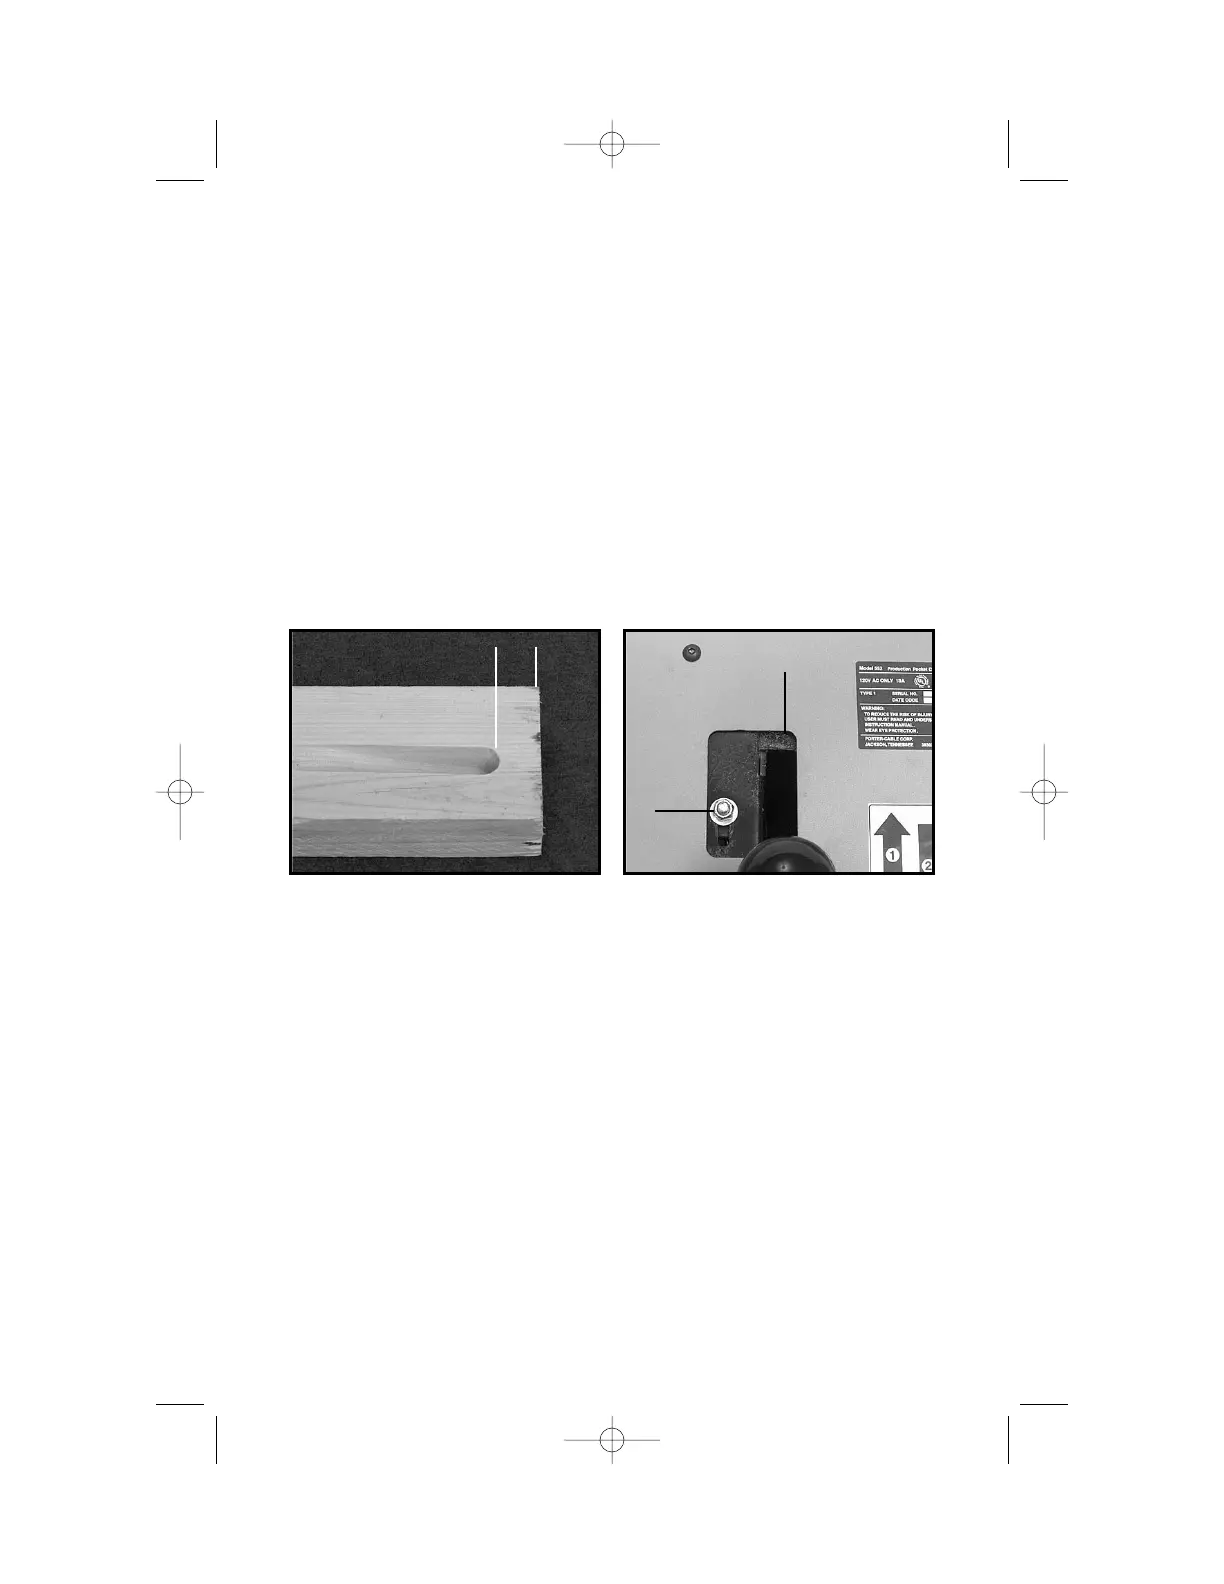
DISTANCE BETWEEN POCKET AND EDGE OF MATERIAL:
CAUTION: Disconnect machine from power circuit before making
any adjustments.
1. Determine amount and direction of adjustment required:
Move the rear stop (B) Fig. 28, toward the rear of the machine to reduce
dimension (A) Fig. 27. Move the rear stop toward the front of the
machine to increase dimension (A) Fig. 27. Move the rear stop 1
1
/2 times
as far as the desired change to workpiece.
2. Use
7
/
16" wrench to loosen lock nut (A) Fig. 28.
3. Move rear stop as required, and re-tighten lock nut.
4. Make a test cut (see TO MAKE A POCKET CUT), to verify correction.
Repeat adjustment process if necessary.
MAINTENANCE
KEEP TOOL CLEAN
Periodically blow out all air passages with dry compressed air. All plastic
parts should be cleaned with a soft damp cloth. NEVER use solvents to
clean plastic parts. They could possibly dissolve or otherwise damage the
material.
CAUTION: Wear safety glasses while using compressed air.
FAILURE TO START
Should your tool fail to start, check to make sure the prongs on the cord
plug are making good contact in the outlet. Also, check for blown fuses or
open circuit breakers in the line.
A
➔
➔
A
B
Fig. 27 Fig. 28