Do you have a question about the Potensic F186 DH and is the answer not in the manual?
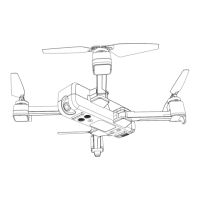
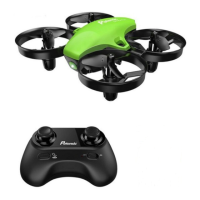
Identifies and labels the main components of the drone and controller.
Steps to establish communication between the drone and controller for flight.
Key operational tips and checks before commencing flight.
Procedure to reset drone sensors for stable hovering.
How to control lateral movement of the drone.
How to control vertical movement of the drone.
How to control the drone's yaw (rotation).
How to control the drone's longitudinal movement.
Fine-tunes the drone's heading to correct sideways drift.
Fine-tunes the drone's forward/backward movement to correct drift.
Steps to initiate flight after pairing.
Standard procedure for bringing the drone down safely.
Automated landing function.
Emergency landing procedure.
Instructions for installing F181 model propeller blades.
Instructions for installing F186 model propeller blades.
This document describes the Potensic drone, a toy-grade quadcopter designed for users aged 14 and above. It emphasizes the need for careful operation and adherence to safety guidelines, noting that while it's a toy, it requires skill to control. Potensic disclaims liability for accidents caused by improper operation.
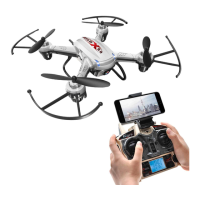
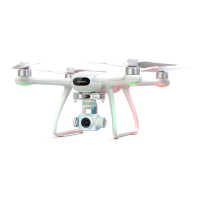
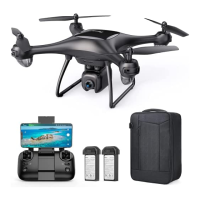
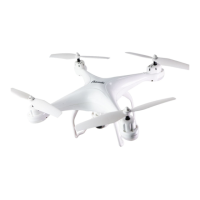
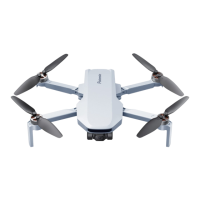
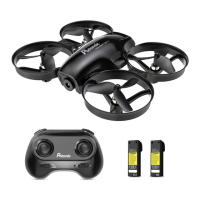
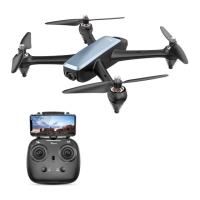
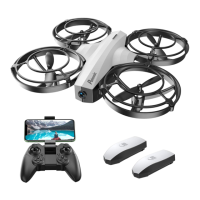
The Potensic drone is a remote-controlled quadcopter capable of flight and aerial photography/videography. It features a color shell and protective cover, with four blades driven by motors. The drone is controlled via a transmitter that includes various sticks and buttons for flight maneuvers, camera control, and mode adjustments.
The drone is equipped with a camera for aerial photography and videography.
The manual provides a comprehensive troubleshooting table for common issues: