Do you have a question about the pottery barn kids PLAYHOUSE LOFT BED and is the answer not in the manual?
| Brand | pottery barn kids |
|---|---|
| Model | PLAYHOUSE LOFT BED |
| Category | Baby & Toddler Furniture |
| Language | English |
Key safety warnings to prevent serious injury or death, including entrapment and fall hazards.
Warning against attaching items not designed for the bunk bed, posing a strangulation risk.
Crucial safety guidelines to follow before and during the assembly process for user safety.
Steps for preparing the workspace and identifying all parts and hardware before beginning assembly.
List of all included parts and necessary tools required for the assembly of the bunk bed.
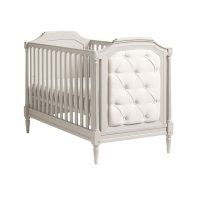
Attaching the front guardrail (C) to the side panels (I & H) using specified hardware.
Securing the roof component (F) to the front guardrail (C) with the designated bolts and washers.
Connecting the middle panel (G) to the front guardrail (C) using the specified hardware.
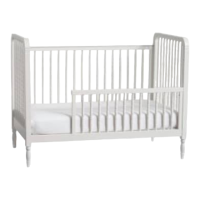
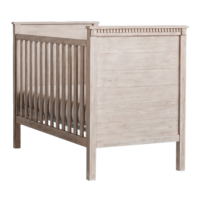
Connecting the headboard (A) and footboard (B) to the back guardrail (D) and bottom rail (E).
Connecting the pre-assembled front gate structure to the main bed frame components.
Ensuring proper alignment and fully tightening all bolts after attaching the front gate.
Securing the slat roll (J) onto the bed frames using screws (S) for mattress support.
Adjusting the leveling feet on the bottom of the unit to ensure the bed is stable and level.
Guidelines for dusting, cleaning spills, and maintaining the furniture's finish and hardware tightness.