Do you have a question about the pottery barn kids EMERSON and is the answer not in the manual?
Warnings about crib use, child height, cords, blind cords, mattress size, and soft bedding.
Instructions for safe assembly, preventing strangulation, fall hazards, and regular checks.
Specifies the minimum and maximum dimensions for crib mattresses for safety.
Guidance on reading instructions, assembly assistance, hardware, and pre-assembly checks.
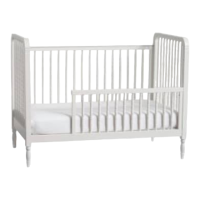
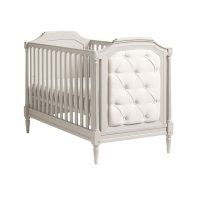
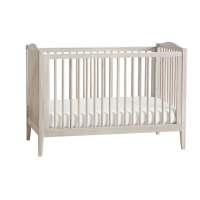
Lists and illustrates the main parts of the crib: ends, sides, and mattress base.
Details all bolts, washers, and brackets included for assembly, with quantities.
Identifies the necessary tools for assembling the crib, like an Allen key.
Attaching crib brackets to the mattress base using specific bolts and an Allen key.
Connecting crib sides to crib ends using bolts and washers, with initial partial tightening.
Positioning and attaching the mattress base to the crib ends at the desired height using specific bolts.
Connecting the second crib side to the crib ends using bolts for structural completion.
Inserting and tightening bolts and washers to secure the crib sides to the frame.
Turning the crib upright and confirming all assembly steps are complete.
Guidelines for cleaning, using appropriate cleansers, and storing the crib.
Instructions on checking fasteners, ensuring secure assembly, and maintaining a safe environment.
| Material | Wood |
|---|---|
| Converts to Toddler Bed | Yes |
| Converts to Full Bed | Yes |
| Adjustable Mattress Height | Yes |
| Convertible | Yes |
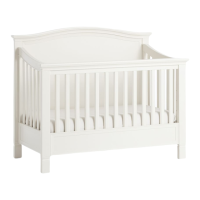
| Product Type | Crib |
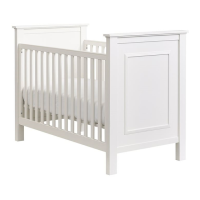
| Color | White |
| Mattress Size | Standard crib mattress (sold separately) |
| Convertible Options | Toddler Bed |
| Warranty | 1-year limited warranty |