Introduction:
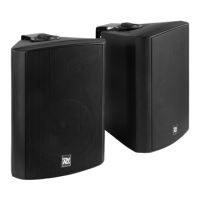
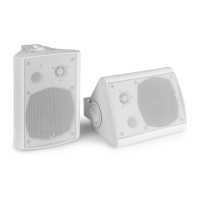
This active studio monitor speaker has a perfect response with a very natural and transparent
sound image. These speakers are bi-amplified and have an integrated electronic crossover
for a better Signal to Noise Ratio and lower Total Harmonic and Intermodulation
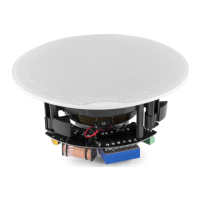
Distortion. These magnetic shielded monitors are professionally designed and equipped
with an Aramid Kevlar woofer and a Ribbon Tweeter.
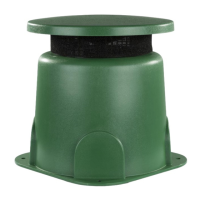
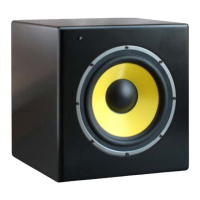
The active studio subwoofer has a perfect bass response and is a good addition to the
integration with your system. This magnetic shielded subwoofer is professionally designed and
equipped with a high excursion Aramid Kevlar woofer. The round shaped corners and bass-
reflex port ensure a better sound projection.
Important information before use:
• Do not place this product on an unstable cart, stand, tripod, bracket or anything else.
The product may fall, causing serious damage to the product. Any mounting of the
product should be done according to the manufacturer’s instructions.
• Make sure the heat sink’s ventilation slots and openings in the cabinet are not
obstructed to ensure a continuous airflow. This enables reliable operation of the product
and protects it from overheating.
• Be sure the required voltage for the amplifier complies with the local voltage of the main
Circuit, nl 220-240Vac/50Hz.
• These speakers are easily capable of generating sound pressure levels (SPL) sufficient
to cause permanent hearing damage. Caution should be taken to avoid prolonged exposure to
SPL in excess of 85 dB.
Level controls:
• With the volume control it’s possible to adjust the input sensitivity, turn left for decreasing
the input sensitivity and turn right for increasing the input sensitivity.
• Use the HF adjuster for high frequency adjustment, turn left for decreasing high
frequencies and turn right for increasing high frequencies.
Connecting your system:
• Make sure your complete system is turned off and all faders and controls should be set
at their minimum before connecting the speakers.
• Use the correct cables for your speaker system.
• After all the connections are made, you are able to turn on the system.
Speaker positioning:
The speakers have to be placed well into the room in order to maximize the delay of
reflections and to remove their effects from the sphere of spatial perception.
The perfect and most effective distance lies between 85 cm (33 inch) and 1.5 m (5 ft) -
depending on the listener‘s position. However, you can also obtain very good results at a
distance of 70 cm (28 inch). An easy way to home in on the right distance is to sit down in
the listening seat and ask a friend to hold up a mirror and move it along the wall. As soon
as you see the speaker in the mirror, you know where the acoustic reflection comes from. Now
measure the distance between the speaker and mirror, and mirror and listening seat, then
subtract the distance between the speaker and listening seat. You will see from the
result whether you are above or below the critical distance of 1.7 m (5.6 ft).
If you are well below this value, you can try to dampen or diffuse critical room resonances
in order to reduce their effects. In the case of dampening critical resonances, part of the
energy is destroyed by friction. For instance, heavy fabrics can be hung a few centimeters
from the wall which dampen the reflections. If you want to go a step further, you can
even use special dampening material. In this case we recommend that you use the heavy
fabrics. We can assure you that an area of 1 m (3.3 ft) height and 0.5 m (1.6 ft) width put
on the reflection point may produce astounding results. In the case of diffusing critical
 Loading...