Hardware connections
. PlayStation 4 console platform
. PlayStation 3 console platform
. Xbox One console platform
. XBox 360 console platform
. Windows PC platform
. Venom-X4 mouse
. Venom-X4 firmware upgrade
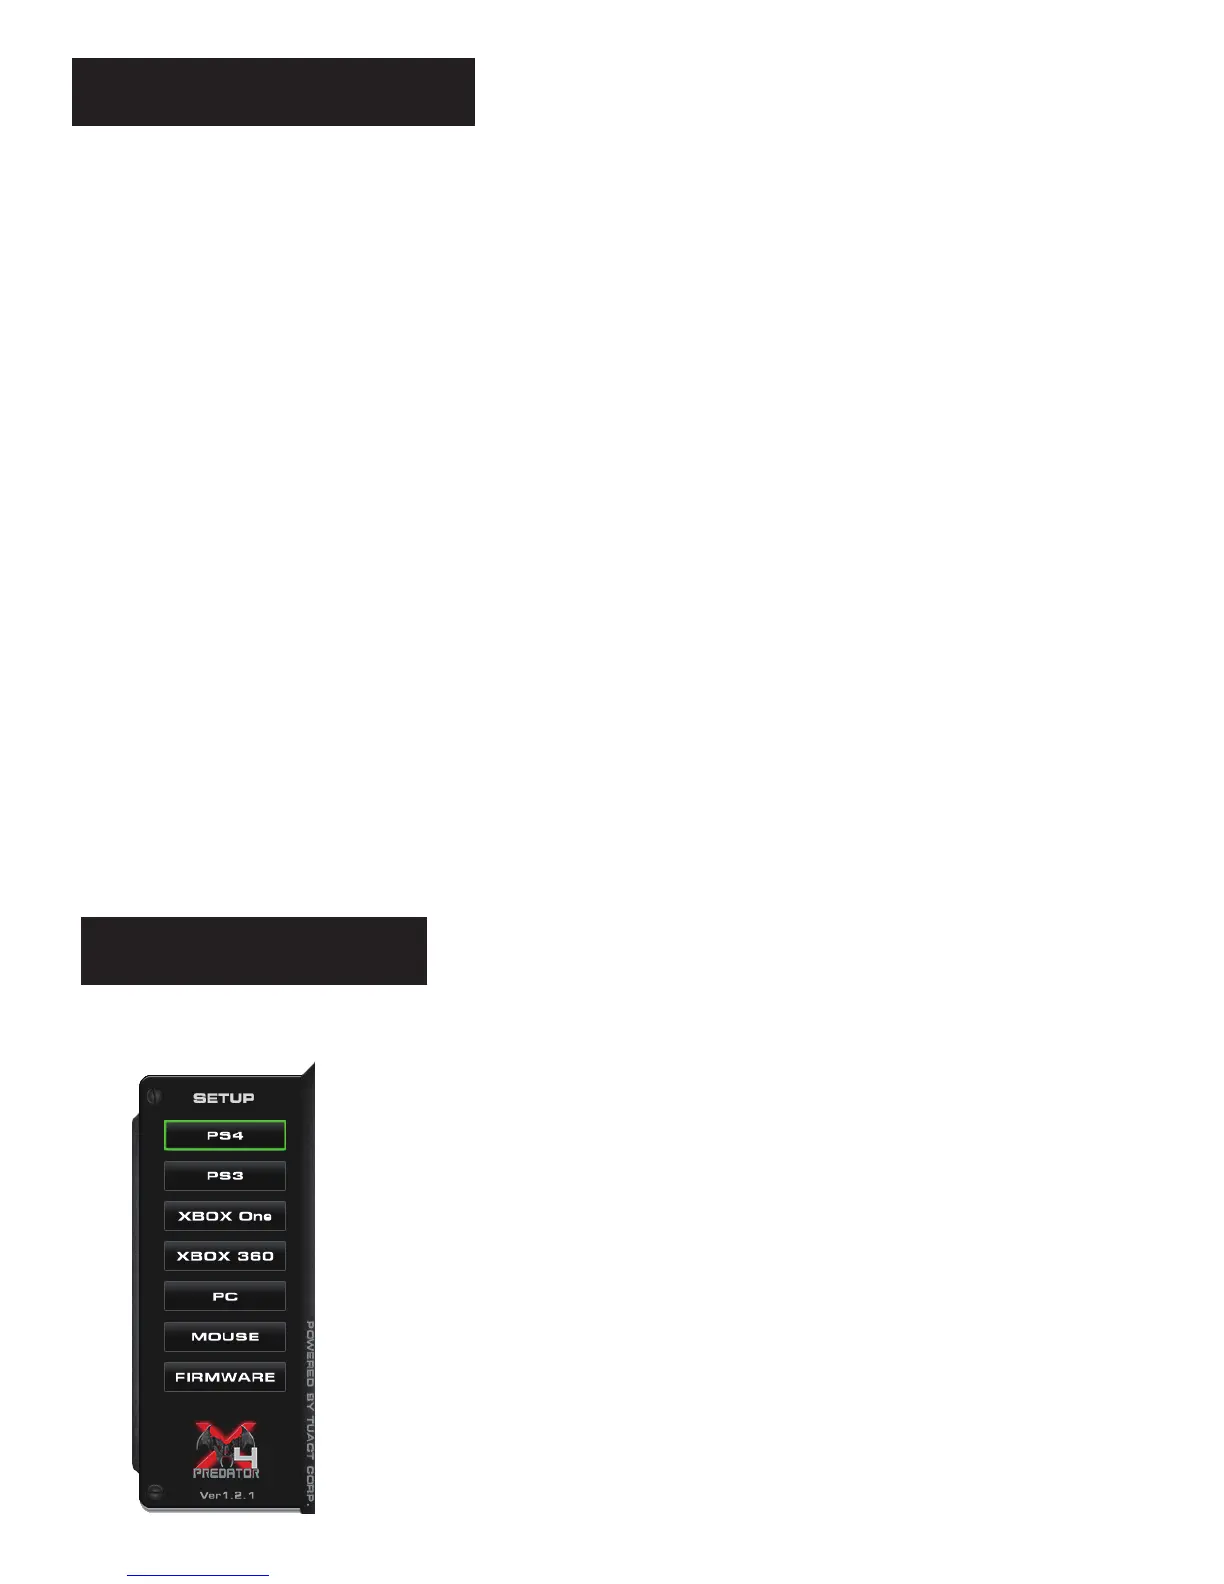
Main menu buttons
There are 7 buttons for the following setup selections:
Before you start to run the setup software the first time, you need to connect your Venom-X4
Transceiver and Mouse to your computer (in PC mode), this would allow your PC to install the
driver for them. Your system would identify the Venom-X4 Transceiver and the Mouse, then
install drivers for them separately. Please wait for a while until the system prompts that those
devices are working properly.
Setup Venom-X4 Transceiver:
• Make sure there is no controller plugged into the Venom-X4 Transceiver.
• Connect your Venom-X4 Transceiver to one of your PC USB ports with the Micro USB
cable.
Setup Venom-X4 Mouse:
1. Directly connect your Venom-X4 Mouse to your PC USB port .
2. Windows will install drivers for Venom-X4 devices. No special driver is needed on
Windows XP, Win7, Win8 and Win10.
Note: Before you run the Setup software, PLEASE WAIT! until your Windows system
complete the driver installation so that the software can identify the Venom-X4
Transceiver and Mouse.
Tip: Venom-X4 Transceiver and Mouse can be plugged into your PC at the same time
or separately.



 To Next Page