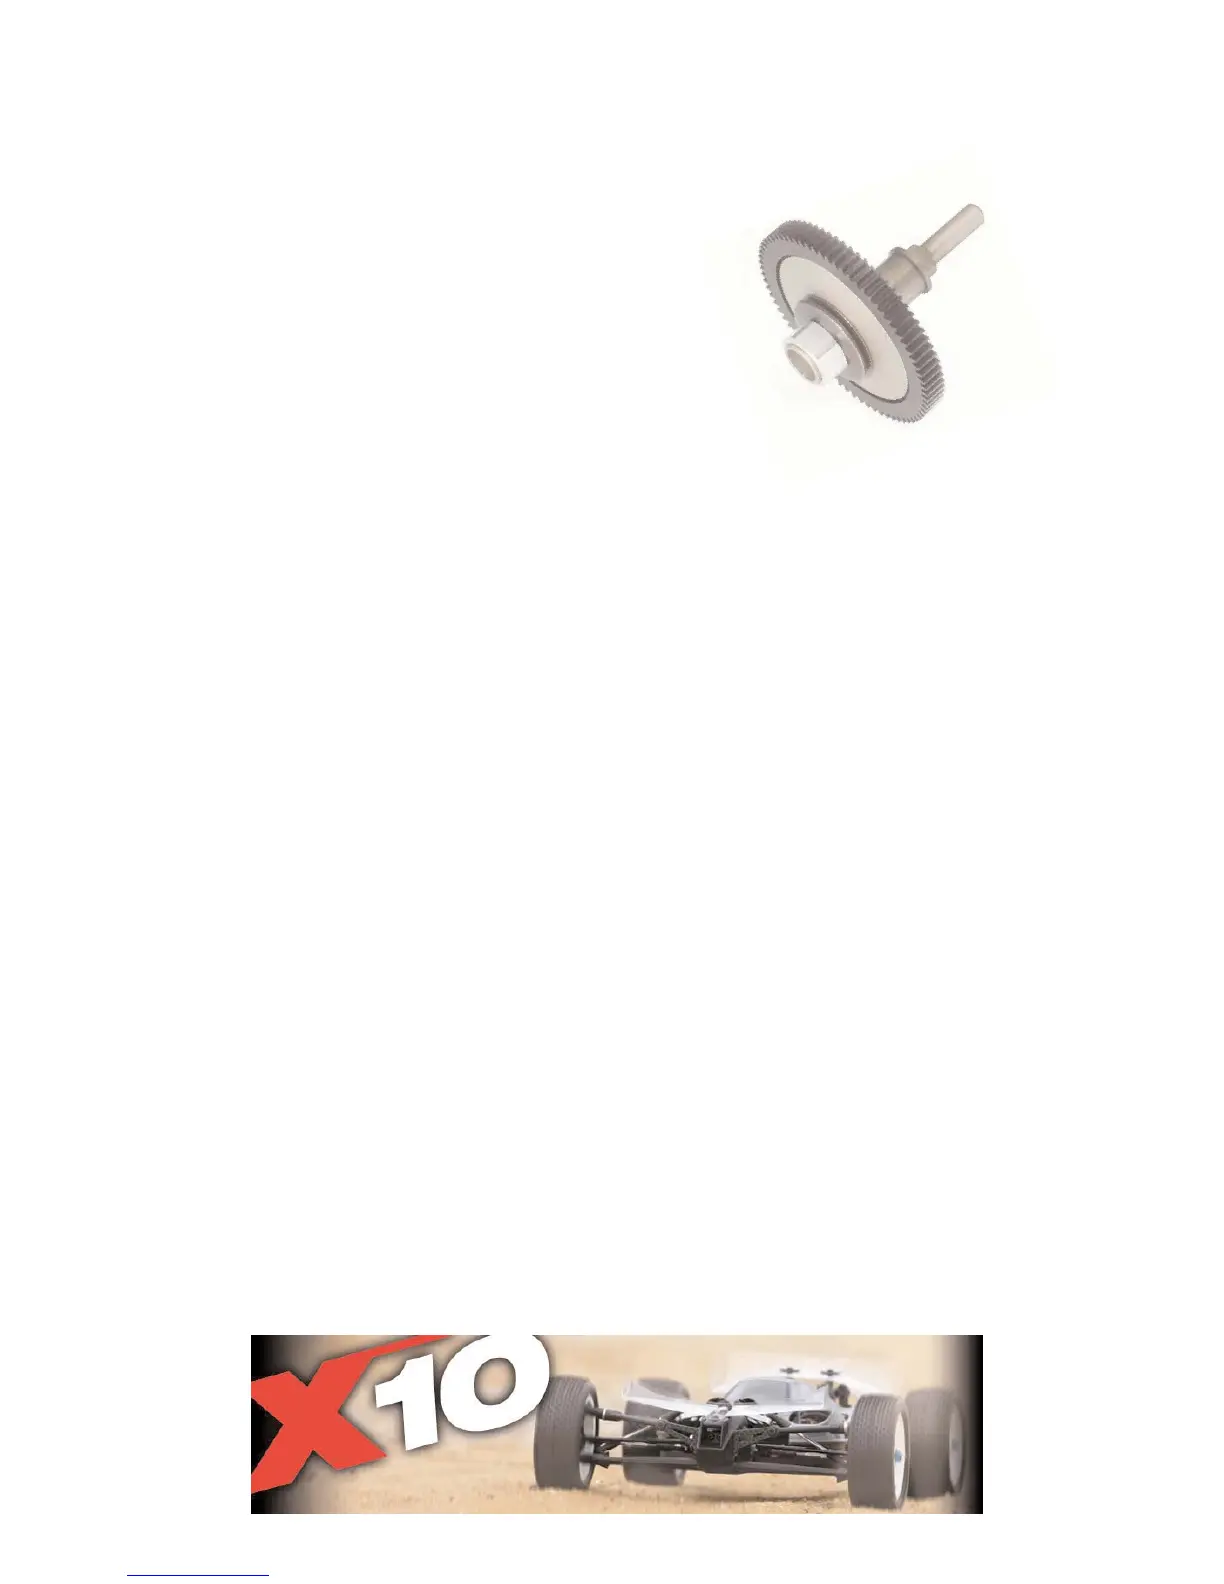
The Slipper Clutch
The slipper clutch is very easy to build as long as you follow the instructions
in the build manual. Although one thing I do prior to building the
slipper clutch is to soak the beville washers in some
cleaning agent, such as white spirits to remove any
residue left over from the manufacturing process.
The slipper clutch though is often overlooked when
setting up your car - once it is set, it is often forgotten
as it does it’s job so well. BUT the slipper clutch is vital
to the longevity of your transmission, and a correctly set
slipper clutch will ensure that the spur gear does not
break, as it absorbs the shocks to the transmission as the car
lands from jumps and bumps whilst racing.
Adjusting The Slipper Clutch
There are a number of ways to do this, but by far the easiest way to adjust your
slipper clutch is to simply place the car on the ground (with it’s wheels and tyres
on), hold the slipper adjusting nut with a suitably sized spanner (or my
preferred method - a pair of long-nosed pliers). To tighten the slipper, roll the car
forwards, and to loosen the slipper roll the car backwards. Easy!
You must remember though - it’s a fine line between having your slipper just right,
and having it too tight. Too tight and you will strip teeth off your spur gear. If in
doubt, it’s best to have it a fraction loose thanhave it too tight.