Random Hints & Tips!
Below are some random hints and build tips taken from www.the-pred.co.uk.
Whilst the tips are no doubt useful, the-pred.co.uk cannot be held responsible for
any damage you do to yourself or your car in carrying out these suggestions.
Drill
the
hole
in the front wishbone for the push rod right through the wishbone
and fit a longer screw that just sticks out of the bottom of the wishbone or
finishes flush with the bottom. This prevents the raised area on the wishbone
breaking away where the screw goes through the wishbone.
If
your
suspension
balls are tight in the plastic ball ends (usually only the M4 "Bullet"
joints, but works with both) squeeze the plastic ball end (with the ball in it) with
a bit pair of pliers BUT BE CAREFUL that the ball doesn't fly out and hit you in
the eye!
The
rear
gearbox
plastic can strip very easily, so this is a modification you can do on
the rear gearbox top.
The (upper) screws that you use to secure the back carbon plate, can be turned
round so the heads are inside the gearbox. You will need to glue them to the inside
of the gearboxtop and you can screw the backplate on with nyloc nuts.
When you need to remove the back, you can just take gearbox top and plate off in
1 piece, and remove as required.
The
motor
disc
can detatch itself from the mount if you hit something hard. You can
cure this by making a small latch to pivot on the screw that attaches the tie rod
to the motor mount. Make the latch so that it traps the motor mount flange and
can be swung out the way to release the disc when you want to access the motor.
Alternatively, you can roughen up the facing edges of the motor disc and clamp to
help with this a little.
I have also exchanged the motor clamp screw with a “socket-head” allen screw to
enable me to get an even tighter clamping force on the motor mount.
To
stop
the
ingress of water and dust into the chassis through the aperture for the
steering link, use a suitable sized rubber grommit to seal the hole. If you apply a
little grease to the inside of the grommit prior to passing the steering link through
there will be no binding in this area.
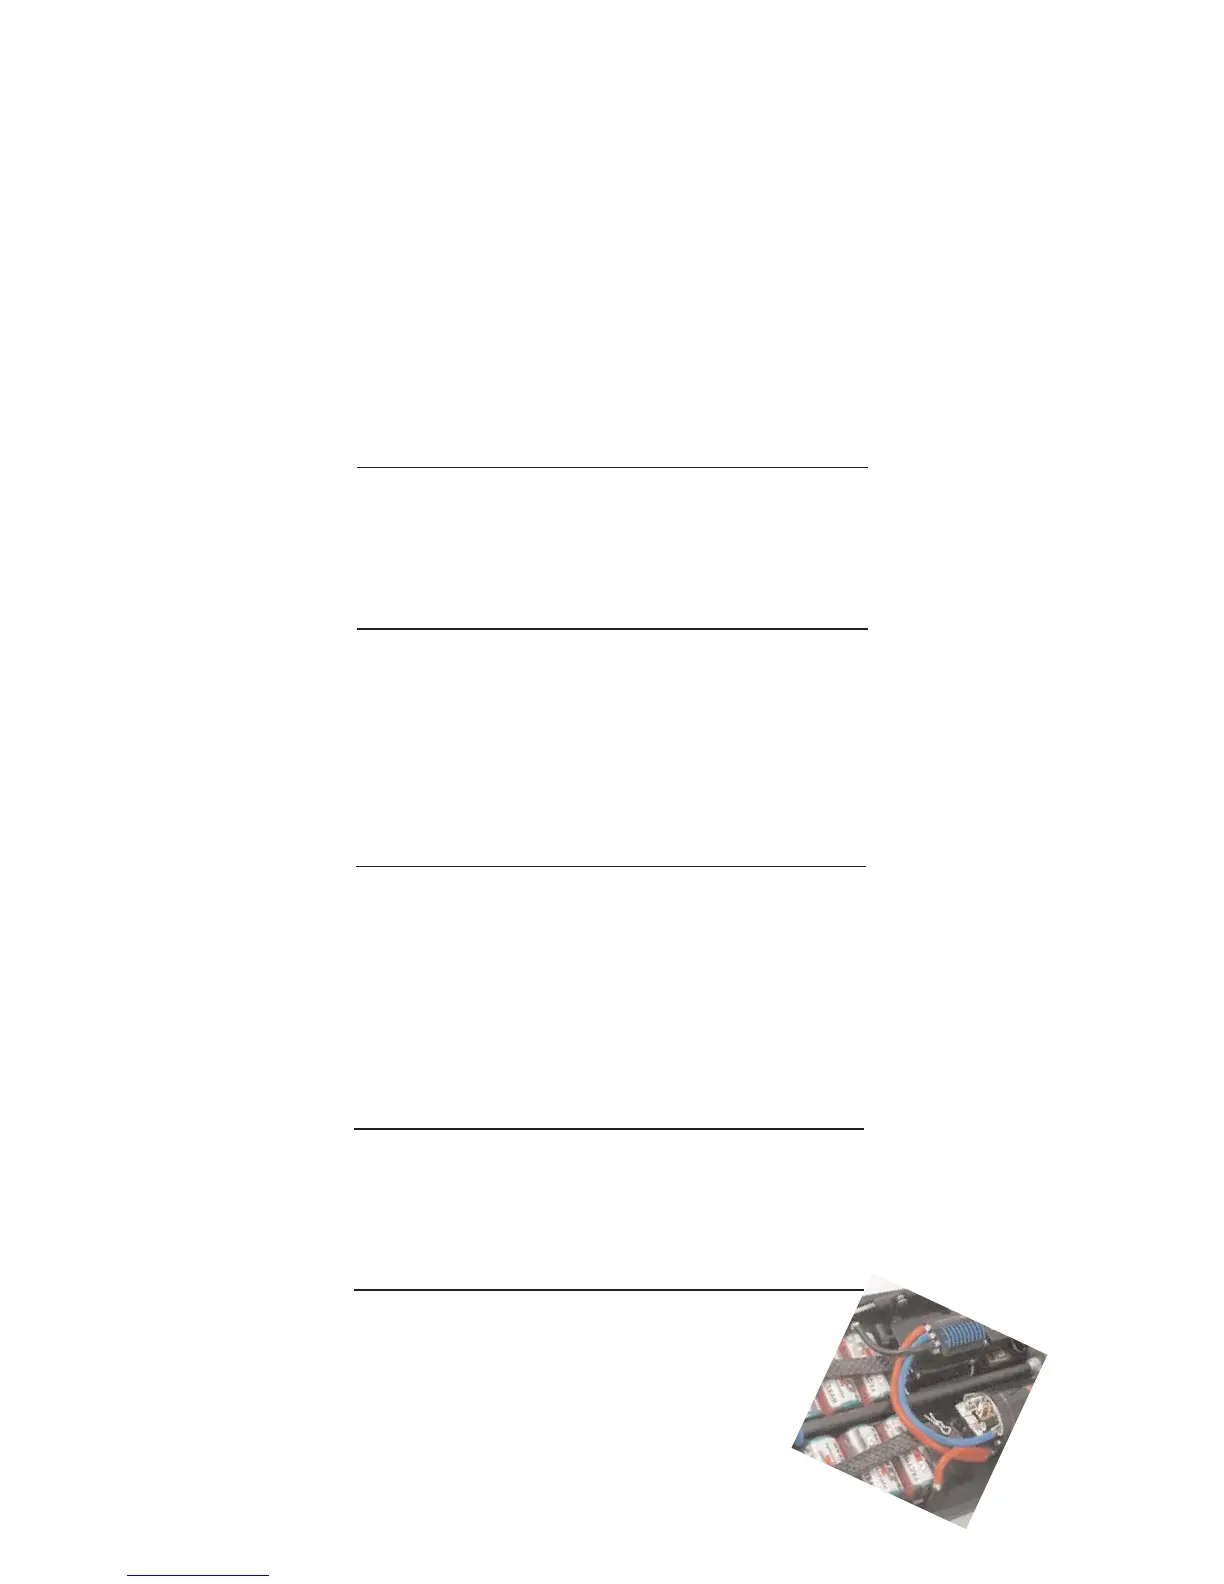
Keep
the
electrical
installation as neat and tidy as possible - keep the
wires as short as possible, and where possible, run the battery
positive wire from the motor to the cells. Don’t forget, it’s easier
to work on the car when everything is in it’s place!
 Loading...