43
Important Cord and Plug Information
A short power supply cord is provided to reduce the risk resulting from becoming entangled in
or tripping over a longer cord. DO NOT USE WITH AN EXTENSION CORD. Do not allow
the power supply cord to run underneath or around the unit. The magnetic cord assembly may
not detach easily if the power supply cord is positioned in this fashion. Connect the power
supply cord to a 120VAC electrical outlet only.
Before First Use
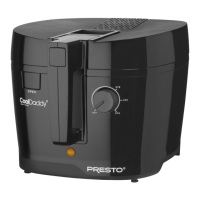
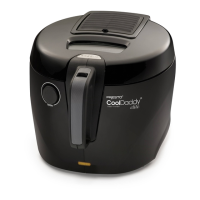
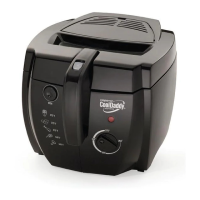
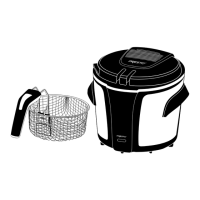
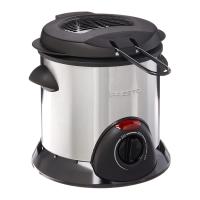
Become familiar with the various parts of the deep fryer (Fig. A) and read the instructions
carefully.
Cleaning before first use
Wipe the fryer cover and cool-touch base with a damp cloth. Never immerse the fryer base
in water or other liquid. Never wash the cover parts or fryer base in a dishwasher.
Open the deep fryer cover by pushing the cover release button on the front of the fryer. Remove
the frying basket, basket handle, charcoal filter, and any packaging material from the deep fryer.
Then lift the removable pot out of the fryer base. Wash both the basket and removable pot in
warm, soapy water; rinse and dry thoroughly. Washing the removable pot in a dishwasher is
not recommended.
NOTICE: If you choose to wash the removable pot in a dishwasher, the exterior of the removable
pot will likely discolor due to the caustic nature of the dishwasher detergent.
Positioning removable pot in fryer base
After cleaning, place the removable pot back in the fryer base. The terminal pins on the bottom
of the removable pot fit in the receptacle inside the fryer base (Fig. B). For easiest alignment,
position the pot in the base so the ▼ on the front of the pot aligns with the front seam of the
unit (Fig. C). Then tilt the pot forward slightly and push
pot down into fryer base. If the cover closes, the pot is
in the correct position.
Installing or replacing removable filter
The charcoal filter, which is located in the cover of the
deep fryer, will help absorb unpleasant odors. For the
deep fryer to effectively absorb these odors, always use
the fryer with the filter in the cover.
To install or replace the filter, first close the fryer cover.
Then, remove the filter cover (Fig. D) by pushing the
release latch towards the window and lift up on the back
of the filter cover.
If replacing an old filter, remove the old filter and
discard. Unwrap new charcoal filter and insert it in the
filter compartment. Replace the filter cover and snap
into place by pushing down. Replacement filters may
be purchased through the Presto Consumer Service
Department (see page 13).
Attaching basket handle to basket
Before using the deep fryer, you will need to attach the
basket handle to the basket. Follow these steps:
1. Hold the basket in one hand and the basket handle
in your other hand. You will be placing the pegs,
which are at the ends of the two basket handle bars,
into the two holes in the basket bracket (Fig. E).
2. While holding the pegs near the peg holes, tilt the
handle inward before attempting to place the pegs
in their holes. You will not be able to fit the second
peg into its hole if the handle bars are positioned
too close to the bracket.
3. Next, place one of the pegs in one of the peg holes.
Then squeeze the handle bars together and fit the
opposite peg in the other peg hole (Fig. F).
4. While squeezing the handle bars together and keep-
ing the pegs in the holes, rotate the handle towards
the basket rim, allowing the handle bars to snap into
the tabs on the basket bracket. The handle is now
in the locked position (Fig. G).
WARNING! Failure to securely attach the basket
handle can result in the release of the basket during
use, which may result in severe burns.
For instructions on positioning basket in fryer, see
step 3 in “To fry” section on page 7.
Magnetic cord
assembly
Removable pot
Cool-touch
fryer base
Adjustable
temperature control
Carrying handle
Fig. A
Frying basket
Indicator light
Removable cover
Cover
release
button
Basket
handle
Basket
lowering
button
Window
Fig. C
Front
Seam
Align ▼ with front seam. Then tilt pot
forward slightly and push pot down into
fryer base.
Terminal pins
Receptacle
Removable pot
Fryer
base
Fig. B
Cover
vents
Filter cover
Charcoal filter
Release latch
Filter
compartment
Fig. D
Window
Fig. E
Fig. G
Tabs
Handle bars
Peg
Peg
hole
Handle
Fig. F
Peg
Handle bar
Basket
bracket
Peg hole
 Loading...
