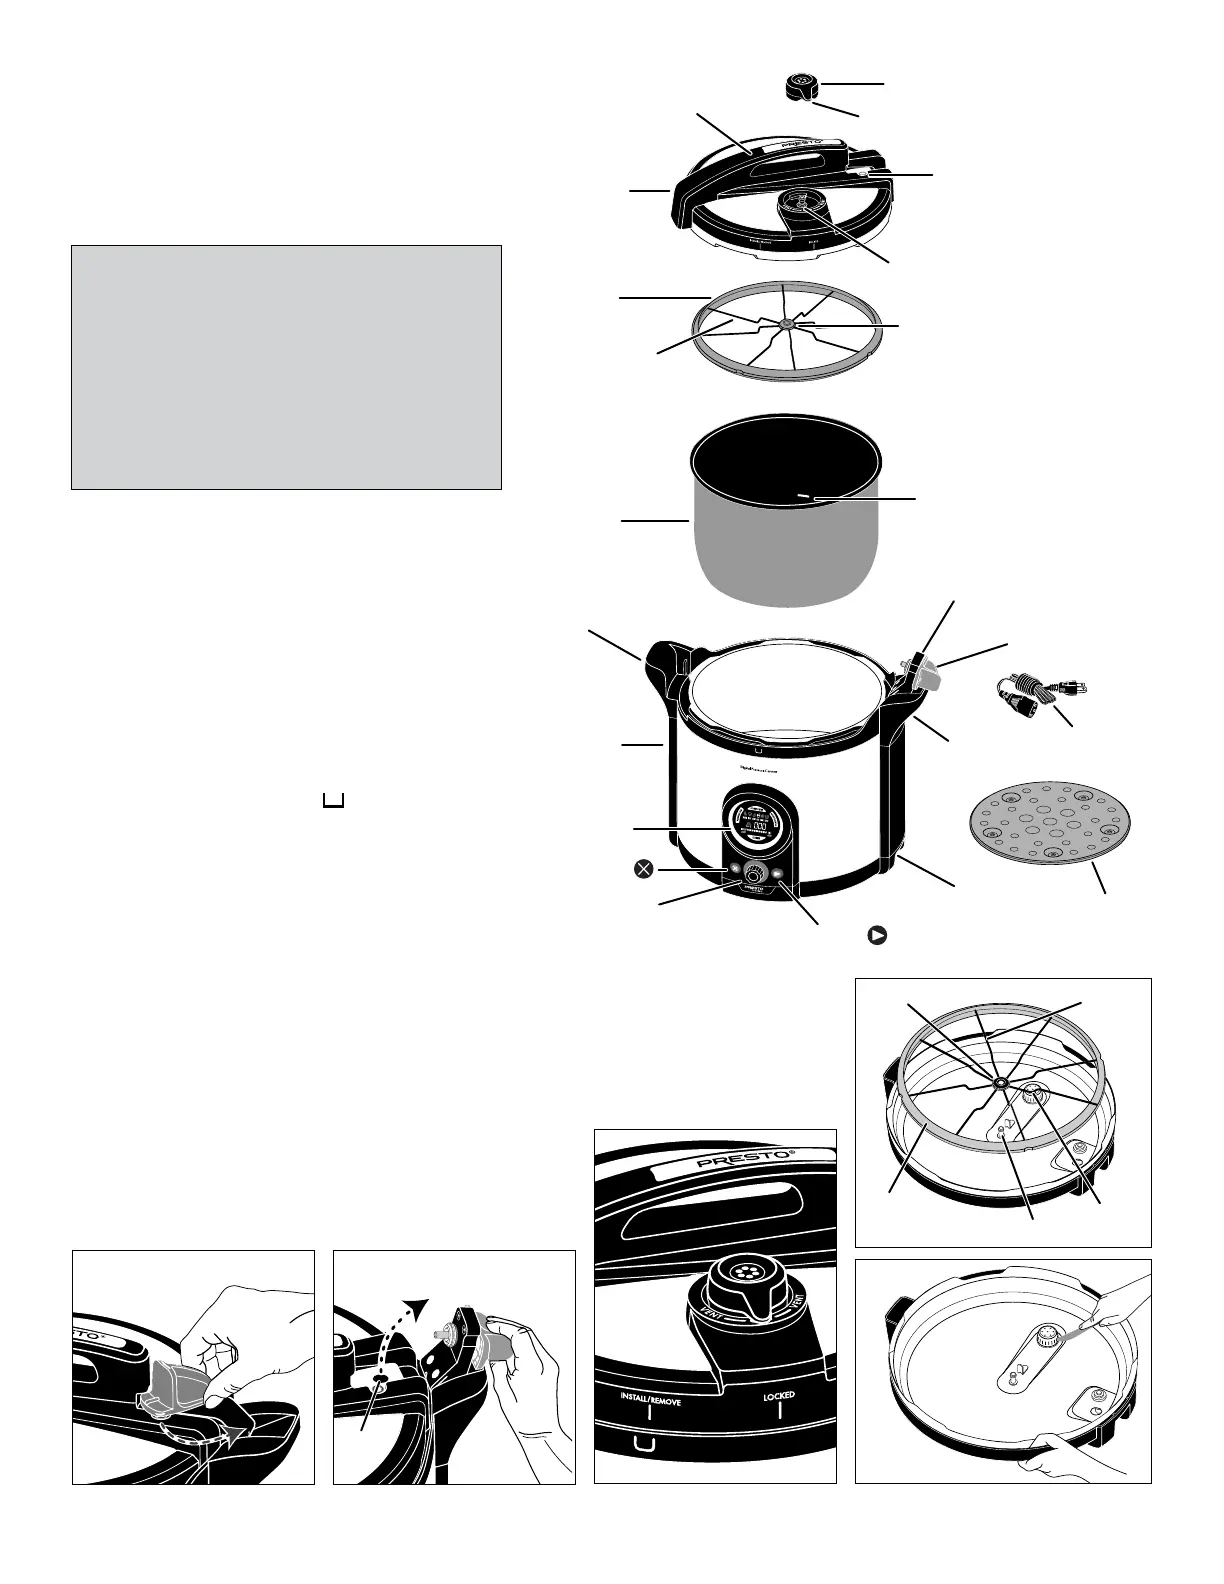
Canning rack
Carrying handle
Regulator
Vent pipe
Air vent/cover lock
Detachable
power cord
Removable
nonstick pot
Digital display
Sealing ring frame
Cover handle
Canner body
Carrying
handle
Locking cover
Regulator lever
Sealing ring
Fig. A
Cord receptacle
Green latch
Control knob
Advance button
Cancel button
Temperature sensor arm
Grommet
3-quart water line
(ll line)
Fig. B
Turn green latch
Fig. D
Fig. E
Grommet
Cover post
Vent filter
Sealing ring
frame
Sealing ring
Fig. F
3
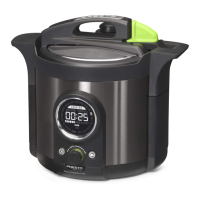
GETTING ACQUAINTED
As received, your digital canner will be fully
assembled. Disassemble and clean the canner parts
(Fig. A) as directed below. Read all instructions
carefully. If you are new to canning or need some
refresher training, refer to the “Canning Basics”
section on pages 4 to 6.
Perform “WATER TEST” before rst use.
To help yourself understand the operation of the
pressure canner, practice rst with jars of water
instead of jars of food. Lids and bands are not needed
on the jars.
Follow the step-by-step instructions for Pressure
Canning (page 7 and 8) and for Boiling Water
Canning (pages 17 and 18), beginning with step 3.
Pour 3 quarts of water into the pot, up to the ll line.
Remove the Canner Cover
1. Before removing the cover, you will need to
unlock the green latch. Begin by positioning
the canner so the digital display faces you. To
unlock the latch, grasp the sides of the latch
and turn it towards you until it stops (Fig. B).
Lift the temperature sensor arm out of the
sensor hole in the cover (Fig. C).
2. Once you have released the temperature
sensor arm from the cover, rotate the cover
counterclockwise until the INSTALL/REMOVE
vertical mark is within the mark on the
canner body (Fig. D). Then lift the cover
straight up off the canner body.
Disassemble Canner Parts for Cleaning
It is recommended that the canner parts be
thoroughly washed before rst use to remove any
manufacturing residue.
1. Lift the canning rack and removable pot out of the canner body.
2. Invert the cover and pull the sealing ring frame out from the cover (Fig. E). Then
remove the vent lter for cleaning. To remove this, place the inverted cover on the
counter, then rest a table knife on the rim of the cover
and insert the knife tip into one of the lter slots (Fig. F);
gently lift the lter up.
NOTE: Although you will not need to remove the lter
after every use, you should periodically remove it for
cleaning if it appears dirty or contains debris.
Lift temperature
sensor arm
Sensor
hole
Fig. C