2
Important Cord Information
This appliance has a polarized plug (one blade is wider than the other). To reduce the risk of electric shock, this plug is intended to
fit into a polarized outlet only one way. If the plug does not fit fully into the outlet, reverse the plug. If it still does not fit, contact a
qualified electrician. Do not attempt to modify the plug in any way.
A short power supply cord is provided to reduce the risk of becoming entangled in or tripping over a longer cord. An extension cord
may be used if care is properly exercised in its use. If an extension cord is used, the marked electrical rating of the extension cord
should be at least as great as the electrical rating of the appliance. The extension cord should be arranged so that it will not drape over
the countertop or tabletop where it can be pulled on by children or tripped over unintentionally.
Connect the power supply cord to a 120VAC electrical outlet only.
Getting Acquainted
Your Presto
®
Professional EverSharp
®
electric knife sharpener is a three-stage sharpening system which will sharpen knives of alloy,
carbon, or stainless steel. It is designed to sharpen kitchen knives and most sporting knives.
Do not attempt to sharpen scissors, serrated electric knives, or any blade that does not fit freely in the blade guides.
If your knife is very dull, you will probably use all three stages. If a bit dull, use Stages 2 and 3.
Frequently, you will use only Stage
3
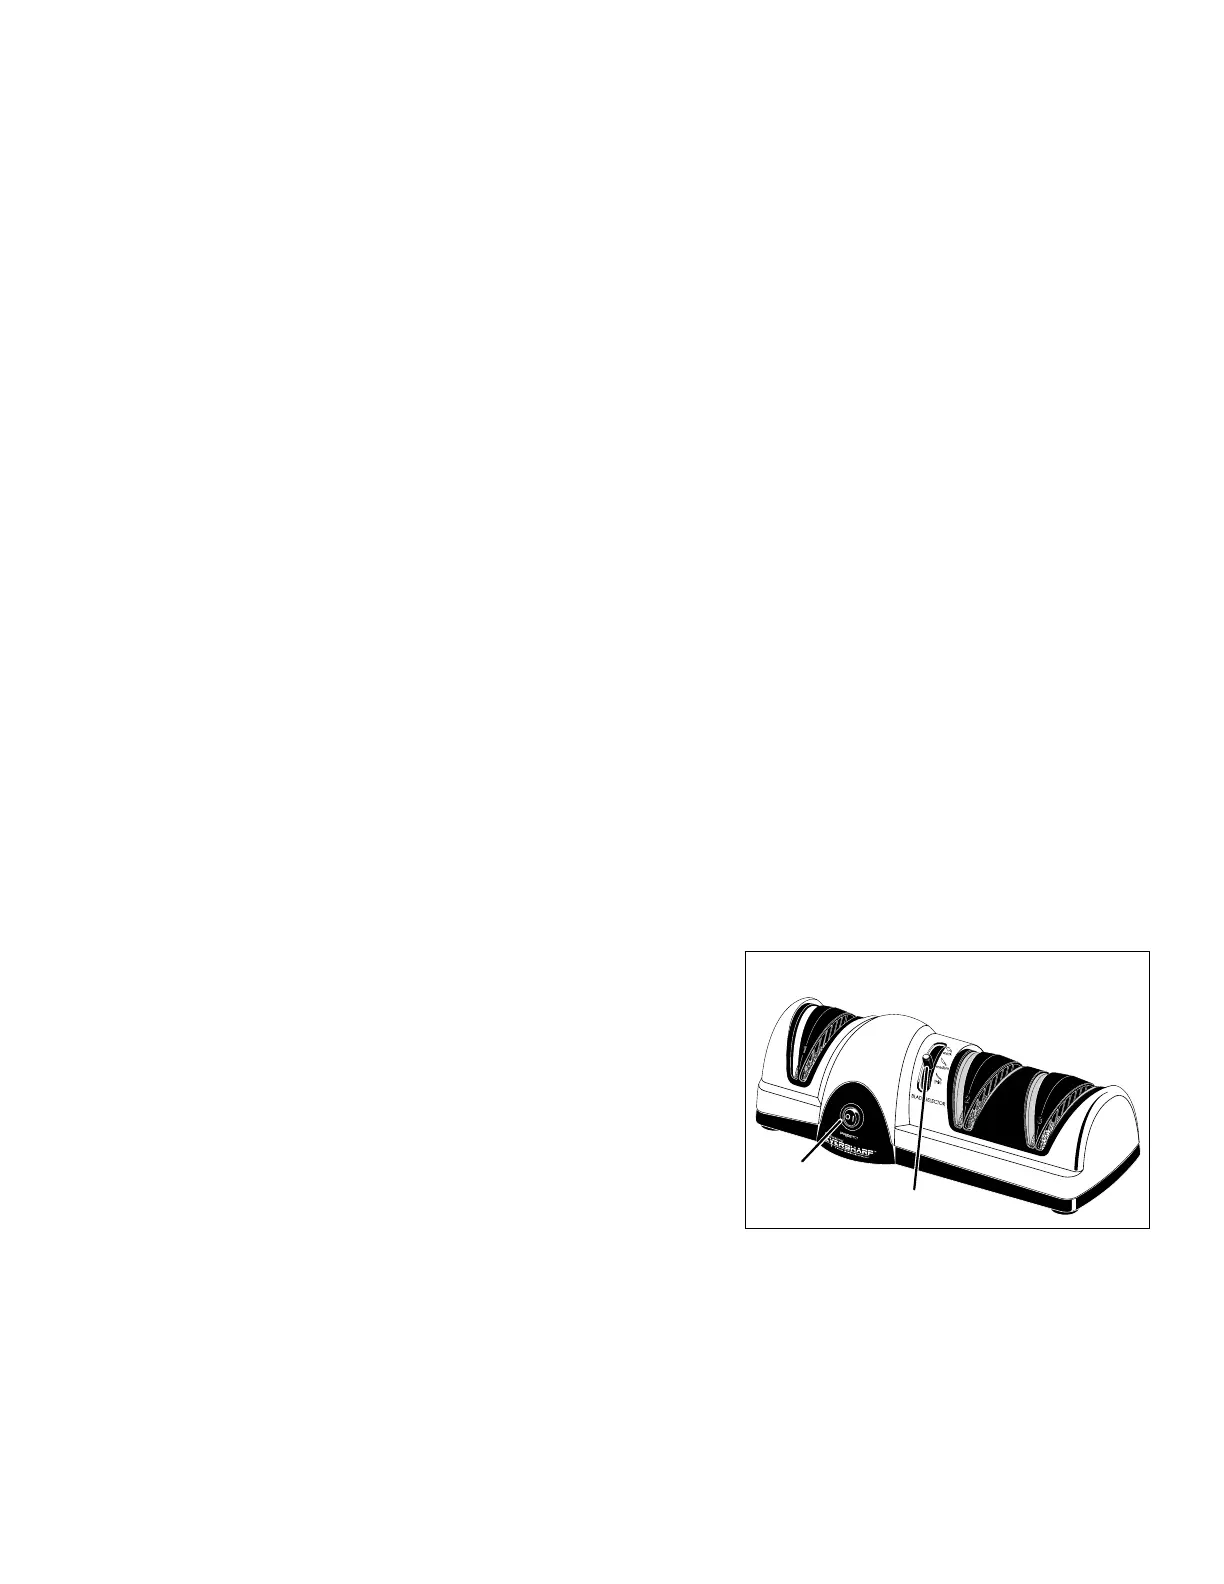
to maintain your knives in razor-sharp condition. The blade selector (Fig. A) adjusts the guides to an optimum sharpening angle for
thick, medium, and thin knives.
How to Use
1. Place the knife sharpener on a stable surface.
2. Determine the type of knife being sharpened and then move the blade selector to the appropriate position (Fig. A).
For thick knives, such as hunting knives and cleavers, move the blade selector to the top position.
For medium knives, such as utility, slicing, chef ’s, and Santoku knives, move the blade selector to the middle position.
For thin knives, such as fillet, paring knives, and other light blades, move the blade selector to the bottom position.
You will feel the stop points for each position. When you move the blade selector lever, the orange adjustable blade guides in
Stages 2 and 3 will also move so they are at the optimum sharpening angle for the type of blade selected. In Stage 1, the blade
guides are in a fixed position.
3. Turn the unit ON by pressing the symbol “l” on the ON/OFF switch (Fig. A).
4. Evaluate the condition of your blade to determine which sharpening stage
to start with:
• If the blade is very dull, or if you are sharpening the knife for the first
time, begin with STAGE 1: COARSE GRINDING. This is the stage
located to the left of the ON/OFF switch. It is the coarsest and most
aggressive stage, and will remove more material from the knife blade
than the other stages. It is a fixed stage with no adjustments, as it places
the same angle on all blades in preparation for the sharpening stations
found in Stages 2 and 3.
NOTE: Do not use Stage 1 when sharpening serrated blades.
• If your knife is a bit dull, begin with STAGE 2: PRECISION
GRINDING. This is the stage located directly to the right of the blade
selector. It continues the grinding by giving the blade a precision edge.
Stage 2 is an adjustable station which further refines the sharpening angle. After completion, your knife is sharpened to the
optimum angle dictated by the width of the blade.
• If your knife just needs a little touch-up sharpening, begin with STAGE 3: FINE HONING. This is the stage located on the far
right and is the stage most frequently used. It is also an adjustable station, completing the knife sharpening process by honing
and polishing the knife to an exact razor-sharp edge.
Stage 1
(coarse grinding)
ON/OFF
switch
Fig. A
Stage 2
(precision grinding)
Stage 3
(fine honing)
Blade selector

 Loading...