Do you have a question about the Pride Jazzy Select 14 and is the answer not in the manual?
Check battery wiring, terminal connections, harness, circuit breaker, and controller connection.
Assess battery age, charging habits, duration, charger function, outlet, and extension cord use.
Check battery charge level and power chair temperature for potential overheating issues.
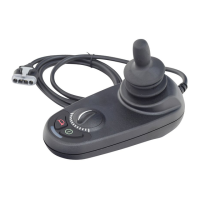
Verify joystick deflection, freewheel lever position, and tire inflation pressure.
Check freewheel levers and controller fault codes (VSI/VR2/Dynamic).
Interprets LED flash codes for common issues like low battery, motor faults, and brake faults.
Indicates charger connection, blown charger fuse, or improper controller connections.
Signifies the controller is in lock mode; unlock by moving joystick forward then rearward.
Indicates very low battery voltage; charge batteries immediately.
Shows the controller is in sleep mode; turn off and on to resume normal operation.
Lists error codes (1-11) for faults like stall timeout, battery, motor, or park brake issues.
Indicates very low battery voltage; batteries require immediate charging.
Identified by scrolling LEDs; unlock by pressing the horn button twice.
Indicated by scrolling LEDs alternating with steady display; joystick movement causes speed indicator flash.
Occurs when joystick is not neutral on power up; return joystick to center to clear.
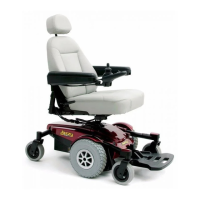
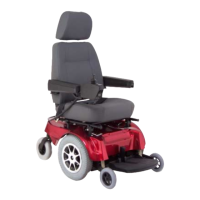
This document provides basic troubleshooting instructions for the Jazzy Select 14 and Select 14XL power chairs. It serves as a supplement to the owner's manual, addressing common issues that may arise due to battery conditions or other electrical system anomalies.
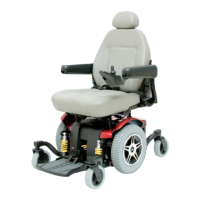
The Jazzy Select 14 and Select 14XL are power chairs designed for mobility. Like any electromechanical device, they require occasional troubleshooting to maintain optimal performance. This guide focuses on diagnosing and resolving common operational problems.
This comprehensive guide aims to empower users to perform initial diagnostics and resolve common issues, thereby extending the life and reliability of their Jazzy Select 14/14XL power chairs.
| Brand | Pride |
|---|---|
| Model | Jazzy Select 14 |
| Category | Wheelchair |
| Language | English |