25
25
Name on device: 63-Bromine-liq
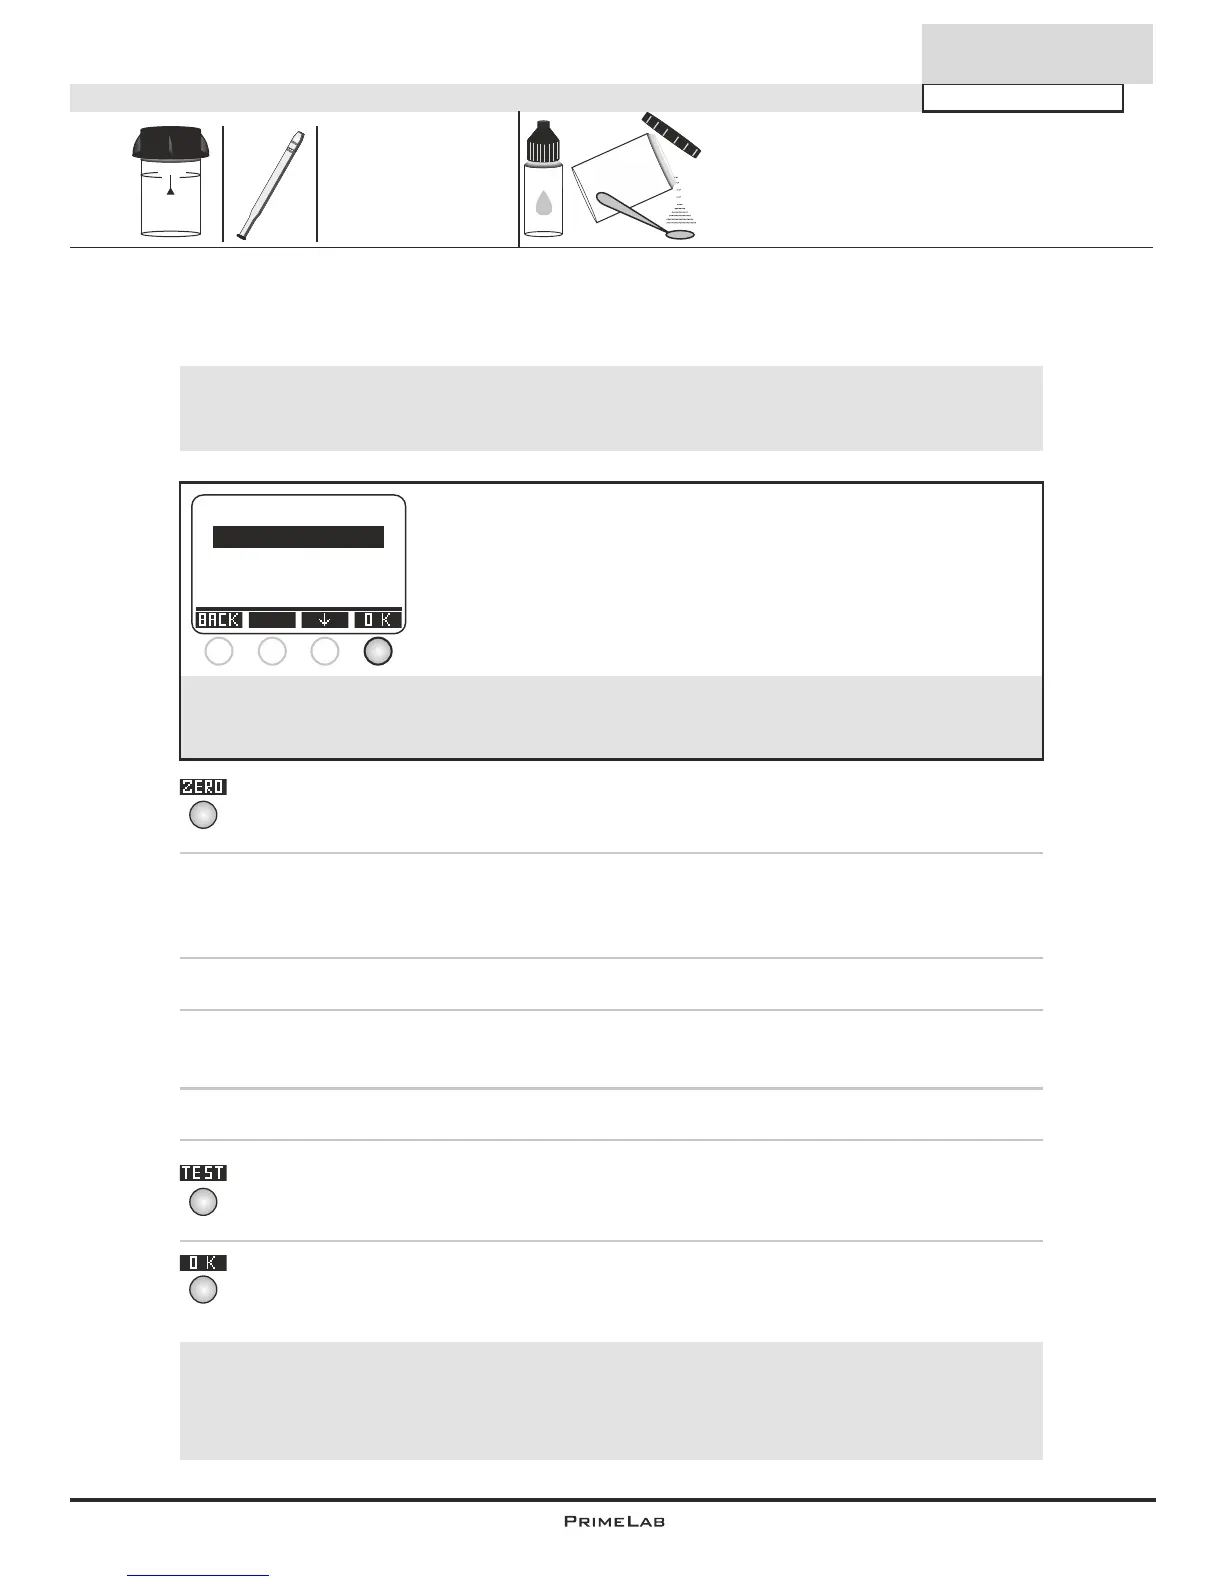
1) Fill 10ml of the sample water into a clean 24mm cuvette.
2) Replace the screw lid on the cuvette and insert it into the PrimeLab
sampling chamber. Align the arrow on the front of the cuvette. Press
ZERO.
3) Remove the cuvette from the chamber and unscrew the lid.
(If chlorine is present in your sample and needs to be removed prior to
testing - See Notes section for additional/modified procedure steps.)
4) Empty the cuvette except for a few drops.
5) Add 3 drops "PL DPD 1 A" and 3 drops "PL DPD 1 B“ liquid reagent into
the same cuvette.
6) Fill sample water into the same cuvette up to the 10ml level.
7) Replace the lid on the cuvette, swirl it carefully and insert it into the
sampling chamber of the PrimeLab. Align the arrow on the front of the
cuvette. Press TEST.
8) The determined results for "tBr" (total/active bromine) is immediately
displayed. Press button 4 to save this together with date and time in the
device.
(63) Bromine
4
4
4
Liquid
+Powder
PL DPD 1 A (PL30DPD1A)
PL DPD 1 B (PL30DPD1B)
PL DPD Nitrite Powder (PLpow20DPDNitr)
0 - 18 mg/l (Br )
2
10 ml
24 mm
The individual steps of the measurement procedure are shown on the display.
Use button 3 (arrow down) to scroll through the steps.
Use button 4 to skip the notes.
!
Measurement procedure:
The steps up to the selection of the parameter value to be determined are the same for all
procedures and described on page "TEST-5". Please observe the important notes for
accurate measurements on pages "TEST-8" and "TEST-9".
One-Time-Zero:
Measure new ZERO
Use last ZERO
For the sake of precision select "Use last ZERO" only
if the stored ZERO value is used with the
same cuvette and the same water sample for the test!
!
If after switching on the device you have already performed the
ZERO (baseline) adjustment for the same type, the following
message is displayed:
-> Measure new ZERO = continue with step 2)
-> Use last ZERO = continue with step 4)
1 2 3 4
!
Possible messages in the line below the measurement value:
"low! / high! / good!":
Assessment of the measurement value relative to the ideal range defined by you.
"Overrange! / underrange!":
Measurement value for this parameter is outside the value range of this method.
Powder
Continued...
 Loading...