Do you have a question about the Primo Water Professional 601213 and is the answer not in the manual?
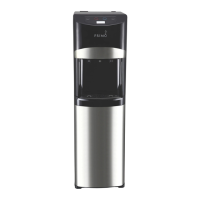
Positioning and leveling the dispenser on its desired location.
Inserting the drip tray into its slot.
Cleaning the probe assembly before use.
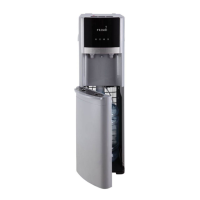
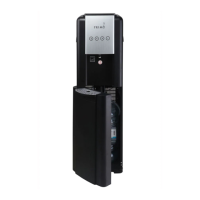
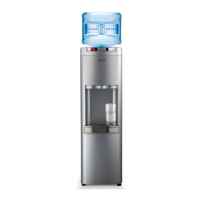
Attaching the probe assembly to the water bottle.
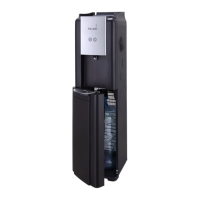
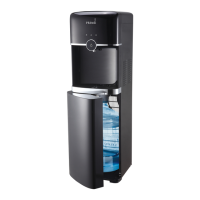
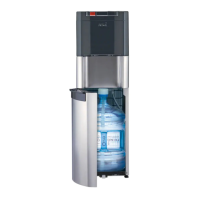
Placing the prepared water bottle into the dispenser.
Connecting the dispenser to a power source.
Turning on heating, cooling, and nightlight features.
Dispensing water to flush the system initially.
Expected times for chilled and hot water availability.
Registering the dispenser online for warranty activation.
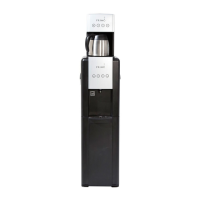
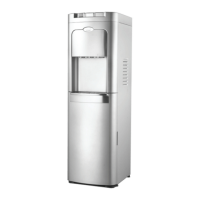
How to dispense cold water using the paddle.
How to dispense hot water, including safety features.
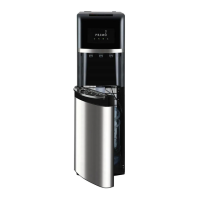
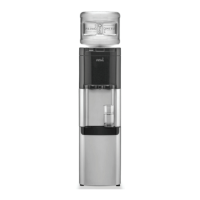
Steps for replacing an empty water bottle.
Guidelines for cleaning the dispenser and probe.
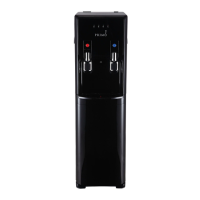
Location and function of on/off switches for features.
Indicator for when the water bottle needs replacement.
Indicator for the water cooling status.
Indicator for the water heating status.
Indicator for the dispenser's power status.
Mechanism for dispensing cold water.
Function and control of the built-in LED night light.
Mechanism for dispensing hot water with safety lock.
Storage location for the probe assembly.
Component that pumps water from the bottle.
Removable tray that signals when it needs emptying.
Specification for compatible water bottle sizes.
How to level the dispenser using its feet.
| Brand | Primo Water |
|---|---|
| Model | Professional 601213 |
| Category | Water Dispenser |
| Language | English |