3. Check the seals before connecting a new gas container to the appliance. Do not use the
appliance if it has damaged or worn seals.
4. The threads on both the gas cartridge and the regulator,
must be intact if they are damaged
in any way or awry, replace the gas cartridge; or if the regulator is damaged, DO NOT USE the
stove. Order a new hose and regulator – see Accessories on the side fl ap.
5. Inspect the hose (so that it is neither kinked norsquashed. Avoid twisting the fl exible hose) as well
as the connections to the burners that they are not damaged. Lift the pan support
and drip
tray
to ensure that the hose and connector are properly adjusted.
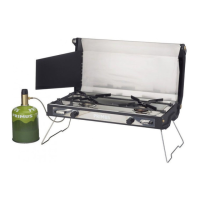
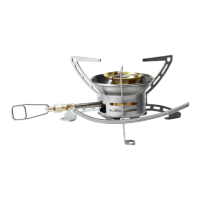
PREPARE THE STOVE. Important: Take care
to ensure that the stove is standing with its legs fully folded out on a
stable, fl at surface with no combustible material nearby. Check its
stability! If you tip the stove while there are pots on it, you risk being
scalded by hot liquids.
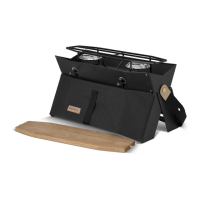
1. Stand the stove on its side with the handle uppermost. Remove the regulator and hose from
the slot on the underside.
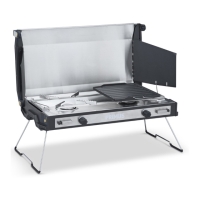
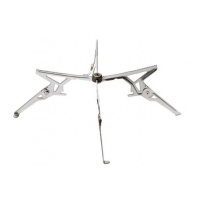
2. Unfold the support legs
to their outermost extent. Place the stove with its support legs
downwards on a fl at surface.
3. Open the lid on the stove by angling the handle 90°.
It is important that the handle is pointing
straight up, otherwise the lid cannot be opened. Lift the lid as far as it will go.
4. Fold out both wind shields
to their outermost position.
5. In transportation mode, the pan support
is upside down. Turn the pan support so that the
rough sides are uppermost, towards the pot. Ensure that the metal pins on the edges sit in the
holes in the drip tray.
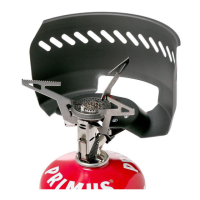
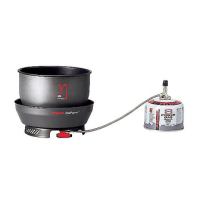
6. Attach the gas cartridge to the regulator by screwing with a defi nite continuous motion as far as it
will go. Do this manually – DO NOT USE a pair of pliers, or similar.
7. Make sure that the gas cartridge is level with the regulator upwards. Check that no gas is leaking
from the connection between the regulator and the gas cartridge. Use soapy water as discussed
in the section “Before ignition” if you are unsure.
LIGHTING THE STOVE. Important: Under no
circumstances move the stove when it is lit, either with or without pots.
If, due to the wind, the fl ames are forced down under the burner, turn
the stove off and move it to a more sheltered location.
1. Rotate the gas supply knob for the burner you want to light, about one turn anti-clock-
wise and press the ignition button
next to the knob to ignite the gas.
2. If the burner does not ignite after fi ve attempts with the ignition button, turn off the supply
(clockwise as far as it will go) and wait ten seconds for the unignited gas to dissipate. Turn on the
gas supply and try again.
3. Once the gas has been lit, you can adjust the fl ame and the supply of heat with the supply knob.
The gas should burn directly upwards with a steady fl ame.
4. Put the pot or frying pan on the stove after the gas has been lit.
5. If you need to use two burners, light the second one the same way that you lit the fi rst.
EN