56
Assembly of the door handle
Assembly of the door handleAssembly of the door handle
Assembly of the door handle
•
Open the appliance door and slightly
remove the door rubber seal on the
inner door frame. Note the holes
underneath for the positioning of the
door handle.
•
Fasten the handle with the enclosed
screws and bring the door rubber seal
back to its original position.
Electrical connection
Electrical connectionElectrical connection
Electrical connection
WARNING:
WARNING:WARNING:
WARNING:
• The installation to the mains supply
must conform to the local standards
and regulations.
• Improper connection may cause to an
electric shock
electric shockelectric shock
electric shock!
• Do not modify the appliance plug. If
the plug does not fit properly to the
outlet, let install a proper outlet by an
authorized specialist.
• The accessibility of the power plug
must be ensured to disconnect the
appliance from the power supply in
case of emergency.
• Make sure that the voltage supply
matches the specifications on the
rating label before connecting.
• Connect the mains cable to a properly
installed and earthed wall outlet.
• If the plug after installation is not
accessible, a corresponding discon-
nect device must be available to meet
the relevant safety regulations.
Startup
StartupStartup
Startup
/ Operation
/ Operation/ Operation
/ Operation
Vor der Erstinbetriebnahme
Vor der ErstinbetriebnahmeVor der Erstinbetriebnahme
Vor der Erstinbetriebnahme
Clean the appliance interior including all
accessory parts. Consider the instruc-
tions which we provide in the chapter
“Cleaning and Maintenance”.
Starting the appliance
Starting the applianceStarting the appliance
Starting the appliance
• Connect the appliance to the power
supply.
•
Set the desired indoor temperature.
Read the following sections.
Operation
OperationOperation
Operation
1
11
1
2
22
2
3
33
3
4
44
4
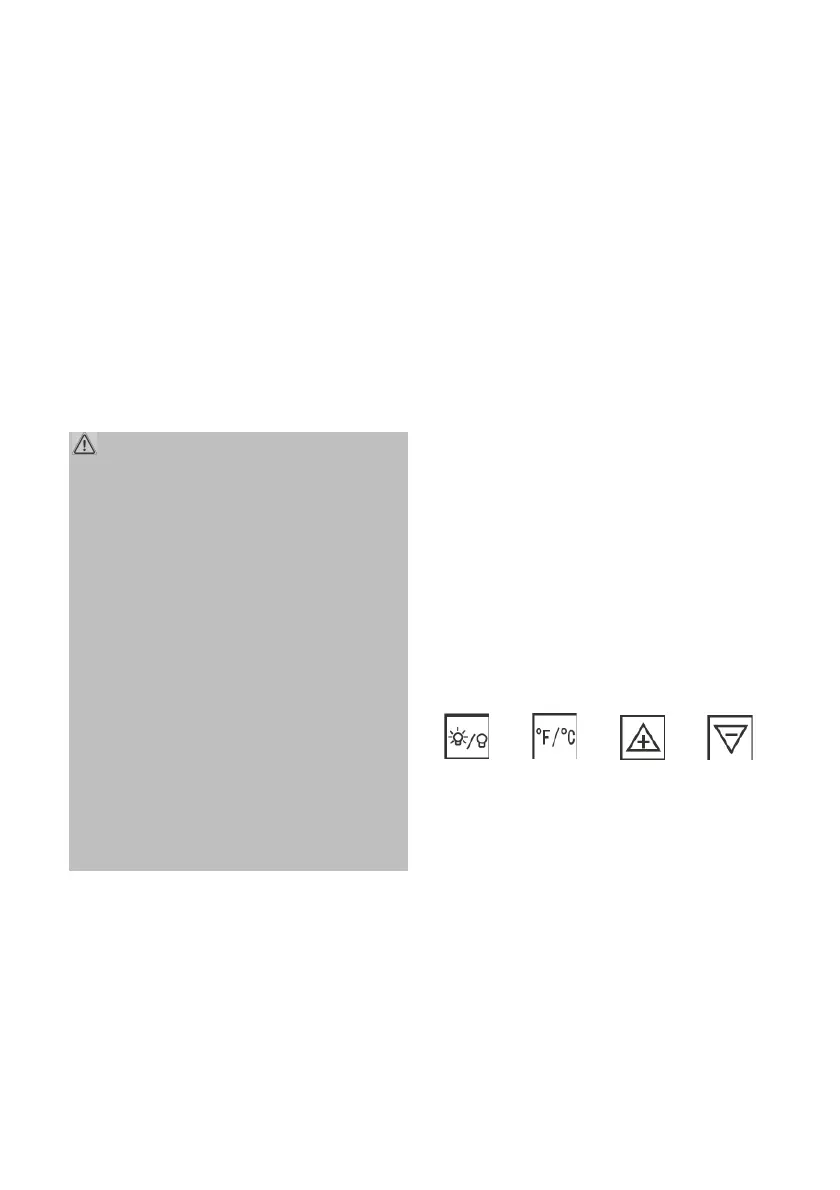
Button (1)
(1)(1)
(1) to switch on/off the the indoor
lighting
Button (2)
(2)(2)
(2) for temperature display change
Button (3)
(3)(3)
(3) to increase and button (4)
(4)(4)
(4) to
reduce the indoor temperature
• The appliance is equipped with an
automatic control panel lock, which is


 To Next Page