- 87 -
ASSEMBLING INSTRUCTIONS
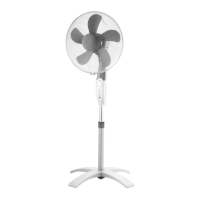
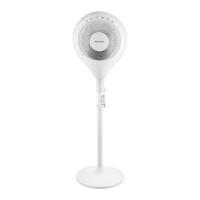
1. Remove all the fan parts from the packaging.
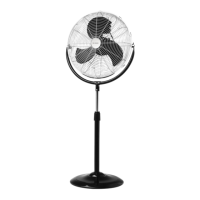
2. Take down the L screw and the washer from the column. Insert the column into the hole on the base.
Fasten the L screw and the washer to fix the column with the base firmly.
3. Loosen the screw from the fan body and attach the fan body on to the column tube.
4. Fix the fan body and the column with the screw.
5. Put the fan on the ground and plug in. Your appliance is ready for use now.
OPERATION INSTRUCTION
1. Plug the power cord into a suitable socket. All LED lights will be shining for 2 seconds with beep sounds.
The fan is under standby mode.
2. Touch the button “ ” to start the appliance. The appliance is initially set at low wind speed in normal
mode, with no timer or oscillation function.
NOTE: This appliance is equipped with a body sensor (see below “About Body Sensor”). After the fan is
switched on, the body sensor will be activated automatically and the fan body will start turning around to
detect user’s position. Button “ ” can be manually touched to deactivate body sensor function.
3. Touch button “ ” to set your desired wind speed at “Low → Medium → High → Low …”.
4. Touch button “ ” to set your desired working time of “1H → 2H → 4H → 8H → no timer → 1H …” The
appliance will stop working automatically after finishing counting down.
5. When the appliance is under working, you can touch button “ ” or “ ” to set “Horizontal oscillation
(Body sensor)” or “Vertical oscillation”.
1) Horizontal oscillation (Body sensor): Touch button “ ” to set your desired horizontal oscillation
angle with “No horizontal oscillation → 60°→ 90°→ 180°→ 360° → Body detecting → No horizontal
oscillation …”.
About Body Sensor:
a. What is body sensor?
Automatically detect user's position and select the suitable oscillation angle.
 Loading...