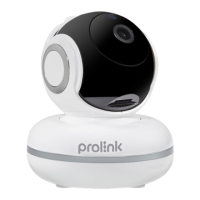
B. Setting Up/Pengaturan
Step 1. Power on the Camera with the provided 5V 1A DC Power Adapter.
Langkah 1. Hidupkan Kamera dengan adaptor daya 5V 1A DC Power Adapter.
Step 2. Login to your account on the mEzee App.
Langkah 2. Masuk ke akun Anda di Aplikasi mEzee.
Step 3. Click “Add Device” or “+” on the top right-hand corner to add Camera.
Langkah 3. Klik “Add Device” atau “+” di sudut kanan atas untuk menambahkan Kamera.
Step 4. Follow the in-App instructions until the camera is connected to the WIFI Network successfully.
Upon successful connection, you will hear a voice prompt saying ‘WIFI Connected’.
Langkah 4. Ikuti instruksi dalam Aplikasi sampai kamera terhubung ke Jaringan WIFI dengan sukses.
Setelah koneksi berhasil, Anda akan mendengar pesan suara yang mengatakan 'WIFI Terhubung'.
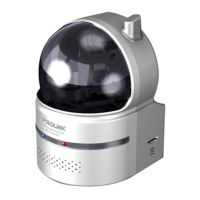
C. Physical placement/Penempatan fisik
The Camera could be placed on a shelf or any flat surface, alternatively it can be mounted on the
ceiling / wall.
Kamera dapat diletakkan di atas rak atau permukaan datar apa pun, atau dapat dipasang di langit-
langit / dinding.
To mount the Camera on the ceiling / wall:
Untuk memasang Kamera ke langit-langit / dinding:
•
Fasten the mounting bracket with screw provided on the ceiling
Kencangkan braket pemasangan dengan sekrup yang disediakan di langit-langit
•
Slot the camera according to the mounting hole
Slot kamera sesuai dengan lubang pemasangan
Note: For physical placement, please do consider the router’s wireless coverage. As a generic guideline,
use another 2.4GHz Wi-Fi N Client at the intended location to test the Wi-Fi coverage and stability prior
installing the Camera.
Catatan: Untuk penempatan fisik, harap pertimbangkan jangkauan nirkabel router. Sebagai pedoman umum,
gunakan klien Wi-Fi N 2.4GHz lainnya di lokasi yang dimaksudkan untuk menguji jangkauan dan
stabilitas Wi-Fi sebelum memasang Kamera.
Note: Please ensure that the mobile phone is connected to the Wi-Fi’s 2.4GHz radio during the setup.
Catatan: Pastikan mobile phone terkoneksi ke radio Wi-Fi’s 2.4GHz selama waktu setup.
5
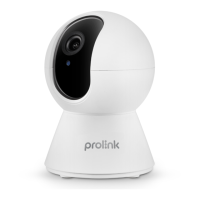
4. Camera Setup/Pengaturan Kamera
 Loading...