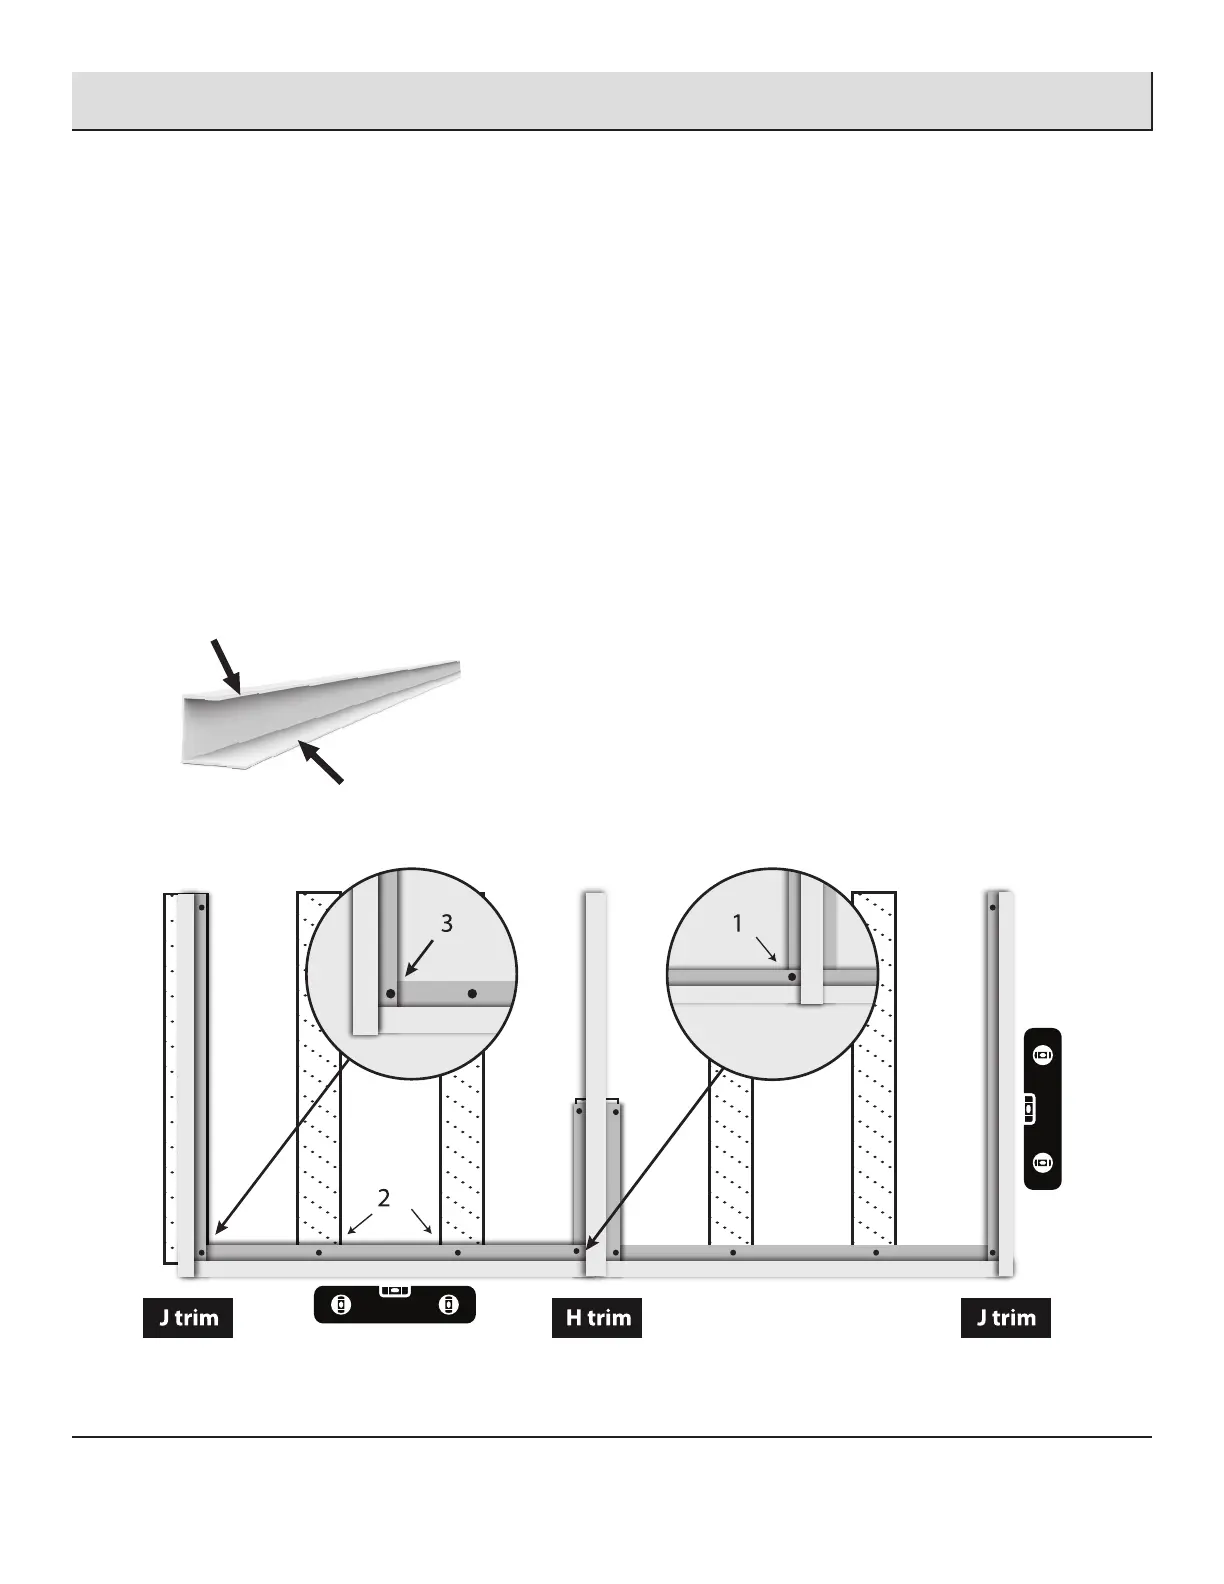
Install your J-trims / Installation des moulures en J
□ Overlap one of your bottom J-trims with the bottom of your H-trim and screw through both. (number 1 on the illustration)
Superposez une de vos moulures en J avec le bas de votre moulure en H et vissez. (numéro 1 sur l’illustration)
□ Level and screw into the adjacent two studs. (number 2 on the illustration)
Nivelez et vissez dans les deux montants adjacents. (numéro 2 sur l’illustration)
□ Take one of your J-trims and install vertically by overlapping with the bottom starter trim and screw through both.
(number 3 on the illustration)
Prenez une de vos moulures en J et installez-là verticallement en la superposant avec la moulure en J du bas et vissez au travers
des deux moulures. (numéro 3 sur l’illustration)
□ Level the vertical J-trim and screw through the top. (This screw can be removed if you want once you install your panels)
Nivelez la moulure en J verticale et vissez le haut. (Si vous le désirez cette vis peut être retirée une fois vos panneaux installés)
□ Repeat for the other side of your H-trim. / Répétez pour l’autre côté de votre moulure en H.
Moulure en J Moulure en H Moulure en J
Troubleshooting / Dépannage (continued / suite)
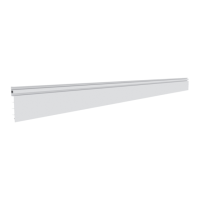
Front side
Côté avant
Wall side
Dos (au mur)
12