English - 5 -
Stand Installation &
Wall Mounting
Assembling / Removing the pedestal
Preparations
Take out the pedestal(s) and the TV from the packing
case and put the TV onto a work table with the screen
panel down on the clean and soft cloth (blanket, etc.)
Do not hold the screen panel part.
Make sure not to scratch or break the TV.
Assembling the pedestal
1. Place the stand(s) on the stand mounting
pattern(s) on the rear side of the TV.
2. Insert the screws provided and tighten them gently
Removing the pedestal from the TV
Be sure to remove the pedestal in the following way
when using the wall-hanging bracket or repacking
the TV.
Put the TV onto a work table with the screen panel
down on the clean and soft cloth. Leave the stand(s)
protruding over the edge of the surface.
Remove the stand(s).
When using the wall mount bracket
Your TV is also prepared for a VESA-compliant wall
mount bracket. If it is not supplied with your TV, contact
your local dealer to purchase the recommended wall-
hanging bracket.
Holes and measurements for wall mount bracket
installation;
VESA WALL MOUNT MEASUREMENTS
Hole Paern
Sizes (mm)
W H
100 100
Screw Sizes
Length (X)
min. (mm) 7
max. (mm) 8
Thread (Y) M4
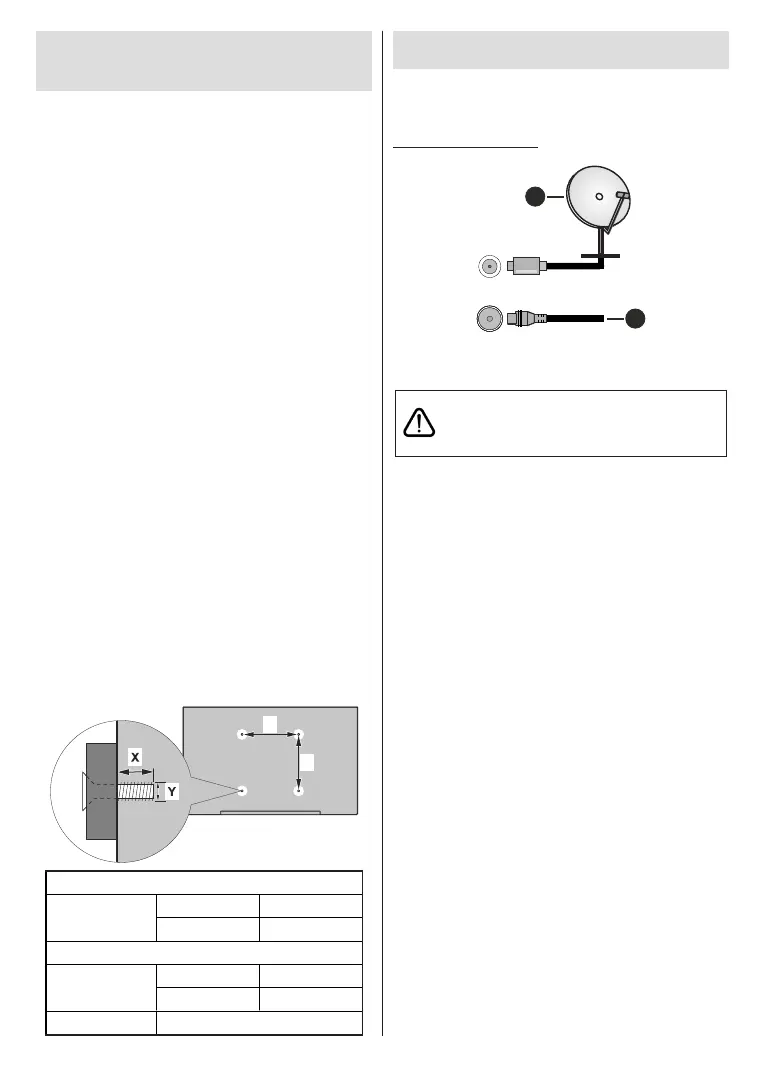
Antenna Connection
Connect the aerial or cable TV plug to the AERIAL
INPUT (ANT) socket or satellite plug to the SATELLITE
INPUT (LNB) socket located on the rear side of the TV.
Rear side of the TV
1
2
LNB
ANT
1. Satellite
2. Aerial or cable
If you want to connect a device to the TV, make
before making any connection. After the connection
is done, you can turn on the units and use them.