Tsunami
®
800 and 8000 Series - Hardware Installation Guide 50
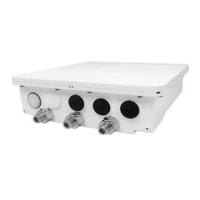
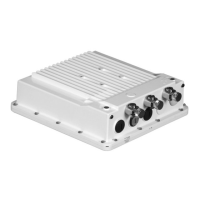
The devices are designed to directly mount to a pole. By using the supplied brackets and hardware, you can mount them to a
1.25 inch to 3-inch pole (outside diameter). Longer bolts (not supplied) are required to mount the device to a larger diameter
pole. By using the same pole mounting bracket, you can mount the device to a wall or other flat surface.
Step 3: Gather Required Tools
You should have the following tools available before installing the device:
Cross-tip screwdrivers
Small blade standard screwdriver
Large blade standard screwdriver
Wire crimpers (if using connectors that are not pre-made)
Adjustable 6” wrench
Weatherproofing material for sealing external connectors (such as butyl tape)
Straight-through UV-protected STP-rated Cat5e/Cat6 Ethernet cable for connecting to PC, or cable for connecting to a
hub or a switch.
Step 4: Unpack the Product Package
1. Unpack the device and its accessories from the shipping box.
2. Please make a note of the Ethernet addresses, the MAC addresses and the serial number. These addresses may be
used when configuring the device. Note that the serial number helps you to seek support from the Proxim’s Customer
support team.
Step 5: Weatherproofing RJ45 Connectors
The following steps explain how to weatherproof the RJ45 connectors:
1. Use a straight-through cable (Cat5e/Cat6) with one end bare.
2. Connect the crimped RJ45 connector end of the cable into the RJ45 Ethernet port inside the enclosure. The cable
connector should latch into the Ethernet port.
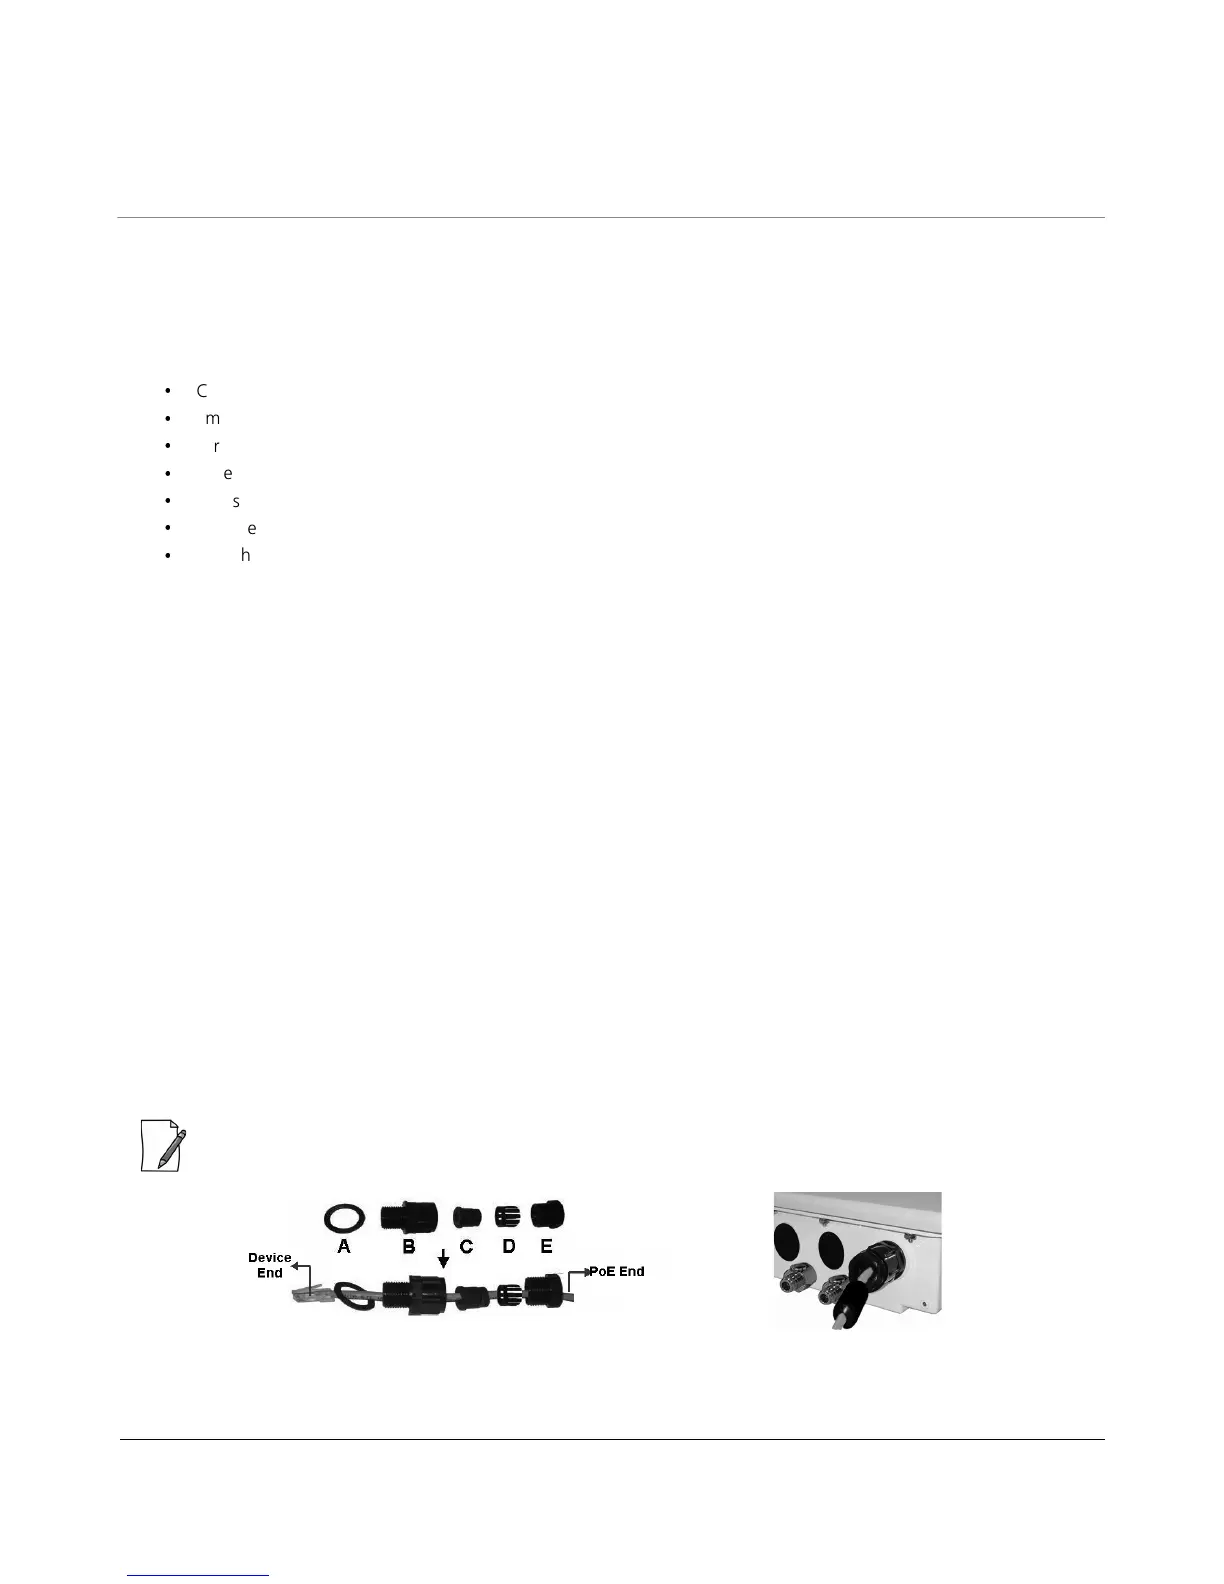
3. Slide the Flat Washer (A) into the Connector Body (B) to make it waterproof and onto the bare end of the cable. Next,
fasten the Connector Body into the Ethernet connector hole on the device.
4. Slide the tube-shaped Compression Washer (C) into the Compression Ring (D) and onto the cable from the bare end,
and insert into the fixed Connector Body.
5. Slide the Sealing Nut (E) over the bare end of the cable and fasten it on the fixed Connector Body.
6. Crimp the bare end of the cable with RJ45 connector and connect it to the PWR LAN-OUT port on the PoE Injector.
7. Open the notch on both sides of the toroid and fix it on Ethernet Cat5e/Cat6 cable. Then, lock the notch of the Toroid
by pressing it.
: Please ensure to fix toroids to the Ethernet cables.
Figure 3-4 Weatherproofing RJ45 Connector
 Loading...