
M
Mark Lee PhDAug 1, 2025
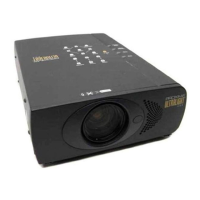
Why is the projected image distorted on my Proxima ULTRALIGHT X350 Projector?
- KKatie BanksAug 1, 2025
If your Proxima Projector shows a distorted image, try these steps: First, press the Power button and go to Reset. Then, access the “Set up” menu either on the remote or the projector itself. Next, go to “Picture” and select Frequency or Tuning to manually adjust the image. Also, make sure the projector isn't tilted or elevated and is parallel to the screen. Finally, check if the digital keystone function is enabled and adjust it as needed.