IMPORTANT! Please note that due to peculiarities of AMOLED display technology,
when switching between various reticles, you may notice on the riflescope's
display residual “ghost image” of the previous reticle. The “ghost image” looks like
semitransparent white lines. The image may appear if a new reticle does not
contain elements (such as lines, circles, bars etc.) of the previous reticle. After a
while the “ghost image” becomes less noticeable. We do not take any
responsibility for the claims in connection with “ghost image” arisen due to
multiple change of reticles.
Video Recording And Photography
19
The riflescope features video recording and photography of the image being saved
to the internal memory card.
Before using this feature, please read the menu options “Date setup”, “Time setup”
of the section “Main menu functions”.
The built-in recorder operates in two modes:
Photo (photography; in the top right corner of the display you can see a
photography icon),
If estimated number of photos that can be saved to the Flash card is more than
100, message «>100» is shown.
Video (video recording; in the top right corner of the display you can see a
video icon, current video resolution, total video time left in the format HH:MM:SS
(hours : minutes : seconds)
When switched on, the riflescope is in the Video mode. Toggle between Video and
Photo modes with a long press of the REC (11). Switching is cyclical (Video-> Photo-
> Video…).
Photo mode. Photography
џ Switch to the Photo mode with a long press of the REC (11) button.
џ Take a picture with a brief press of the REC button. The image freezes for 0.5 sec
and a photo is saved to the internal memory. Режим Video.
Video mode. Video recording
џ Switch to the Video mode with a long press of the REC (11) button.
џ Start video recording with a brief press of the REC button.
џ Upon start of video recording icon disappears, icon Rec and recording timer
in the format MM:SS (minutes : seconds) appear instead:
џ Pause and resume recording video with a brief press of REC.
џ Stop recording video with a long press of REC.
Video files are saved to the memory card:
- After stopping video / after taking a picture;
- Upon powering the unit off if recording was on;
- When the memory card is overfilled during record message “Memory full”
appears.
Notes:
- you can enter and navigate the menu during video recording;
- recorded videos and photos are saved to the built-in memory card in the format
img_xxx.jpg (photos); video_xxx.avi (videos). xxx – three-digit counter for videos
VLC video player
http://www.videolan.org/vlc/download-macosx.html
ELMEDIA video player
itunes.apple.com/us/app/elmedia-multiformat-video/
id937759555?mt=12
and photos;
- counter for multimedia files cannot be reset;
- if a file is deleted from the middle of the list, its number is not taken by another
file;
- when the counter is full, a new folder is created – img_xxxx. Where xxxx is folder
counter.
- the maximum duration of a recorded file is seven minutes. After this time expires a
video is recorded into a new file. The number of recorded files is limited by the
capacity of unit's internal memory.
- check regularly the free capacity of the internal memory, move recorded footage to
other storage media to free up space on the internal memory card;
- graphic data (status bar, icons and other) are not shown in recorded video/photo
files.
IMPORTANT! To playback video files recorded by the riflescope on iOS-based
computers, we recommend that you use VLC video player or Elmedia player.
Stadiametric Rangefinder
20
The riflescopes are equipped with a stadiametric rangefinder, which allows the user
to estimate approximate distance to an object of known size.
To select menu option “stadiametric rangefinder”, enter the quick menu with a brief
press of the M (9) button and select icon with UP and DOWN buttons.
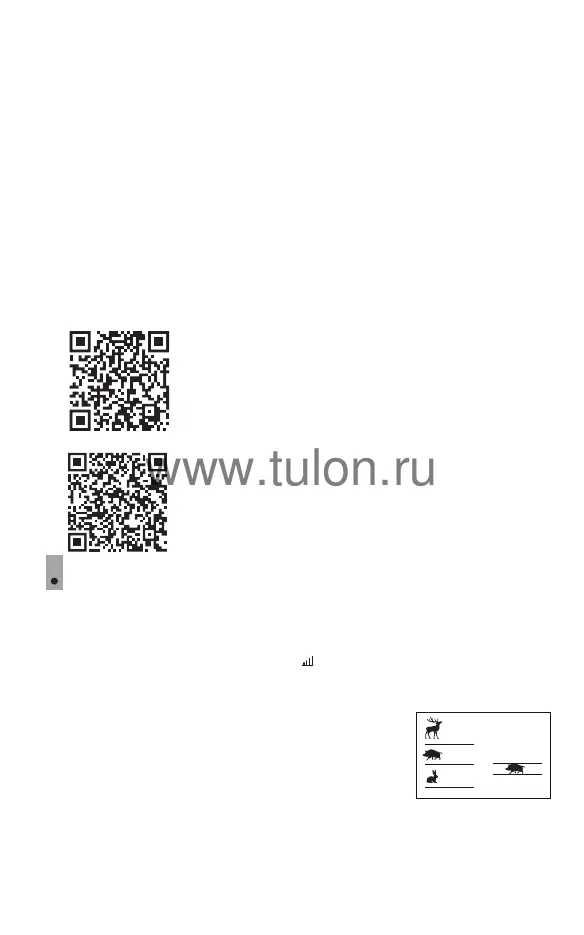
You will see on the display: measurement bars, icons of three reference objects and
respective distances for the three objects.
There are three pre-set reference objects:
Hare – height 0.3 m
Wild boar – height 0.7 m
Deer – height 1.7 m
Place the lower fixed bar under the object being ranged and, by pressing the UP and
DOWN buttons, move the upper horizontal bar relative to the lower fixed bar until
the object fits entirely between the two bars. The distance to the object is
automatically recalculated as you move the upper line.
160m
66m
28m
 Loading...