Nixie Clock Kit ' Maestro’
ISSUE 5 (01 June 2018)
www.pvelectronics.co.uk
- 8 -
4. ASSEMBLY OF THE PCB
4.1 66 Harwin Sockets
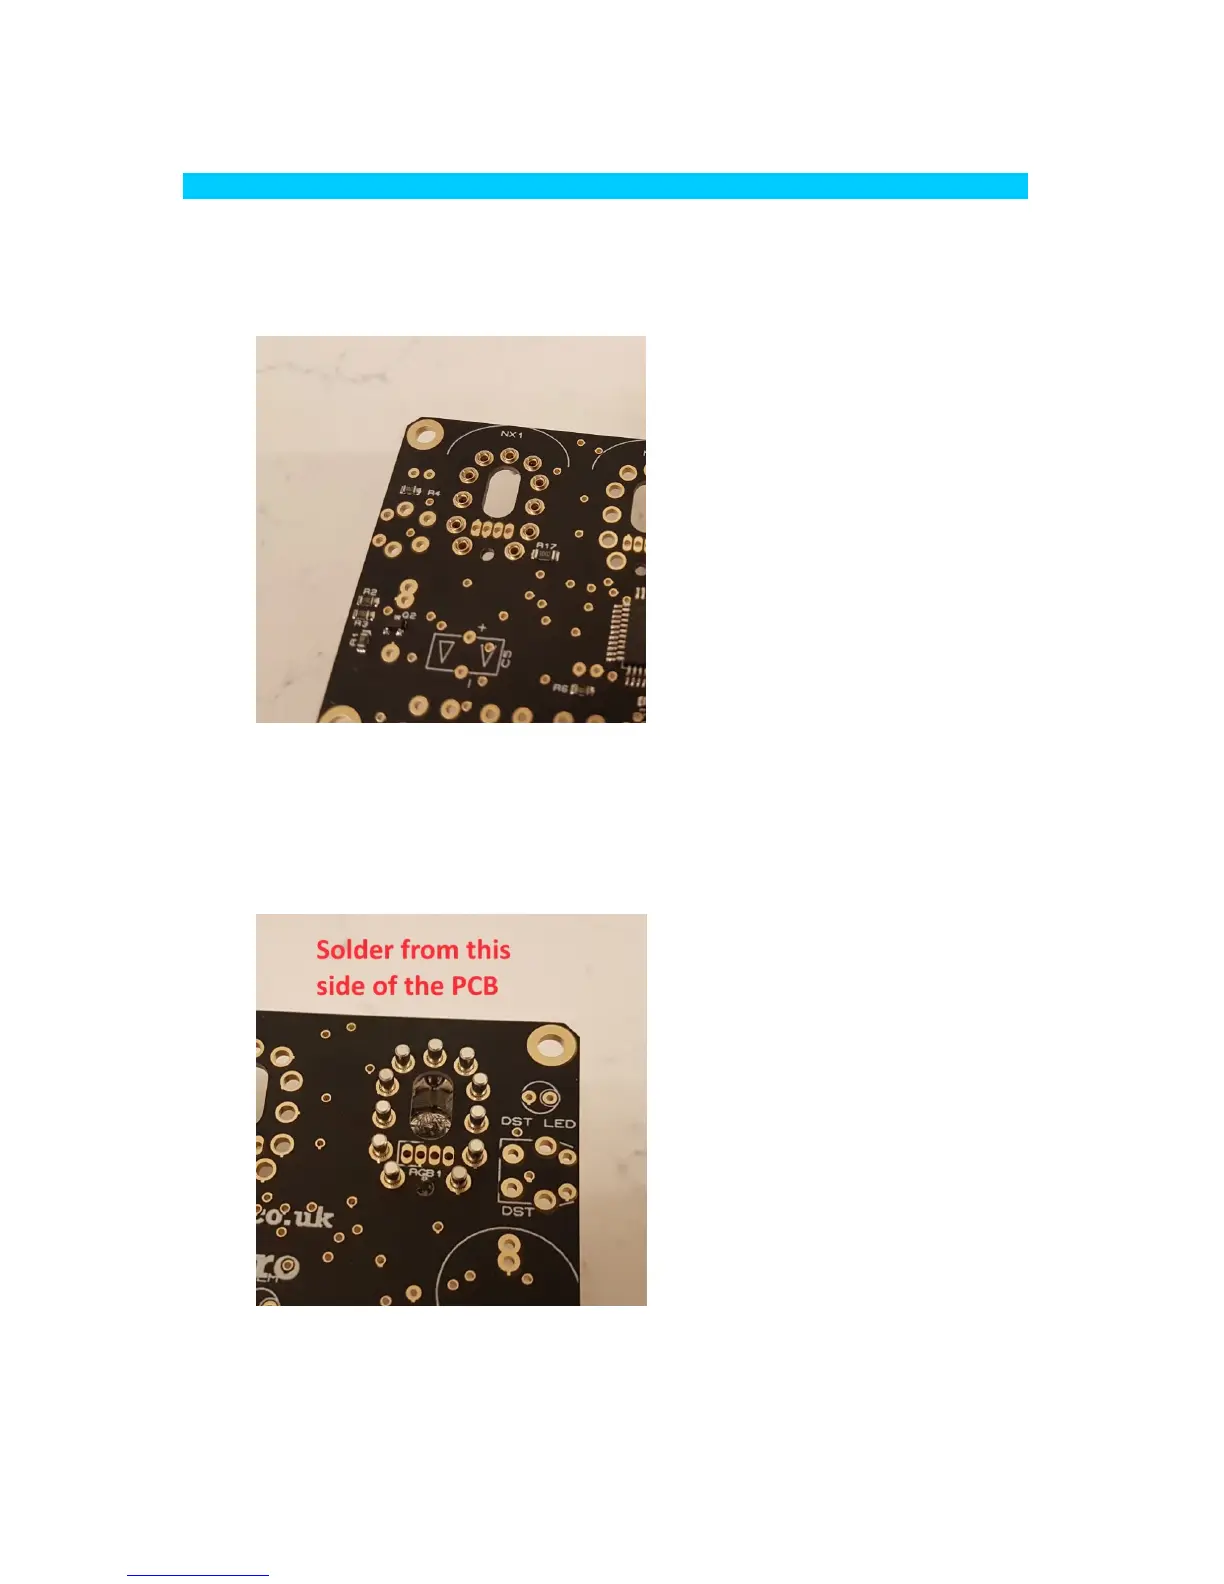
Install and solder the sockets one tube location at a time, as
follows. Be sure to insert from the front of the PCB.
You may need to push in firmly. To hold them in place whilst you
solder, insert a IN-12 tube then flip over the PCB and solder the
sockets from the back of the PCB. Solder with minimum solder – as
soon as you see solder flow around the annulus, you can withdraw
the solder and iron.