VECOAX MINIMOD RACK 4 STEP BY STEP INSTALL GUIDE
NOTE: BEFORE INSTALLATION
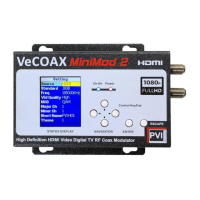
Please test each MiniMod 2 unit UNMOUNTED ON A TEST BENCH with your Test TV
before installing your units to ensure you are receiving the Test Pattern signal. Then
Program your unit. If installing Multiple units, ensure each unit has its own frequency
it’s broadcasting on as well as Major/Minor Channel numbers.
To test, simply connect your TV with a short piece of Coax cable to the RF Out of the
Unit. Then, scan for channels on your test TV. No HDMI needs to be connected for
this test. This will display our test pattern on your TV once you scan for digital cable
channels. By default, our unit is set to QAM (J.83B Cable) mode.
Please refer to the unit’s Manual for programming instructions.