L
lanenicoleJul 31, 2025
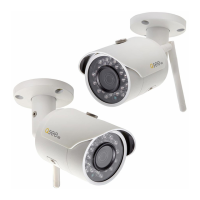
How to fix no picture on Q-See QD6531Z?
- LLacey GardnerJul 31, 2025
If your Q-See Security Camera shows no picture or the image is unstable, check the power and video connections to the camera.
How to fix no picture on Q-See QD6531Z?
If your Q-See Security Camera shows no picture or the image is unstable, check the power and video connections to the camera.
Why is my Q-See Security Camera blurry?
If the on-screen image of your Q-See Security Camera is blurry, you can check the lens for fingerprints or dirt. Also, verify the menu settings.
What to do if Q-See Security Camera is overheating and smells?
If your Q-See Security Camera is not working properly and is hot, smells, or is producing smoke, immediately disconnect the camera from the power supply. Also, check that the correct power supply is in use.
Why is my Q-See QD6531Z Security Camera image dim?
If the on-screen image of your Q-See Security Camera is dim, check the lens for fingerprints or dirt. You should also check the monitor settings.
Why is my Q-See QD6531Z Security Camera flickering?
If the screen flickers and the IR LEDs do not light up on your Q-See Security Camera, this might happen because the camera may be facing the sun, television, or computer monitor. Check the power connection to the camera. The power supply may need to be located closer to the camera.
Safety precautions and guidelines for protecting the camera and ensuring user safety during installation and use.
Configuring the unique address for each camera using DIP switches for proper identification.
Setting the communication speed (baud rate) using DIP switches for camera control.
Selecting the communication protocol (Pelco-D/Pelco-P) via DIP switches for system compatibility.
Illustrates the DIP switch settings for address, baud rate, and protocol.
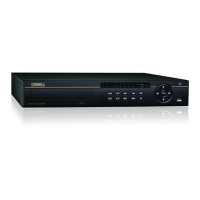
Connecting the camera's power and video BNC leads to the DVR.
Connecting the camera's control wires to the DVR's RS485/PTZ ports for PTZ functionality.
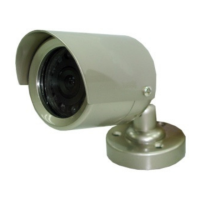
Guidelines for selecting camera location based on viewing distance, interference, weather, and lighting.
Step-by-step instructions for physically mounting the camera bracket and the camera unit.
Information on choosing appropriate cables (RG59, Cat 5) based on distance and signal quality.
Steps to program camera preset positions and create automated patrol paths (cruises).
Details on controlling PTZ functions, zoom, focus, iris, and managing preset points.
Conditions and damages not covered under the Q-See product warranty terms.
| Maximum resolution | - pixels |
|---|---|
| Number of TV lines | 650 |
| Supported video modes | - |
| Pan range | 0 - 360 ° |
| Tilt angle range | 0 - 90 ° |
| Angle of rotation | 360 ° |
| Minimum illumination | - lx |
| Sensor type | CCD |
| Optical sensor size | 1/3 \ |
| Optical zoom | 3 x |
| Focal length range | 5 - 15 mm |
| LED type | IR |
| Number of illumination LEDs | 4 |
| Placement supported | Indoor & outdoor |
| Connectivity technology | Wired |
| Form factor | Dome |
| Mounting type | Ceiling/wall |
| Product color | Black |
| Ethernet LAN | No |
| Width | 140 mm |
|---|---|
| Height | 152.4 mm |
| Cable length | 20 m |