Quick Start Guide
www.Q5X.com 1-519-675-6999 info@Q5X.com
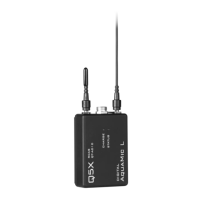
PREPARE: PlayerMic Transmitter
• Bring the transmitter out of storage mode (minimal
battery draw) and into standby mode (detectable but the
UHF radio is off) using either method below:
o Hold the ON/OFF button until the status LED
changes from flashing rapidly to slowly, or
o Plug and unplug a powered micro USB charging
cable into the side of the transmitter.
• Connect the 1-pin Lemo microphone
BATTERY LIFE:
PlayerMic S 4 hours @ 2/10mW 2 hours @ 20mW
PlayerMic 8 hours @ 2/10mW 4 hours @ 20mW
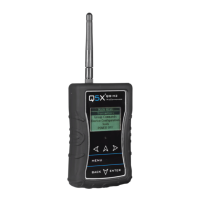
PREPARE: Gateway remote control (H2 or N3)
• Install the antenna on the top. (NEVER power the unit
without the antenna in place.)
• Power the Gateway as instructed in its manuals.
• Turn on the unit by pressing the power button.
PAIR: PlayerMic and Gateway remote control (H2 or N3)
• The screen on the Gateway displays the serial number of
paired transmitters.
• Press the <MENU> button to either scan for transmitters
or add the serial number found on the PlayerMic
antenna.
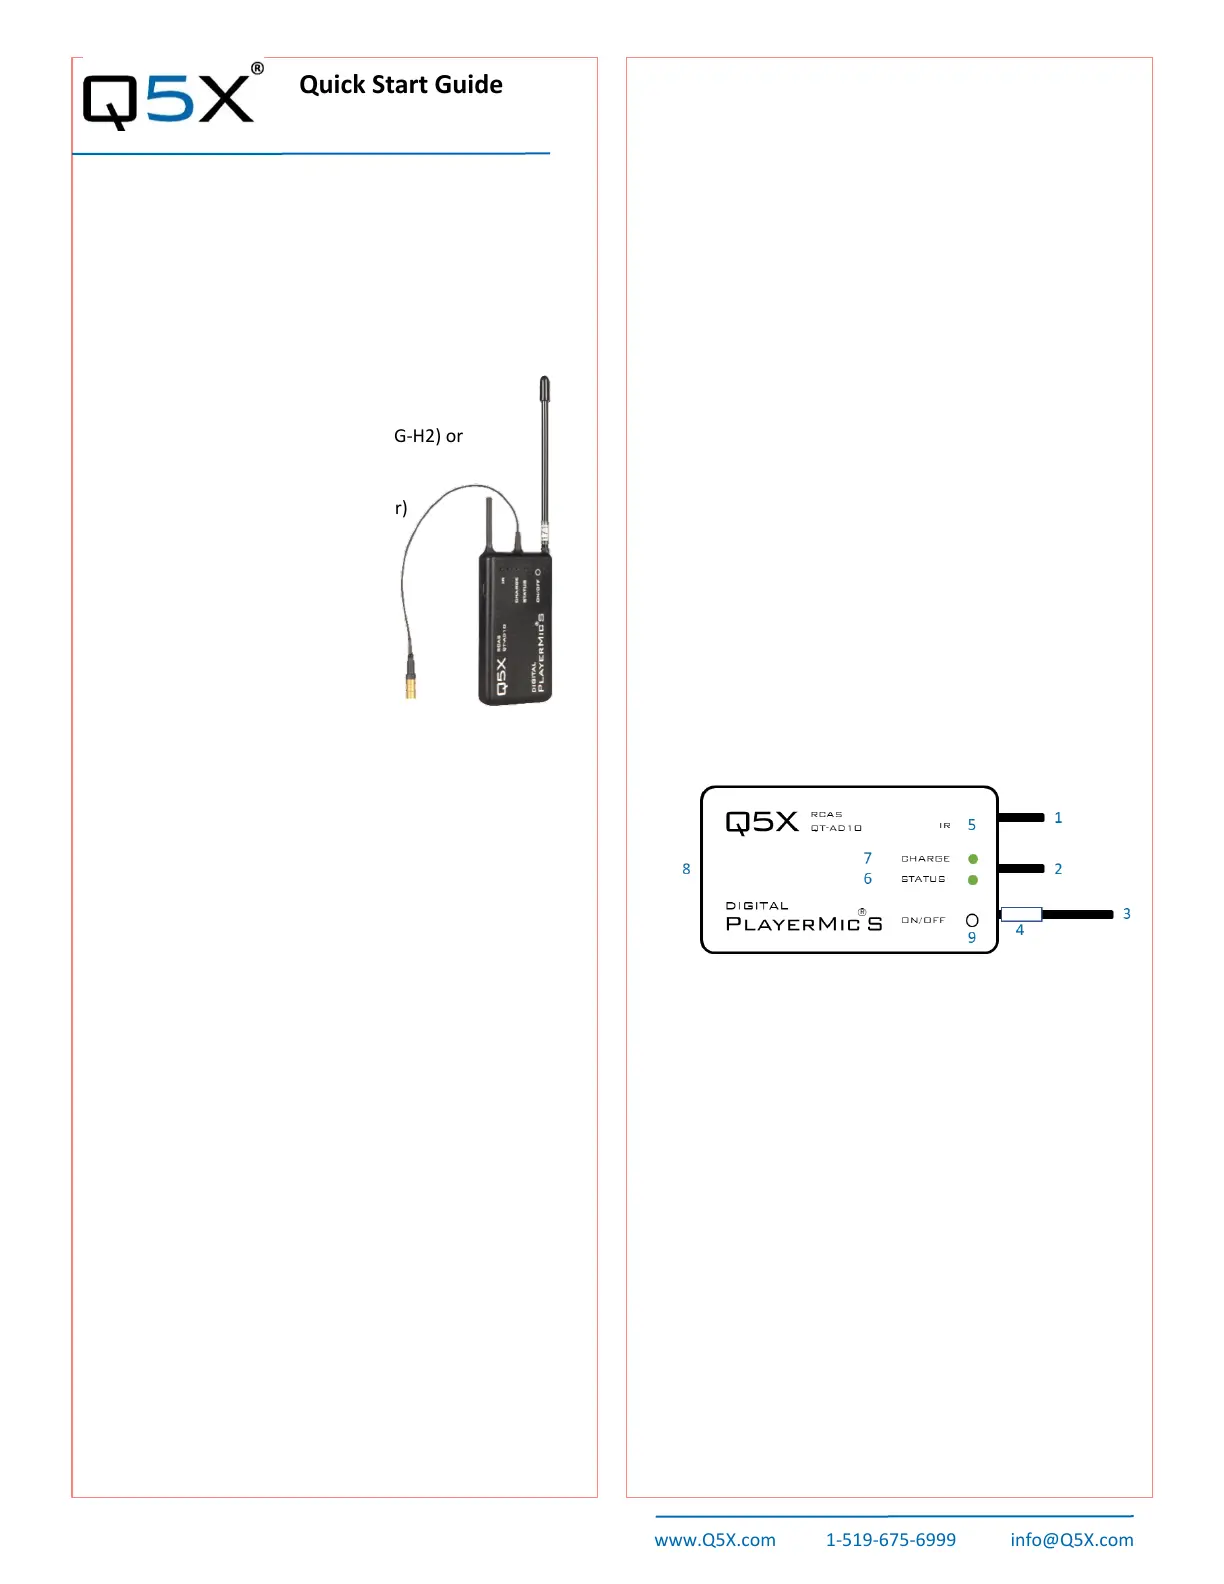
KEY:
1 2.4 G antenna - For the RCAS control channel.
2 Audio input - Connects to a microphone with a
one-pin Lemo connector.
3 UHF antenna - For RF signal transmission.
4 Serial number - Unique serial number for RCAS
identification and control. (on the antenna)
5 IR port - Infrared sync with the receiver for set-
up, initiating encryption and installing firmware
updates.
6 Status LED - See manual for details on LED
patterns and colours.
7 Charge LED - Red = charging, green= charged
and flashing red/green = error.
8 USB port - Charges the battery.
9 On/Off button - Manual power control
between on, standby and storage modes.
This Quick Start Guide is an overview. Users are asked to
review the manual for detailed instructions.
The carrying pouch contains two parts:
• Digital PlayerMic transmitter (QT-AD10P or PS)
• Micro USB charging cable
Users also need:
• Q5X Gateway (remote control)
o Handheld MicCommander (QG-H2) or
o Network Gateway (QG-N3)
• Shure Axient Digital receiver
• Microphone (1-pin Lemo connector)
Visit www.Q5X.com/support to:
• update the firmware
• register the warranty
• download the manuals
ADJUST: Set the functions in the two transmitter menus of
the Gateway. Screen one includes: frequency, power on/off,
battery level, mic mute/live and mic offset. Screen two
includes: transmitter name, group, RF power, 2.4GHz
channel, storage and reboot.
IR SYNC: Use IR Sync to form an audio channel between
the transmitter and receiver. The receiver band must match
the band of the transmitter.
• Select a receiver channel.
• Tune the channel to an available frequency using group
scan or manually tune to an open frequency.
• Assure transmitter is in standby or on mode.
• Press the SYNC button on the receiver.
• Align the IR windows between the transmitter and the
receiver so that the IR LED illuminates red.
• When complete, “Sync Success!” appears on the receiver.
USE TIPS: When using the PlayerMics, it is suggested that
a strain relief method be used to ensure that there is no
direct pulling force on the microphone connector during use
or during removal. One method is to loop the microphone
cable back and tape the connector to the edge of the
transmitter.
Quick Start Guide part number 55-0176
Digital PlayerMic®
 Loading...