9
EN
4. USE
4.1 Assembly
The vacuum cleaner
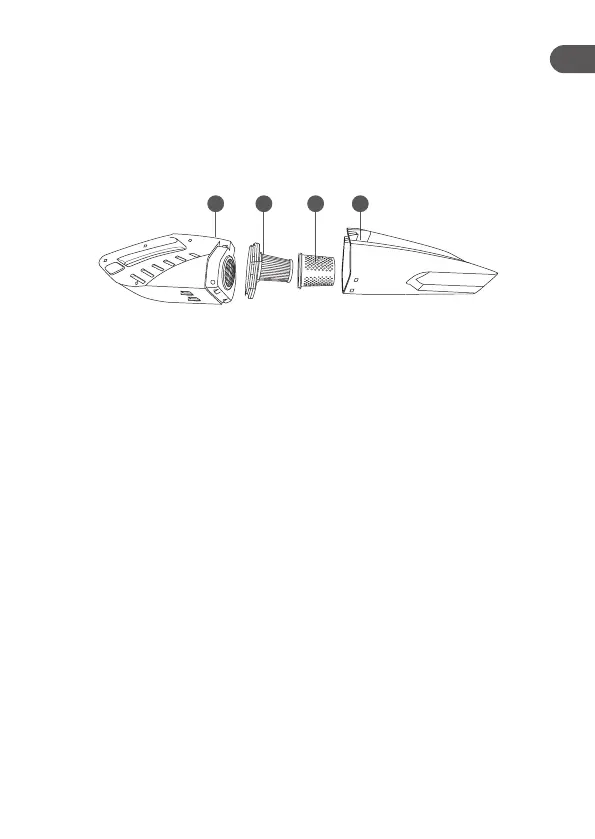
1. Insert the HEPA lter (18) into the lter holder (19) and turn until locked.
2. Insert assembled parts into the dust container (10).
3. Connect the dust container (10) to the handheld unit (3). Make sure it locks in place.
183 19 10
4. Connect the motorized oor brush (8) to the stick unit (1).
NOTE The brush (20) and crevice tool (21) must be directly connected to the handheld
unit (3). The brush (20) and crevice tool (21) can be stored on the back side of the charging
station support (4).
The charging station
1. Attach the charging station support (4) to the charging station base (5). Make sure it locks
in place.
2. Place assembled charging station (4, 5) on a at and stable surface.
4.2 Charging
The battery needs to be charged when the last battery indicator (7) ashes.
1. Connect the provided power adapter (17) to a suitable electrical outlet. Connect the other
end to the charging socket located on the right side of the charging station support (4).
2. Place the stick unit (1) on the assembled charging station (4, 5).
3. The 3 battery indicators (7) ash in sequence during charging. The rst charge should
take about 10 hours.
4. Once the product is fully charged, 3 battery indicators (7) light up steadily.
NOTE The on/off keys (12, 16) are deactivated during charging process. Product cannot be
switched on.
 Loading...