jordat uttag.
5. Klistra in väggmallen på plats på väggen och använd ett vattenpass för att se till att
referenslinjen är rak.
6. Använd en borr för att borra de två hålen för väggfästena och se till att alla hål är i linje
med mallen.
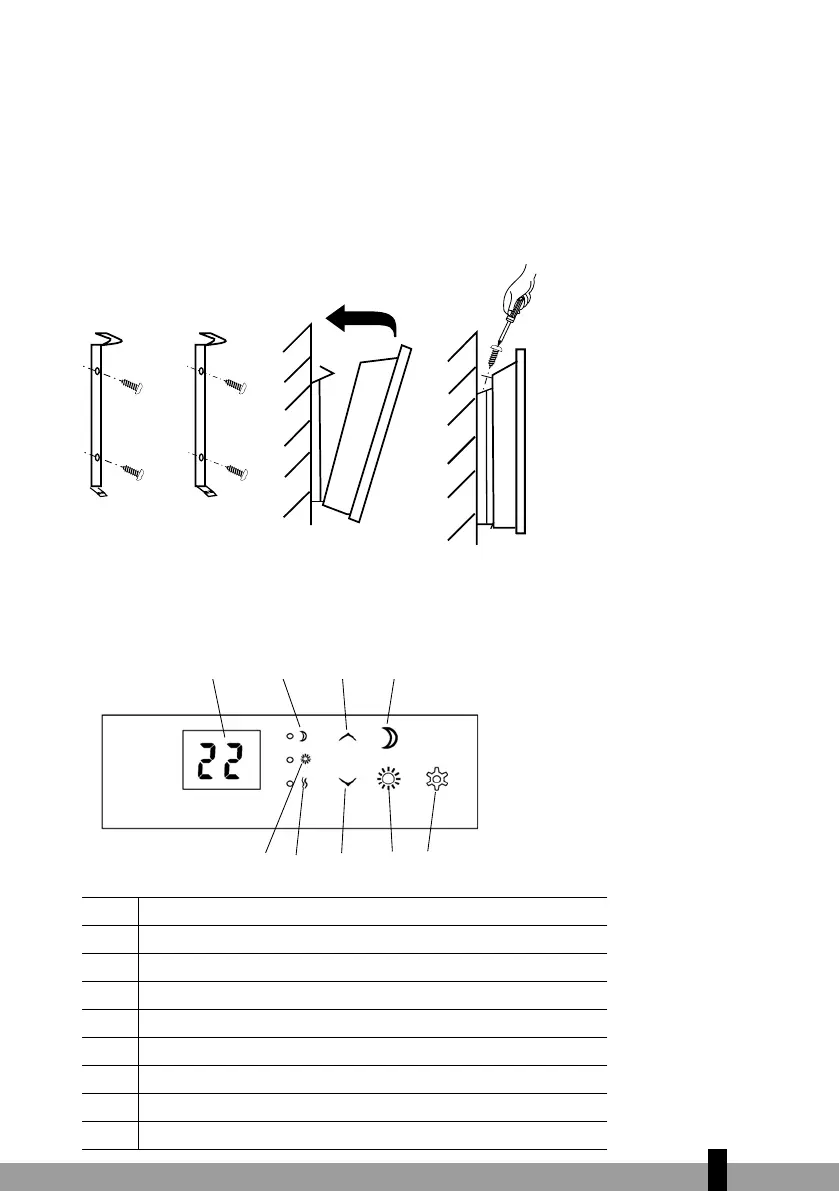
7. Sätt i pluggarna och skruva fast väggfästena. Se bild 1.
8. Se till att fästena är ordentligt fastsatta på väggen och att det inte nns någon risk för
att apparaten kan tippa eller falla.
9. Häng försiktigt upp apparaten på fästena. Se bild 1.
10. Spänn fast låshaken med skruven. Se bild 1.
11. Slå på apparaten.
Bild 1
D. ANVÄNDNING
LCD-PANEL
Electronic thermostat – Instructions
Control panel for electronic thermostat:
①
1, Display (shows the desired room temperature by default)
2, Control light - Night function
3, Control button ( ) (increase temperature)
4, Night function
5, Conrol light - day function
6, Power indicator
7, Control button ( ) (reduce temperature)
8, Day function
9, Function button / Open window function
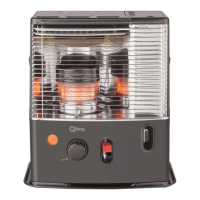
Warning: Before the heater is turned on, it must be attached to a wall or stand. If the heater is not installed
correctly or is installed askew, this may cause the heater to malfunction or in the worst case, be damaged.
If the temperature sensor is not functioning properly, you will see the symbol below on the display. Please contact
the dealer or importer.
1. LCD-display
2. Kontrollampa – nattfunktion
3. Kontrollknapp upp (öka temperaturen)
4. Nattfunktion
5. Kontrollampa – dagfunktion
6. Strömindikator
7. Kontrollknapp ned (sänk temperaturen)
8. Dagfunktion
9. Funktionsknapp
=
61