to set the current hour; press “set “ button again, the display shows minute “ 30”, press “ + / - “ button to set the current minute, then press “set” button a
third time, the display shows day “d7 “, press “ +/- “ button to set the current day (Monday-Sunday: d1-d7).
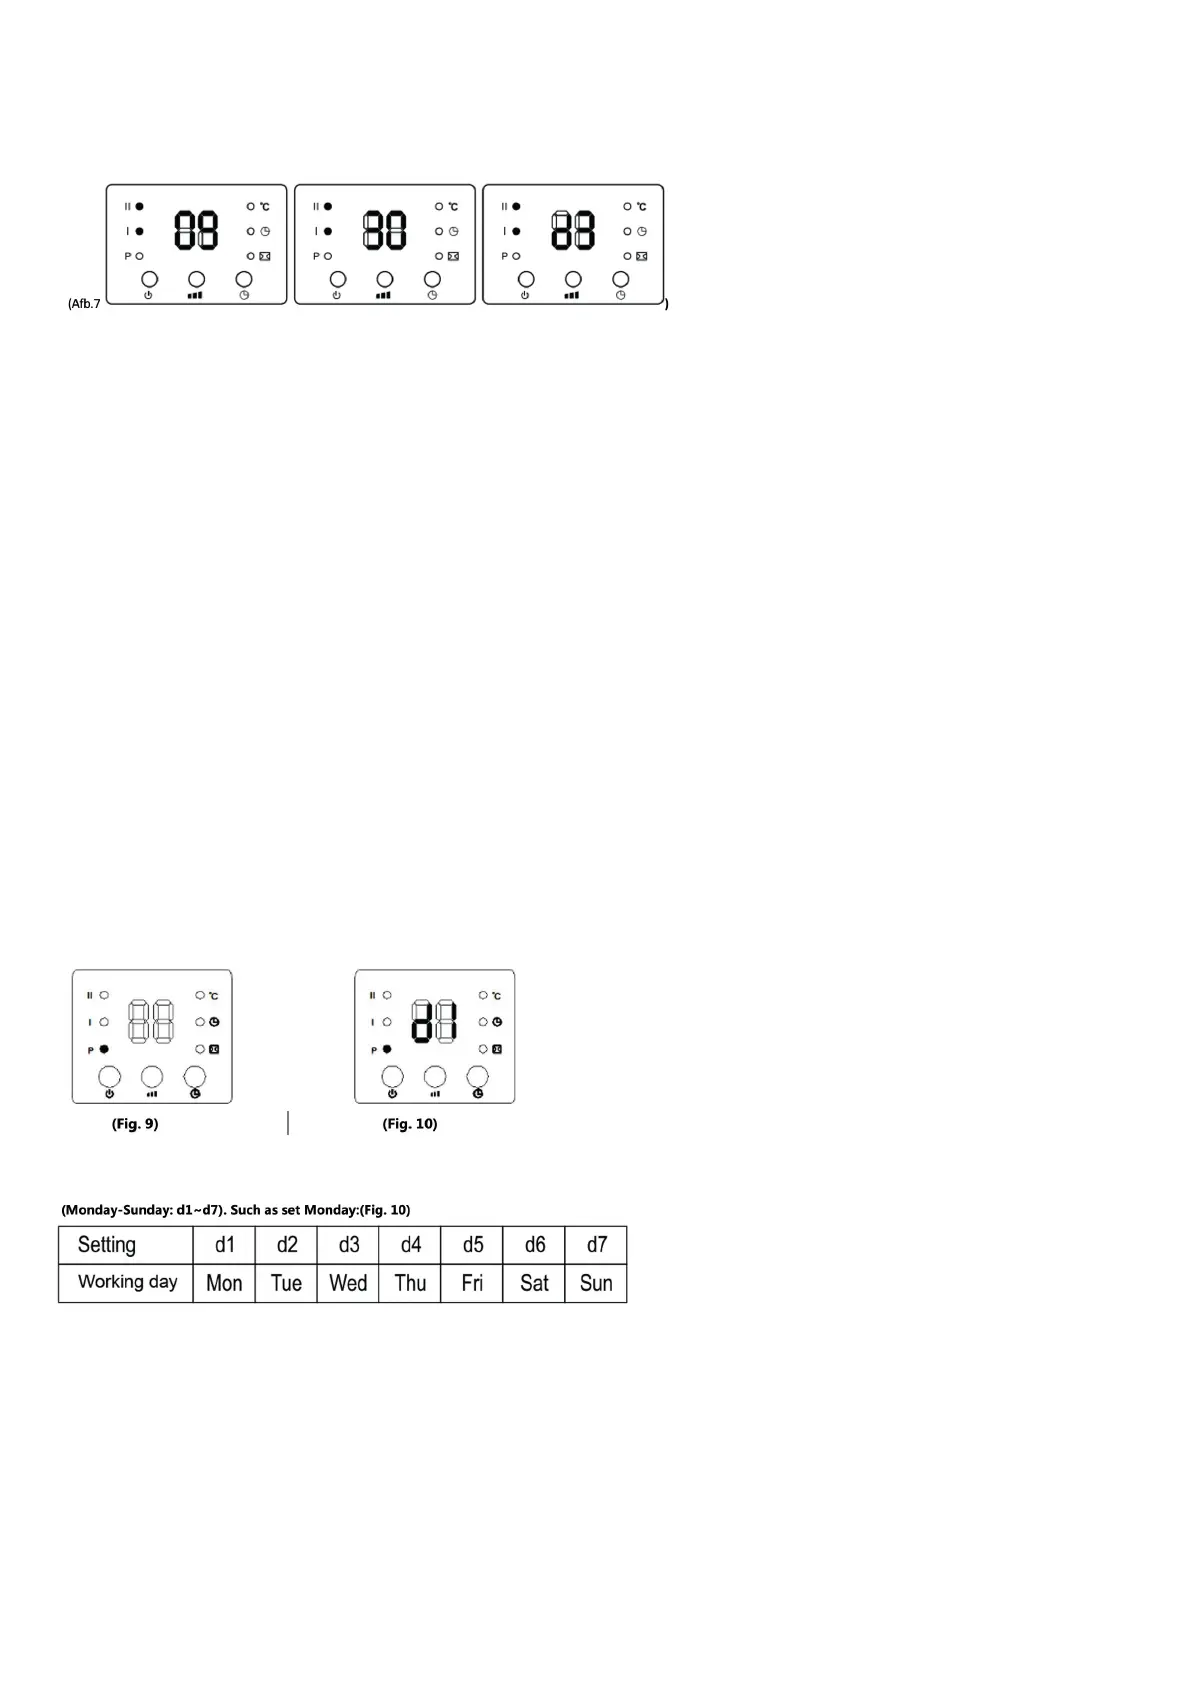
set day (Monday-Sunday: d1-d7). Then press the “ok “ button to confirm the setting.
For example: Set to Wednesday, 9:30 AM, see the following pictures:
Note:
After the product is switched off, it must be reset. Then press the “Set” button to successively check the current time and day;
The set timer period is 00-23 hours, 00-59 minutes.
Press SET again to check the current time and set temperature.
2. Set temperature
During the working status, press “+ / -” button, the display will show “ 88” as default. Press “ + / - “ button to set the desired temperature (temperature
range 10-49˚C), press “ok” button to confirm the setting.
For example: the current ambient temperature is 15˚C,
When the temperature is set to 25˚C, the following is displayed (Fig. 8)
Note: When setting the temperature, it will be done in the following way
1) Setting temperature - ambient temperature>2˚C, operating with high power (II);
2) 0˚C<Setting temperature - ambient temperature≤2˚C, operating with low power (I);
3) Setting temperature - ambient temperature=0˚C, the cooling fan will work for 30 seconds to take out the heating left inside,
the product will stop working.
If you want to cancel setting the temperature, press the “|||” button to select heater I or II, the product will work without setting the temperature. The “.˚C “
lamp will go out and the display will show “--”. After 12 hours of continuous heating, the cooling fan will operate for 30 seconds and the product will enter
standby mode.
Part 2 Weekly timer & Detection open window
3. Setting weekly programme
After setting the current TIME/DAY, the steps for setting the weekly programme are described below:
1) Press the power button, the product will enter the working status.
2) Press the programme button, the display shows “P” (the light of “P” in the display turns on), it proceeds to set the weekly programme: (Fig. 9)
3. press “day” button, the display will show d1, press “day” button to record the corresponding day.
4. press “edit” button the screen shows P1 as default, press “edit” button to set the time for the period (P1 - P6)
Note: Up to 6 time periods per working day can be set while setting any time and adjusting the temperature. Follow steps 5-7 below to set the switch-on
time/switch-off time/desired temperature for each time period (P1-P6˚C. Like setting P1: (Fig. 11)
5). Press the “time/on” button, the display shows “00” as default. Press the “time/on” button to set the switch-on time (00-24 hours). For example, set
the switch-on time to 7:00 am (see figure); (Fig. 12)
6). Press the “time/on” button, the display shows the previous switch-on time by default. Press
“time/on” to set the switch-off time (00-24 hours). The “time/on” cannot be less than “time/off”; If the “time/on” is equal to “time/off “, the product
will switch to standby mode. For example, set the switch-off time to 13:00: (Fig. 13).
7). Press the button “+ /1 “ to set the desired temperature (temperature range 10-49˚C);
8). Repeat steps 3-7 above, you can set the weekly programme for the working day you want.
9). Then press the button “ok “ to confirm the setting.
10). To cancel the week programme function, press the “p “ button again, the “P” light goes off. The week programme is off.
 Loading...