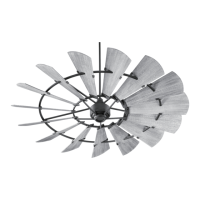
1. Make sure the wiring is safely inside the
outlet box as instructed in Step 5 -
Electrical Connections. To install the
canopy, slide the canopy up to hanger
bracket and place the key hole on the
canopy over the screw on the hanger
bracket, turn canopy until it locks in place
at the narrow section of the key holes. (Fig.
18) Align the circular hole on canopy with
the remaining hole on the hanger bracket,
secure by tightening the two set screws, lift
canopy cover and attach by turning
clockwise. Note: Adjust the canopy screws
as necessary until the canopy and canopy
cover are snug. (Fig. 18)
8. COMPLETING THE INSTALLATION
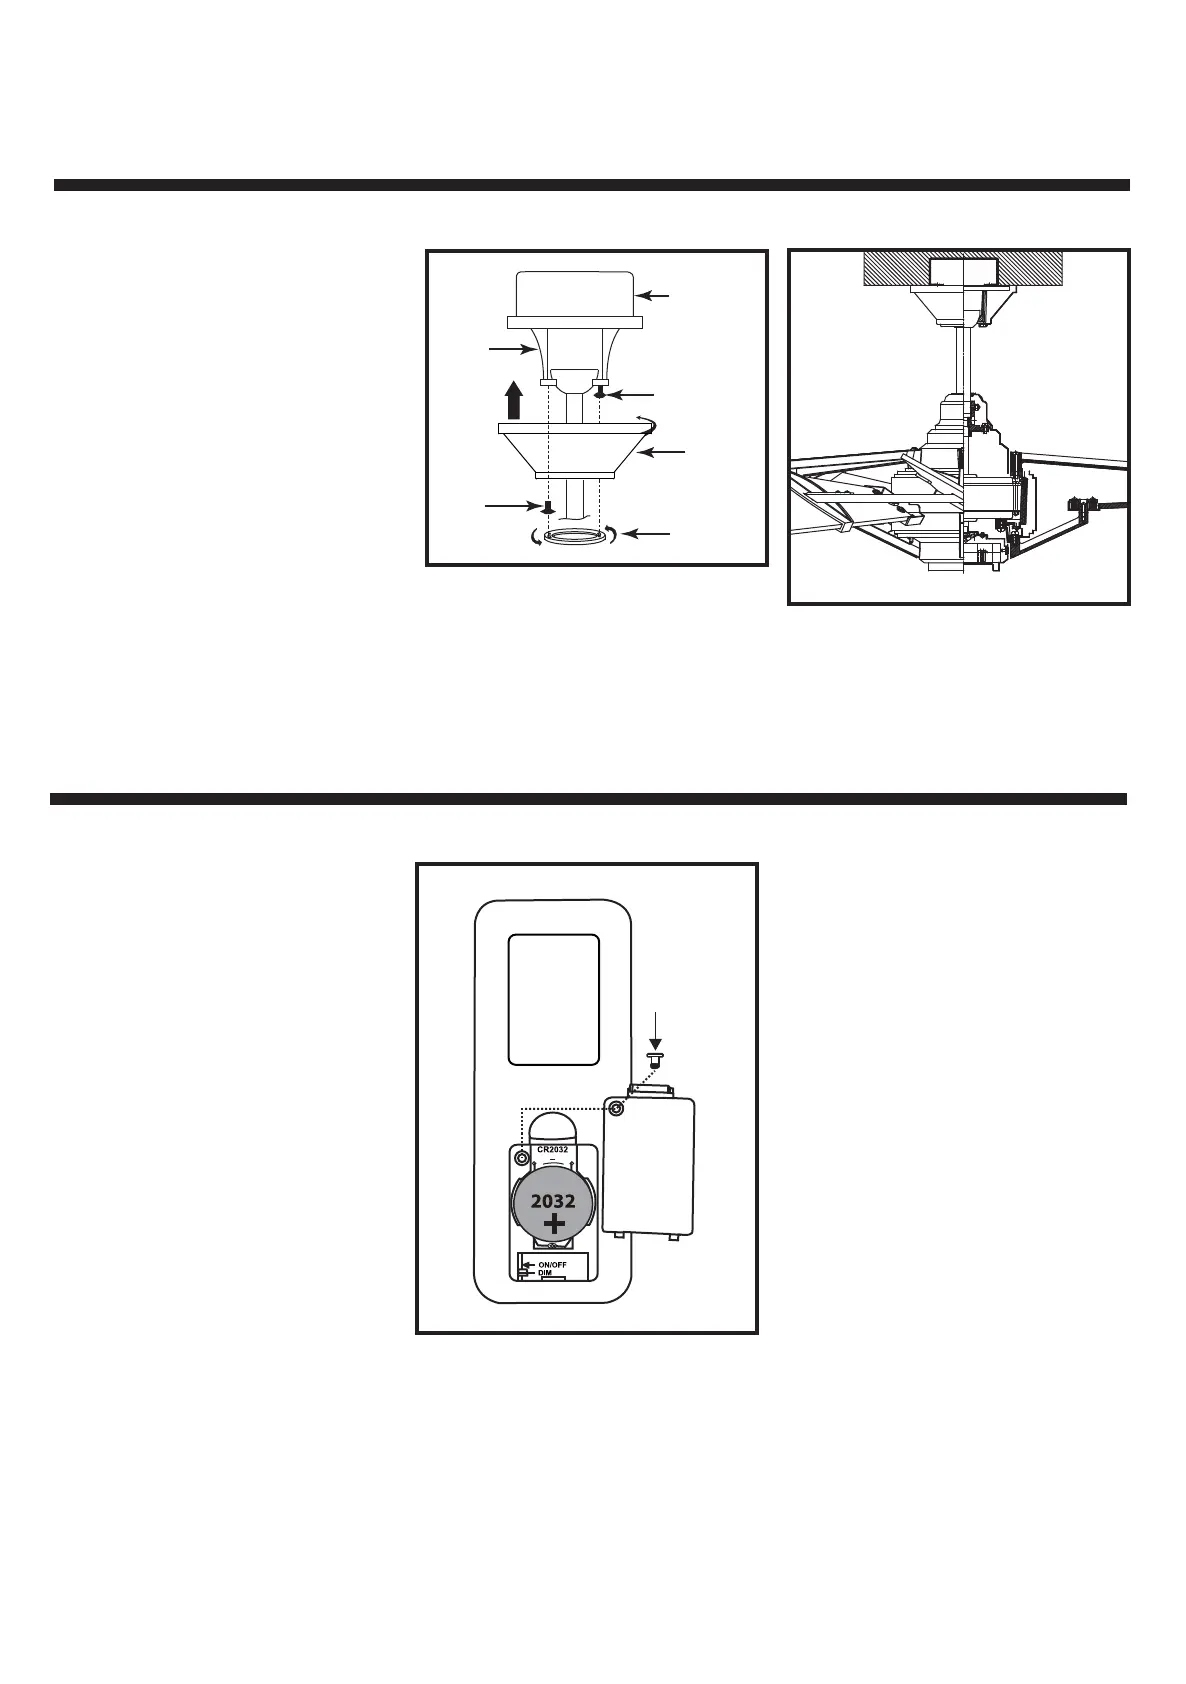
9. INSTALLING
THE
BATTERY
Fig. 18
Outlet box
Hanger
bracket
Canopy
Canopy cover
Screws
Screws
Fig. 19
Remove the set screw on the back of
transmitter, take out the battery cover.
Insert the 3 volt battery (included) and
make sure they are seated correctly in each
recess with the Positive + sign facing up.
When remove or insert the batteries, use a
suitable screwdriver to loosen or tighten
the screws and open the back cover. (Fig.
20)
Fig. 20
Set screw
 Loading...