OPERATING INSTRUCTIONS
Note:
Before connecting to the mains power supply
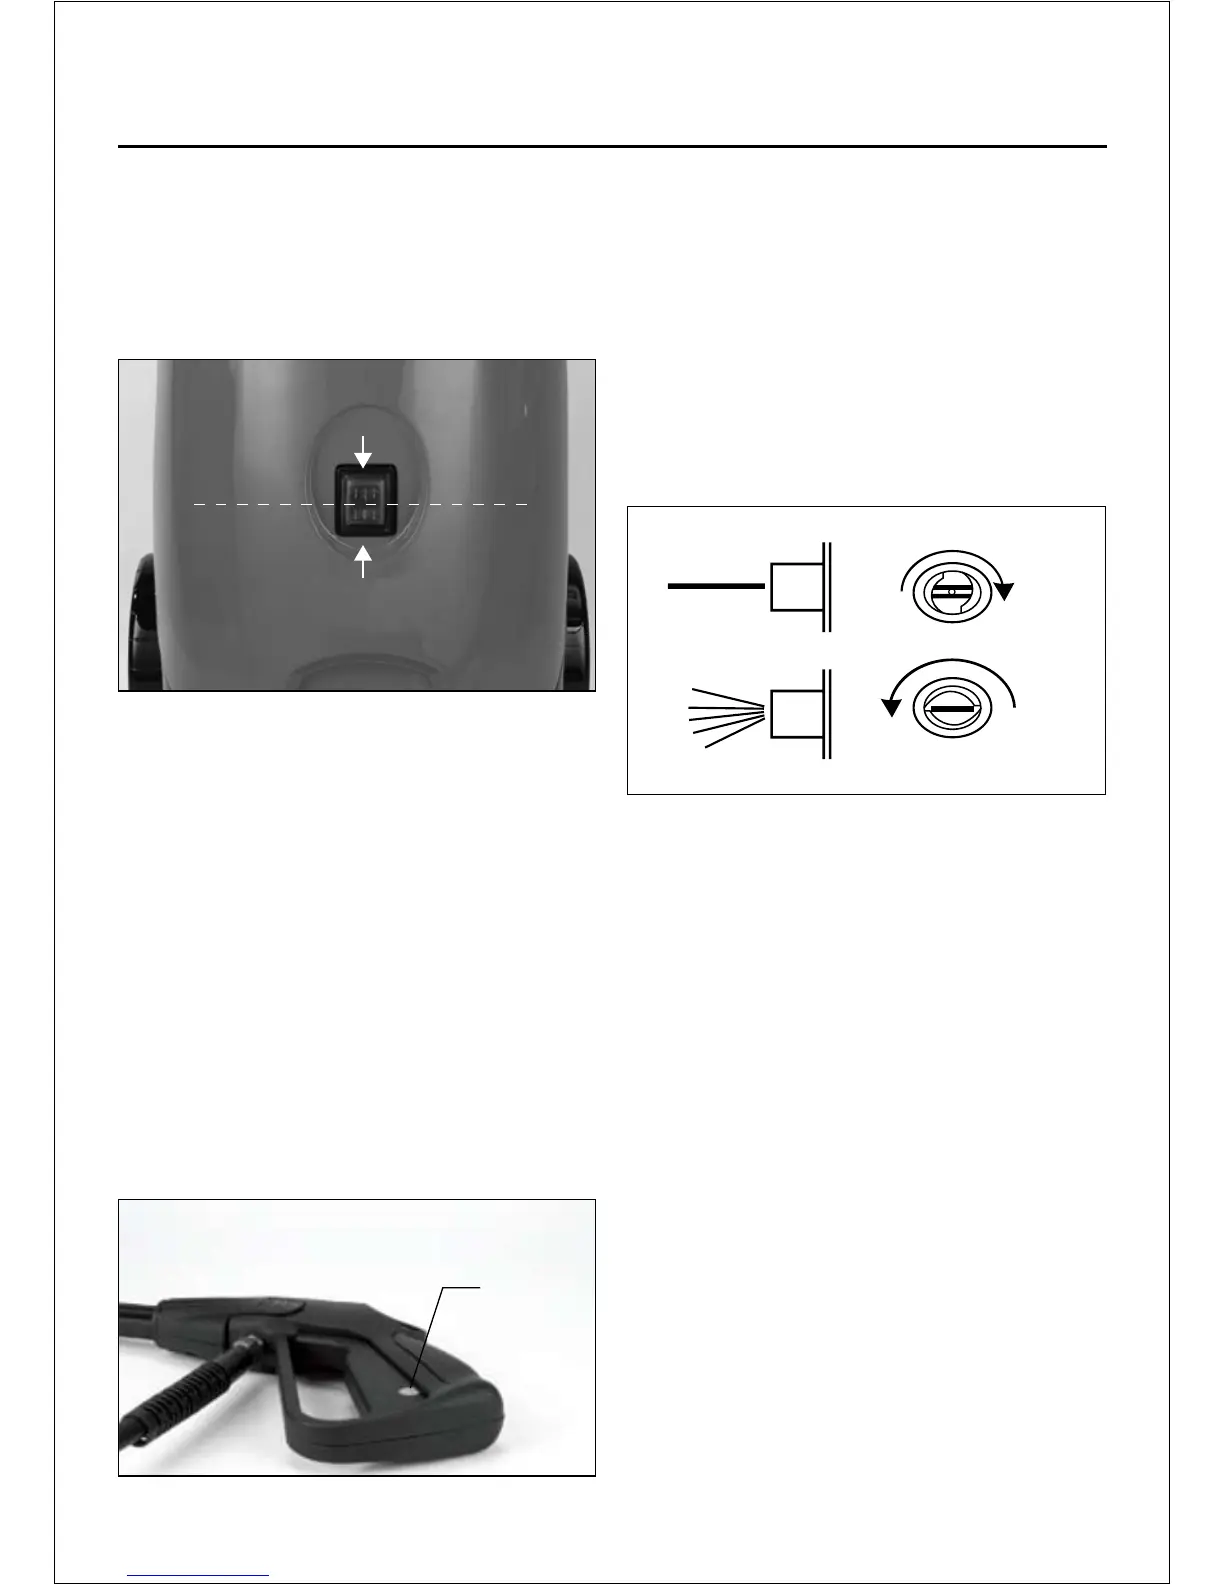
please ensure that the ON / OFF switch is in
the OFF position (g 7) and the water supply is
connected and is turned on. Running the pressure
washer without any water supplied to it will
damage the pump.
Instructions for use
a) Once the unit is fully assembled, ensure that
the unit is switched OFF and is connected to the
mains supply and the water supply; Pull the trigger
a few times to expel any air trapped in the system.
b) Ensuring that the trigger is released, switch
ON the pressure washer. The unit is now ready to
operate by pulling the trigger.
Note:
The motor only runs when the trigger is operated.
When the pressure washer is not in use, we
recommend that you lock the gun using the trigger
lock for safety reasons (Fig 8). Switch the unit
OFF when not in use for extended periods of
time and expel pressurised water in the unit by
operating the trigger gun while the unit is in the
OFF position.
Helpful Hints
Before starting cleaning remove any objects which
could cause a hazard.
Ensure that all doors and windows are closed
(where appropriate).
The adjustable lance allows you to use a variety of
spray patterns from a fan to a pencil jet (g 9).
When using the pressure washer to clean decking,
patios, vehicles, etc., always start by using the
fan spray and begin spraying from a minimum
30cm away to avoid damaging the surface of the
material to be cleaned.
The pressure of the spray on the surface you
are cleaning increases as you move the nozzle
closer to the surface. We recommend that for most
cleaning applications a 45° spray angle should
be used to avoid damaging the surface being
cleaned. Spraying directly “head-on” tends to
cause dirt particles to embed in the surface.
WARNING: Do not adjust the nozzle while the
trigger is squeezed.
-4-
Fig 7
ON
OFF
Fig 9
Fig 8
LOCK
OFF


 To Next Page