Do you have a question about the Rainbow Play Systems Carnival series and is the answer not in the manual?
Guidelines for safe play and supervision on the equipment.
Recommended materials and depths for shock-absorbing surfaces.
Initial assembly of the first wall section without the rock wall component.
Initial assembly of the first wall section including the rock wall component.
Continuation of the first wall assembly with the rock wall.
Installing uprights for the lower level playhouse module.
Assembling the first wall with the lower level playhouse attached.
Assembly of the second main wall section of the playset.
Continuing the assembly of the second main wall section.
| Assembly Required | Yes |
|---|---|
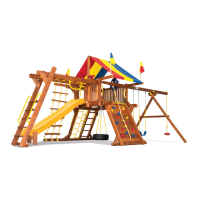
| Series | Carnival |
| Material | Cedar wood |
| Features | Swings, slides, climbing walls, monkey bars |
| Warranty | Limited lifetime warranty |