Thank you for choosing the RainJet@
RJ6 Automatic
Sprinkler Timer.The R
J6
is
simple to operate and provides flexible programming capabilities to help meet
your specific watering needs.
With the
RJ6,
you can set an automatic watering schedule and still activate
a manual watering cycle without having to
reprogram. You
can also temporarily
suspend your program, on rainy days for instance, again without affecting your
original program.
Some of the other convenient features of the
RJ6
include:
*One
program, adaptable to individual watering requirements
*Three
start times
-Six zone capacity
*Watering on specific days of the week or odd/even days
*Watering durations from I minute to 99 minutes
-Easy-to-use push-button programming with large, easy-to-read
LCD display
-Quick
reference programming guide on the inside of the terminal
cover
*Programming capability before timer is mounted permanently,
using just a 9 volt battery
If you have any questions about the installation or operation of your
RJ6,
call our Technical Service Hotline at
800-231-517
Choose an eye-level spot in an indoor location, within six feet (I.8 m) of a
standard
I20
volt AC electrical outlet (or 240 volt outlet if timer is labeled as
such).The location should be completely protected from moisture, direct sun-
light and freezing temperatures.
*Do
not use an outlet controlled by an on/off wall switch
*Do
not use the same circuit as a garage door opener, washer,
dryer, air conditioner, refrigerator or other high-powered
equipment
*Do
not place timer in a location where it can get wet
*Do
not operate at temperatures exceeding 125°F (52°C)
CAUTION:
This timer is designed
for
indoor installation only. Installing
this timer outdoors will void the warranty and may result in an electric
shock hazard.
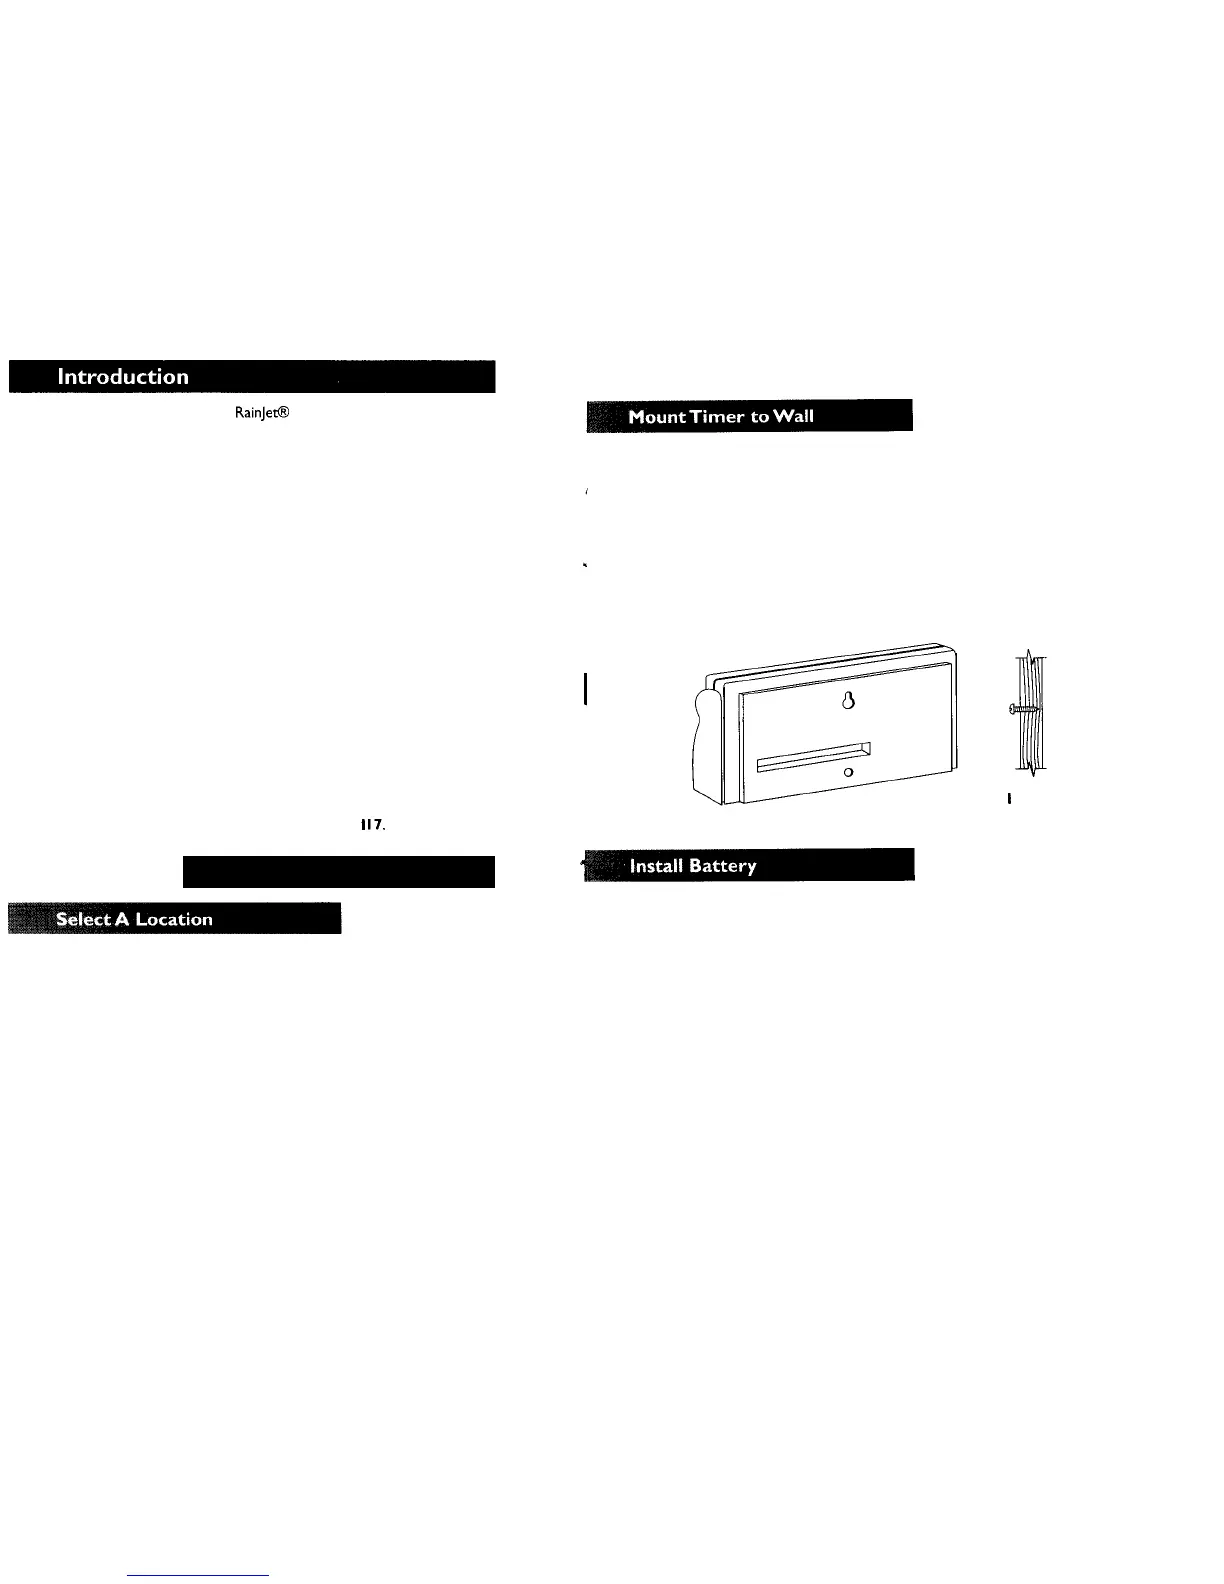
Drive one of the two
#8
Phillips screws provided into the stud or wall at eye
level, leaving
1/8”-1/4”
(3.2-6.4 mm) of the screw head extended from the wall. If
mounting on drywall or masonry wall, plastic anchors may be required.
Hang the controller on the screw by placing the keyhole on the back of
the timer over the extended screw head. (Figure
I)
Lift the terminal cover and drive the second screw through the bottom
mounting hole into the wall.
CAUTION:
Do not plug in the transformer until you have made
all
wiring connections.
Figure
I
Connect a 9 volt alkaline battery (not included) to the battery terminal and
place in designated spot.
CAUTION:
Do
not use a rechargeable battery. Do not allow the bat-
tery to come in contact with the screws in
the
terminal strip.
The display will illuminate under normal conditions and 12:OO AM will
appear. If any unexpected display characters show, simply disconnect and
reconnect the
battery.You
can now program your timer, even before you plug it
in. (You should not plug in the transformer until all valves have been connected.)
The battery operates as memory backup in the event of a power
outage, preserving your schedules for up to 24 hours. However, the timer will
not operate the valves while under battery
power.
Watering will occur only after
power resumes.
Your timer also comes with a default mode. Should the battery fail
during a power outage, the timer will automatically revert to a preset factory
program, which will become active when the power comes back on, and will
water every day at 4:00 a.m. for IO minutes per valve, until a new schedule is
programmed.
 Loading...