PG13
•
39
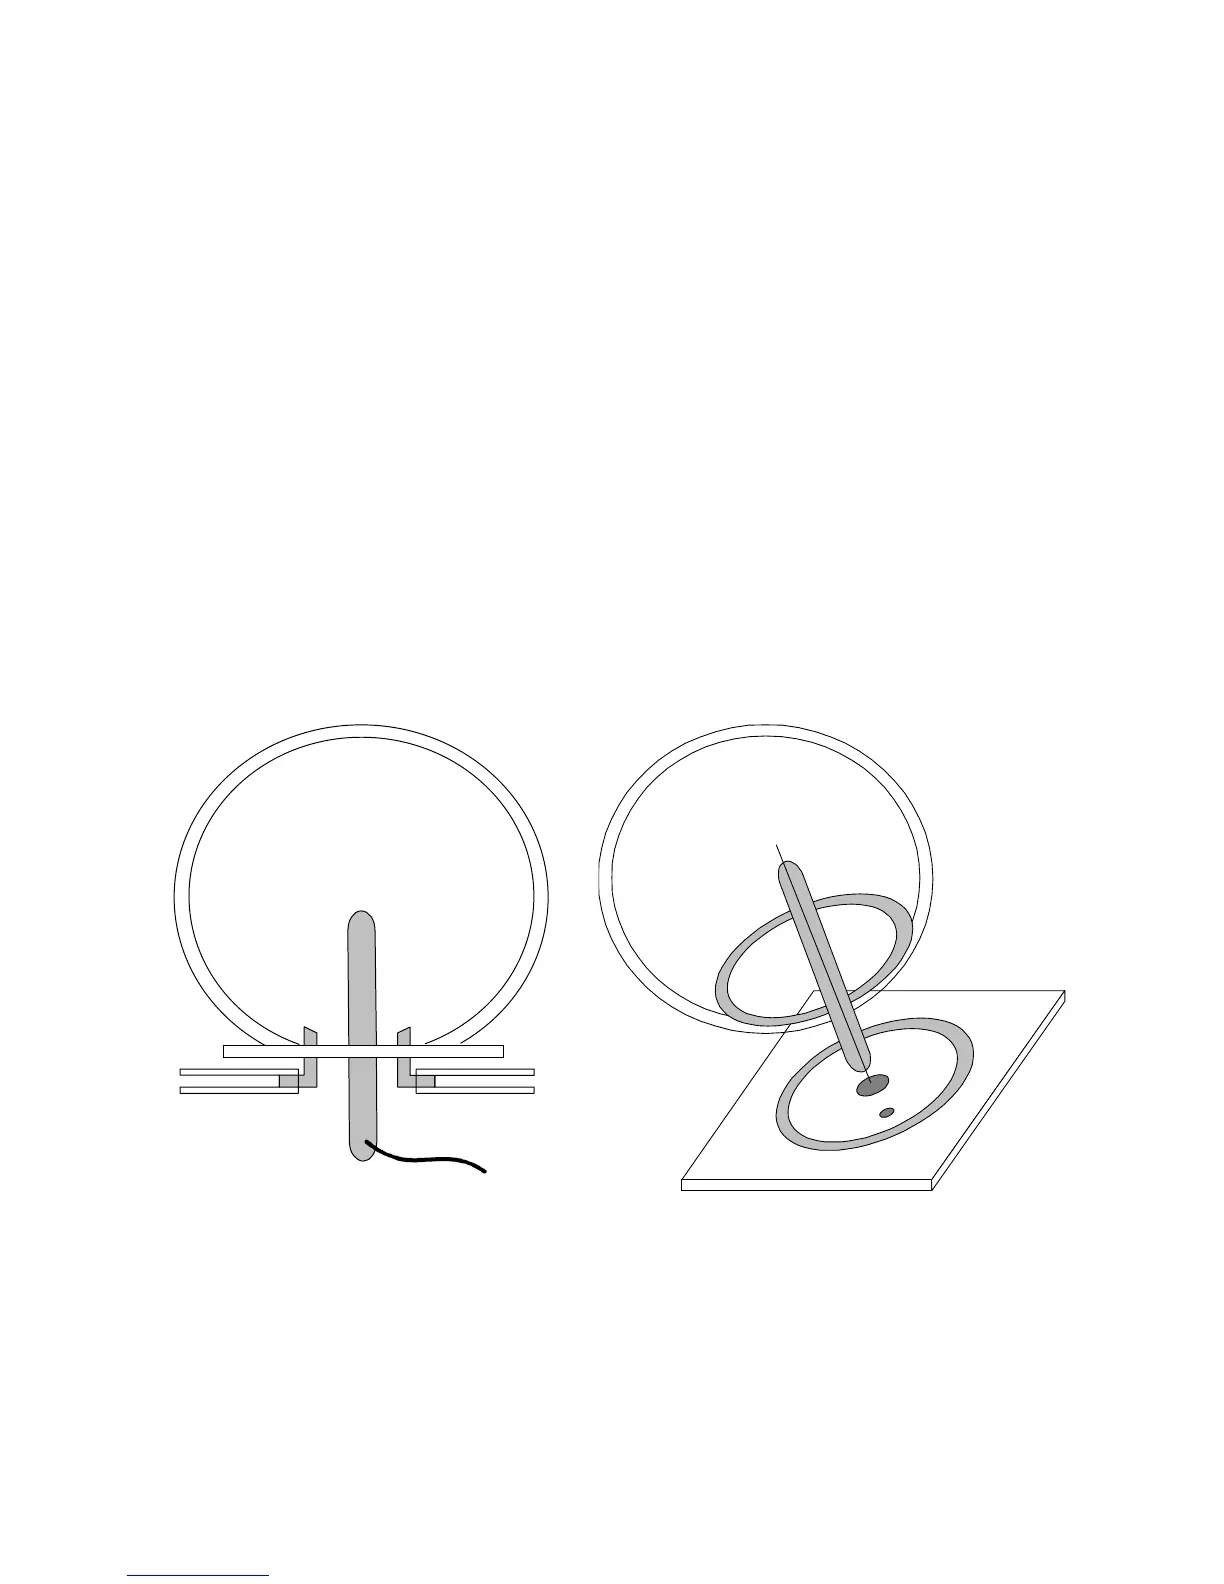
6. Drill two small holes somewhere within the dome circle on the vinyl.
This will be where you insert and remove special gases through your tube
fixtures. These MUST be sealed well. You will need to choose your hole
sizes according to the fixtures used.
7. Install the hose fixtures in the vinyl and seal them in place. Let all glue/
goop dry.
8. Lay a heavy bead of sealant into the route you carved in the vinyl.
9. Carefully push the dome on top of the caulk making sure you have
centered it well for a good seal.
10. Let the assembly dry for at least a day so the silicone will not vent too
much, and things will stay together.
11. Use a permanent marker to put alignment marks on the dome and
vinyl base. This will allow you to remove and replace the dome as needed
for experiments. Silicone sealant should not stick very well to vinyl,
allowing you to remove and replace the dome. If you make any sort of
vacuum in the dome, the pressure from outside air should form a nice tight
seal.
Maybe you can come up with some better ideas, or less expensive ways to
do this, but this will get you started. You will also need some other things like
hose clamps to act as valves, possibly a vacuum pump (a hand vacuum pump
should work), and maybe even some specialized gases. I heard a rumor that
welder’s argon will ionize easily at normal air pressure, so you may not even
need a vacuum pump!
Gas in
Gas out
HV